Now, it’s time for the real fun to begin. In part 3 of our 4-part Get the Look style guide, I’ll be showing you how to accessorise your bathroom to achieve The Harbour look.
If you haven’t done so already, read parts 1 and 2 of this style guide first. In part 1, I introduce the look and explain how it differs from other nautical-inspired designs, and in part 2, I looked more in-depth at the type of bathroom products you should choose to bring this look to life. Click on the image below to begin your journey from the start.
Accessorising for The Harbour look
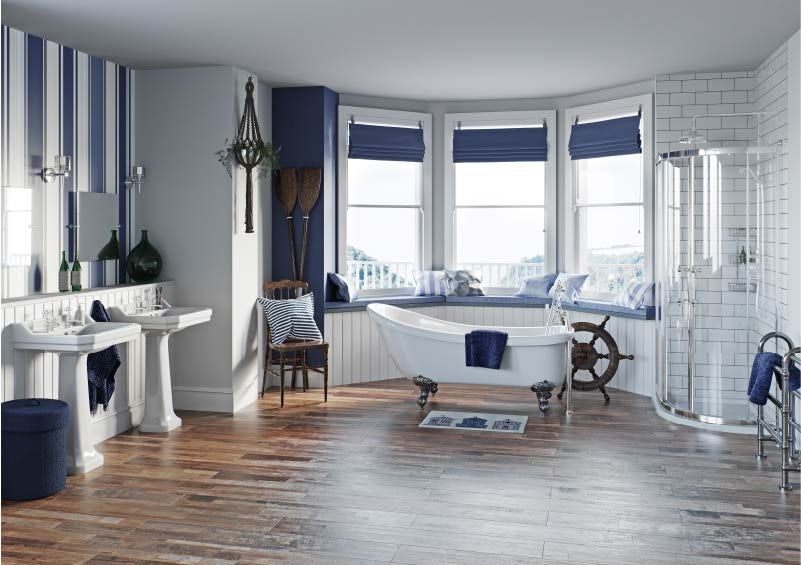
As with any nautical-inspired interior, the really fun part to renovating a room is adding all those finishing touches and accessories which can turn a blank canvas into something infinitely more personal. And, the great news is, with The Harbour look, you can really go to town (or to the seaside!) with your choice of colours, patterns, textures and more.
As I have touched upon previously, The Harbour is a more refined approach to the nautical look, so your choice of accessories should be more considered. Think champagne and canapes at the yacht club rather than fish and chips on the beach!
With that in mind, why not climb aboard as we set sail on a creative journey visiting colours, patterns, tiles, textures, accessories and lighting.
Colours and patterns
As you may have already guessed, the main theme of this bathroom is, quite appropriately, navy blue and white. With certain colours going in and out of fashion, blue will always remain a popular shade in bathrooms, and especially when choosing a nautical theme.
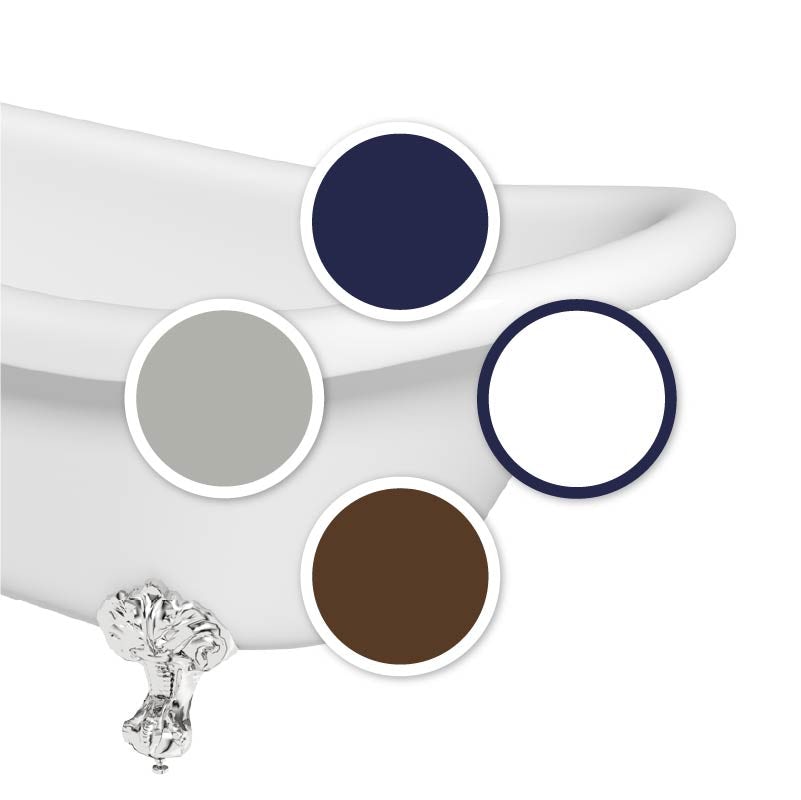
We’ve used an age-old trick, used by interior designers all over the world, following the 60-30-10 ratio: 60% of our colour scheme is white, 30% navy blue and 10% grey as an accent colour.
One of the key ways we’ve enhanced this look is by adding a striped motif, in the form of wallpaper and blinds. Stripes help to enhance the nautical look, however if you don’t have the scope for wallpaper or window coverings, you could always paint a striped wall or add with accessories.
Of course, you needn’t limit yourself to colours we chose. Below, I’ve put together a colour swatch which will help you choose your own personal palette.
Walls and floors
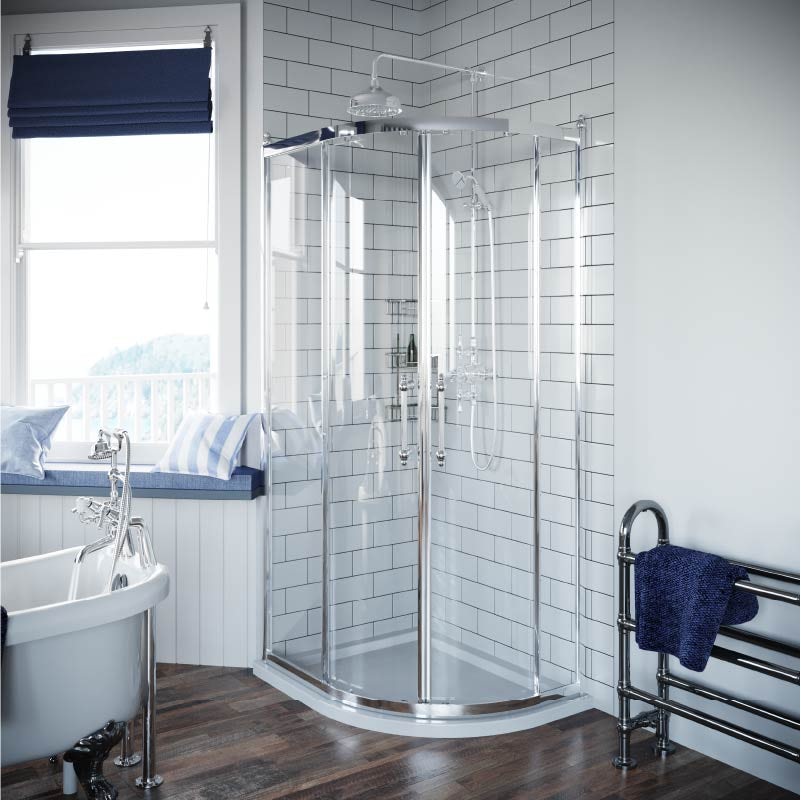
Whilst you may choose wallpaper or painted walls around most of your bathroom, tiles offer excellent protection, they are easy to clean and, most of all, can really add to The Harbour look.
As you can see, we’ve been quite sparing with the wall tiles we’ve used, and have opted for simple [metro tiles] around the interior of the shower area. This gives a clean appearance which works well with the more traditional style of the products, keeping to white as our primary base colour.
Elsewhere, we’ve used a combination of wallpaper and painted walls. To add our third accent colour, we’ve given the skirting boards a lick of grey paint. Of course, you could opt an entirely different colour.
For our flooring, we’ve navigated away from the more traditional tiles in favour of vinyl. However, we’re not talking 1970s style lino here. We’ve invested in some good quality vinyl planking, which is easy to lay, whilst giving the look of a traditional wooden floor, resembling the deck of a boat. It’s so simple to lay, if you’re confident with your DIY skills, you could even install it yourself. However, if you would like a tiled floor throughout, there are wood effect tiles available.
Textures
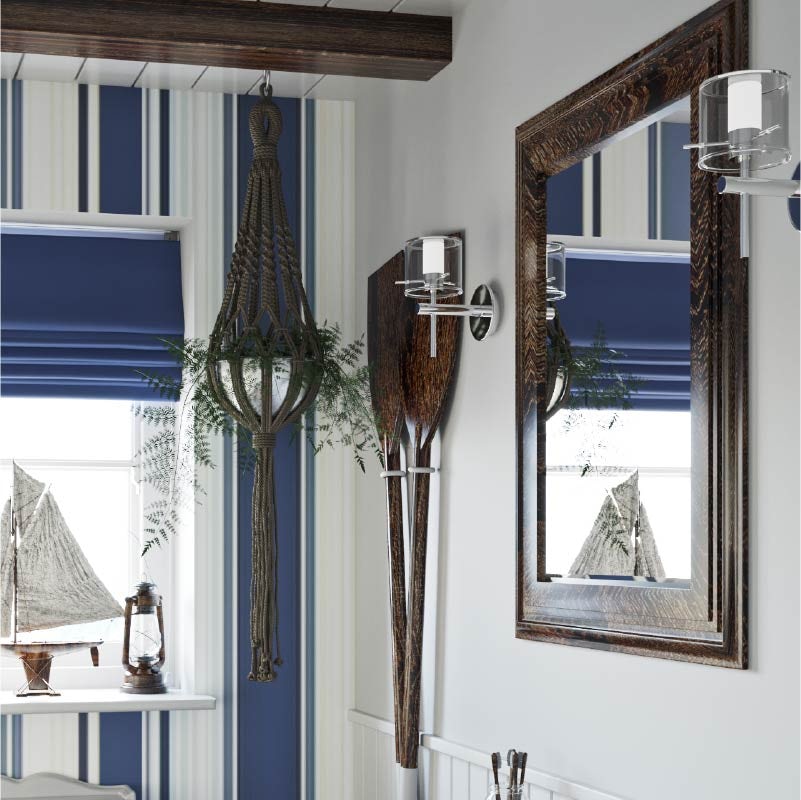
One of the things you’ll immediately notice about our bathroom is the inclusion of rich wood finishes. As wood is a material you will naturally associate with boats and all things nautical, it pays to add some well-chosen accessories and elements. Darker wood finishes, such as oak or mahogany, can look great, especially with a varnish finish.
However, the often damp and humid environment you’ll find in a bathroom can mean, without maintenance, real wood can deteriorate. So be sparing with your choices, or look for items made from moisture-resistant engineered wood for long-lasting use.
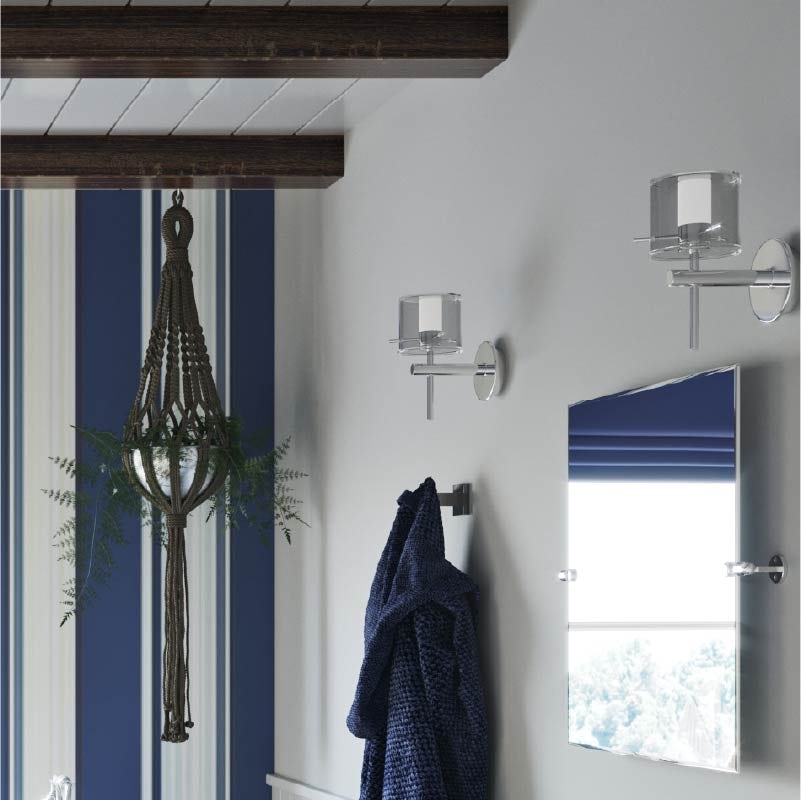
Rope and natural fibres also give a nautical feel that is more refined, which is why we’ve added a macramé plant hanger. Macramé hangers are one of my own personal favourites and I feel really add to this look. You can even find out how to make your own Macramé plant hanger with my “how to” guide.
Accessories
You’ll be happy to hear that The Harbour look lends itself well to a whole host of nautical-style accessories. However, choose wisely. With this refined style, you’ll want to show off good taste rather than seaside kitsch.
We’ve accessorised with dark wood accessories, including a shaker style chair which can double up as a storage space, a laundry basket (handy for used towels), plus boating paraphernalia in the form of oars and a ship’s wheel.
Lighting
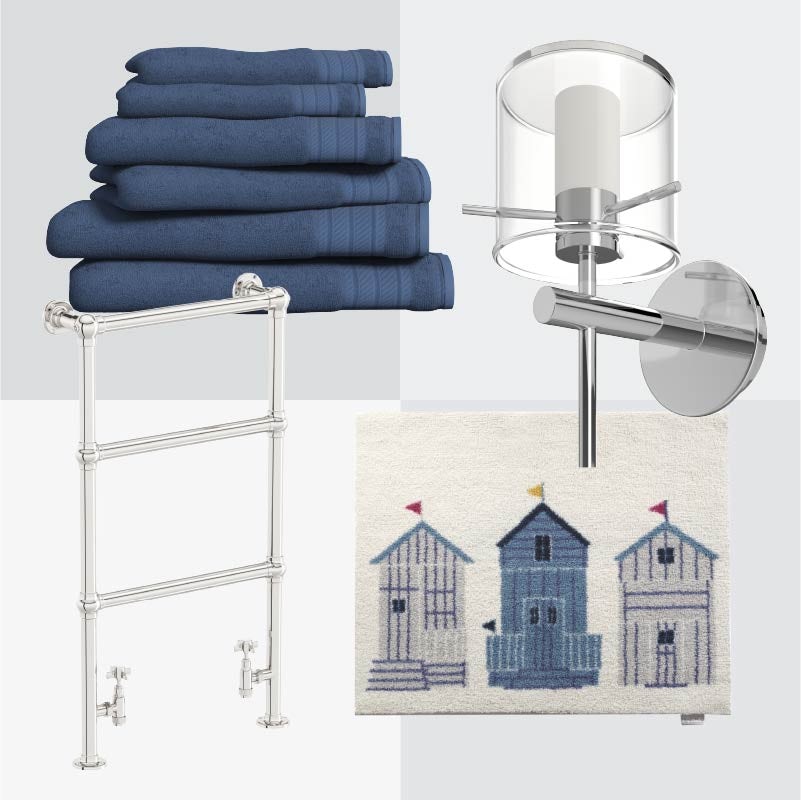
These days, you are more likely to find functional downlights which sit flush to the ceiling in a modern bathroom. However, to enhance the look and feel of our room, we added some wall lanterns which give a more refined appearance.
Whilst we’ve opted for a more contemporary design, you could choose something that is traditional or more nautical in style.
Shop the products
If you can’t wait to set sail and embark on your new bathroom journey, head to part 4 of this style guide we’ll be showing you the exact products we used to create The Harbour bathroom. Simply click on the image below.

