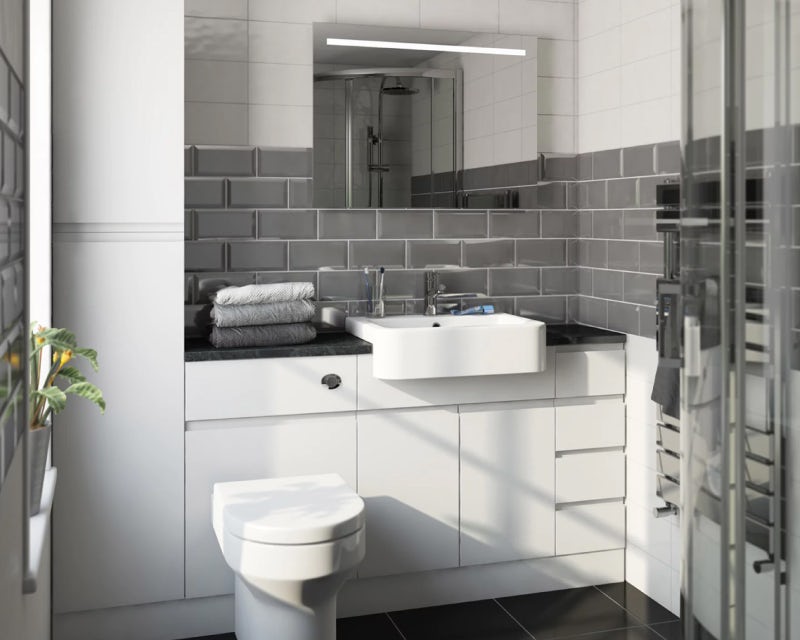
Fitted furniture is a sleek and stylish option for bathrooms big and small. In this expert guide, complete with video and step-by-step instructions, we'll show you how to install fitted bathroom furniture.
Once just the reserve of kitchens, fitted furniture is fast becoming a popular choice for bathrooms. And it’s not difficult to see why. It helps to maximise your space, gives you an almost unlimited set of layout options and produces a flowing and uninterrupted appearance.
If you’re still considering whether fitted bathroom furniture is right for you, why not read our fitted bathroom furniture buying guide first?
Ready to install your fitted furniture? Read on…
Before you begin
First off, we’d always recommend hiring an experienced, professional Tradesperson to fit your bathroom. However, if you’re confident with intermediate DIY tasks, you could save time and money by installing your fitted bathroom furniture yourself.
Make sure you unpack and inspect your fitted furniture as soon as you receive it. Check for any damage or defects, as it is better to discover this now, rather than at some point in the future (remember, in most cases, you will only have a maximum of 14 days to report damage).
Always turn off your water at the mains before attempting any DIY in the bathroom.
Tools you’ll need:
- Clamps (optional)
- Electric drill
- Hammer
- Mitre saw (for worktop)
- Pencil
- Sealant gun
- Spirit level
- Standard set of screwdrivers
- Tape measure
Check you have the following:
Usually supplied with fitted bathroom furniture:
- Adjustable feet
Will need to buy separately:
Time to complete:
- 1–3 hours
Installing your fitted bathroom furniture video
At Victoria Plum, all our fitted bathroom furniture is manufactured to the highest standards, so you can be assured of exceptional quality and craftsmanship.
How to install fitted bathroom furniture
Here’s how to install fitted bathroom furniture.
-
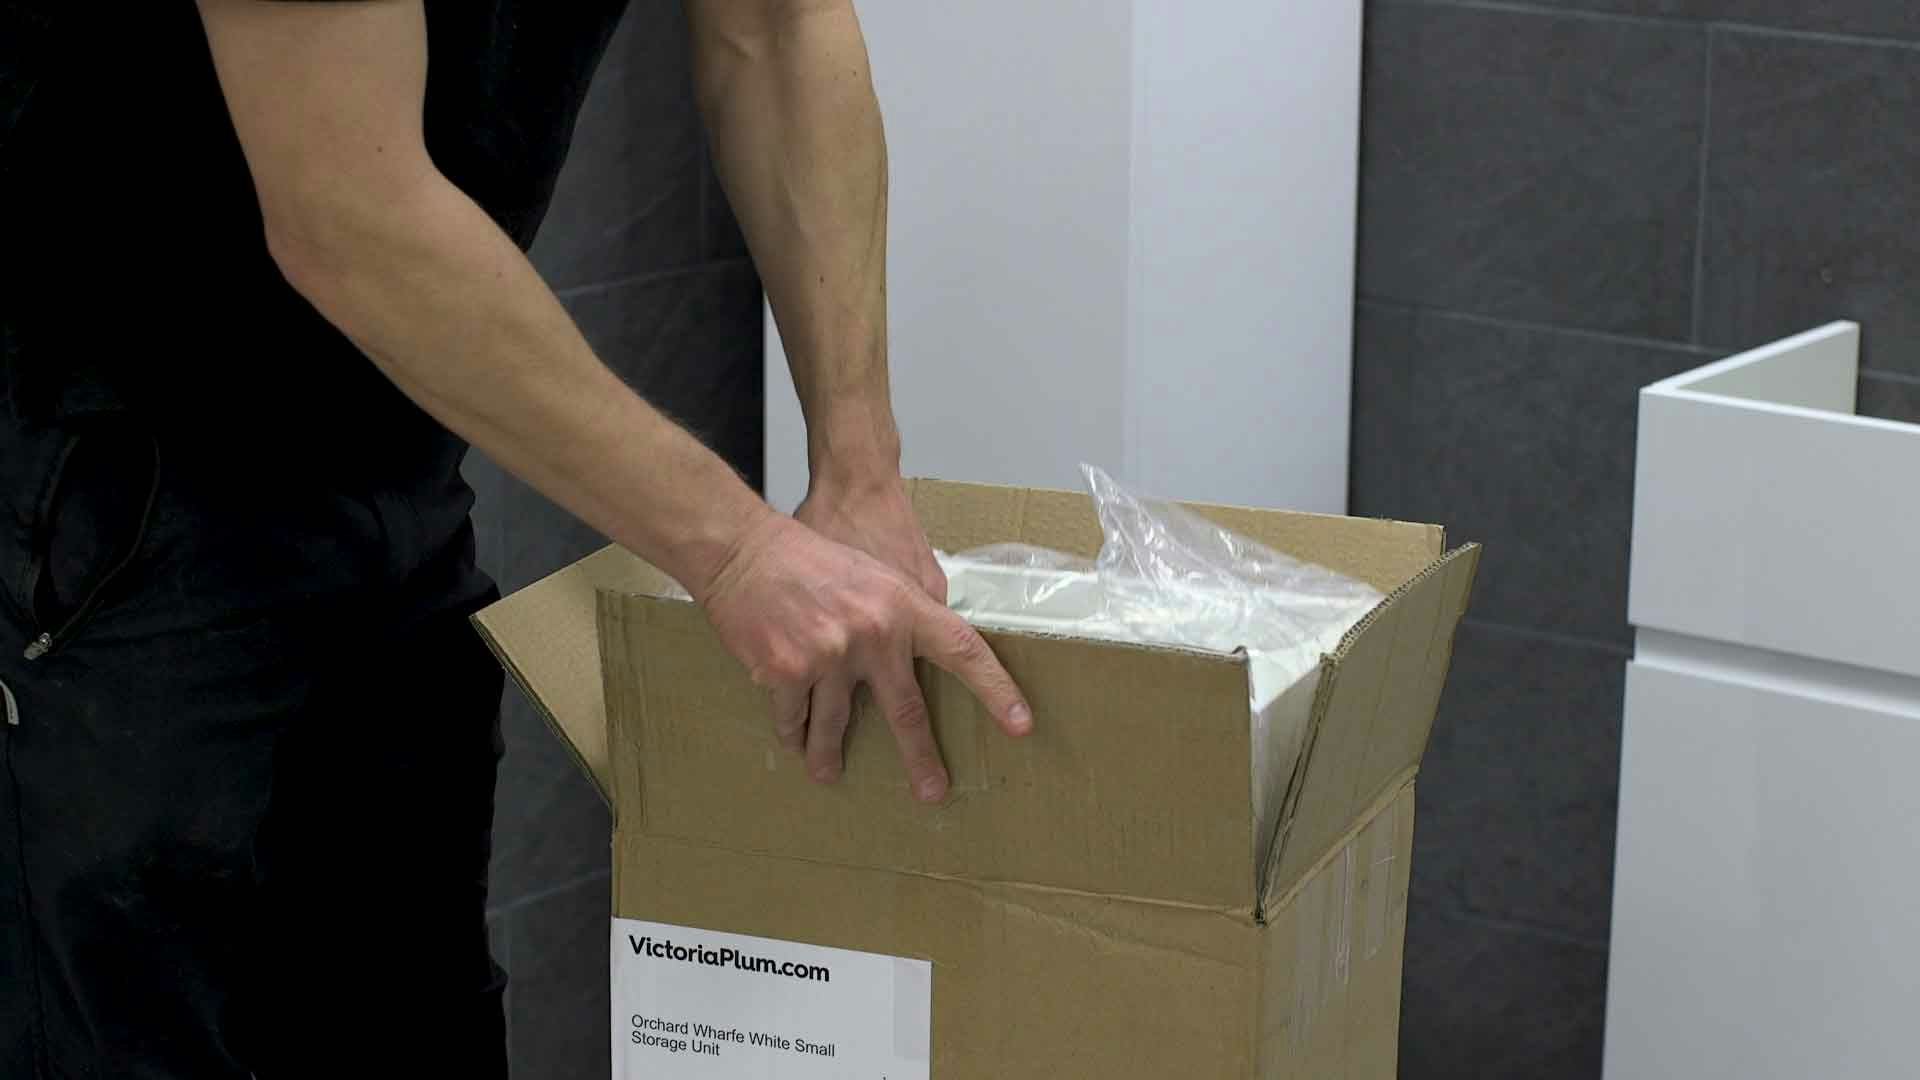
Start by unpacking all of your units and giving everything the once over.
-
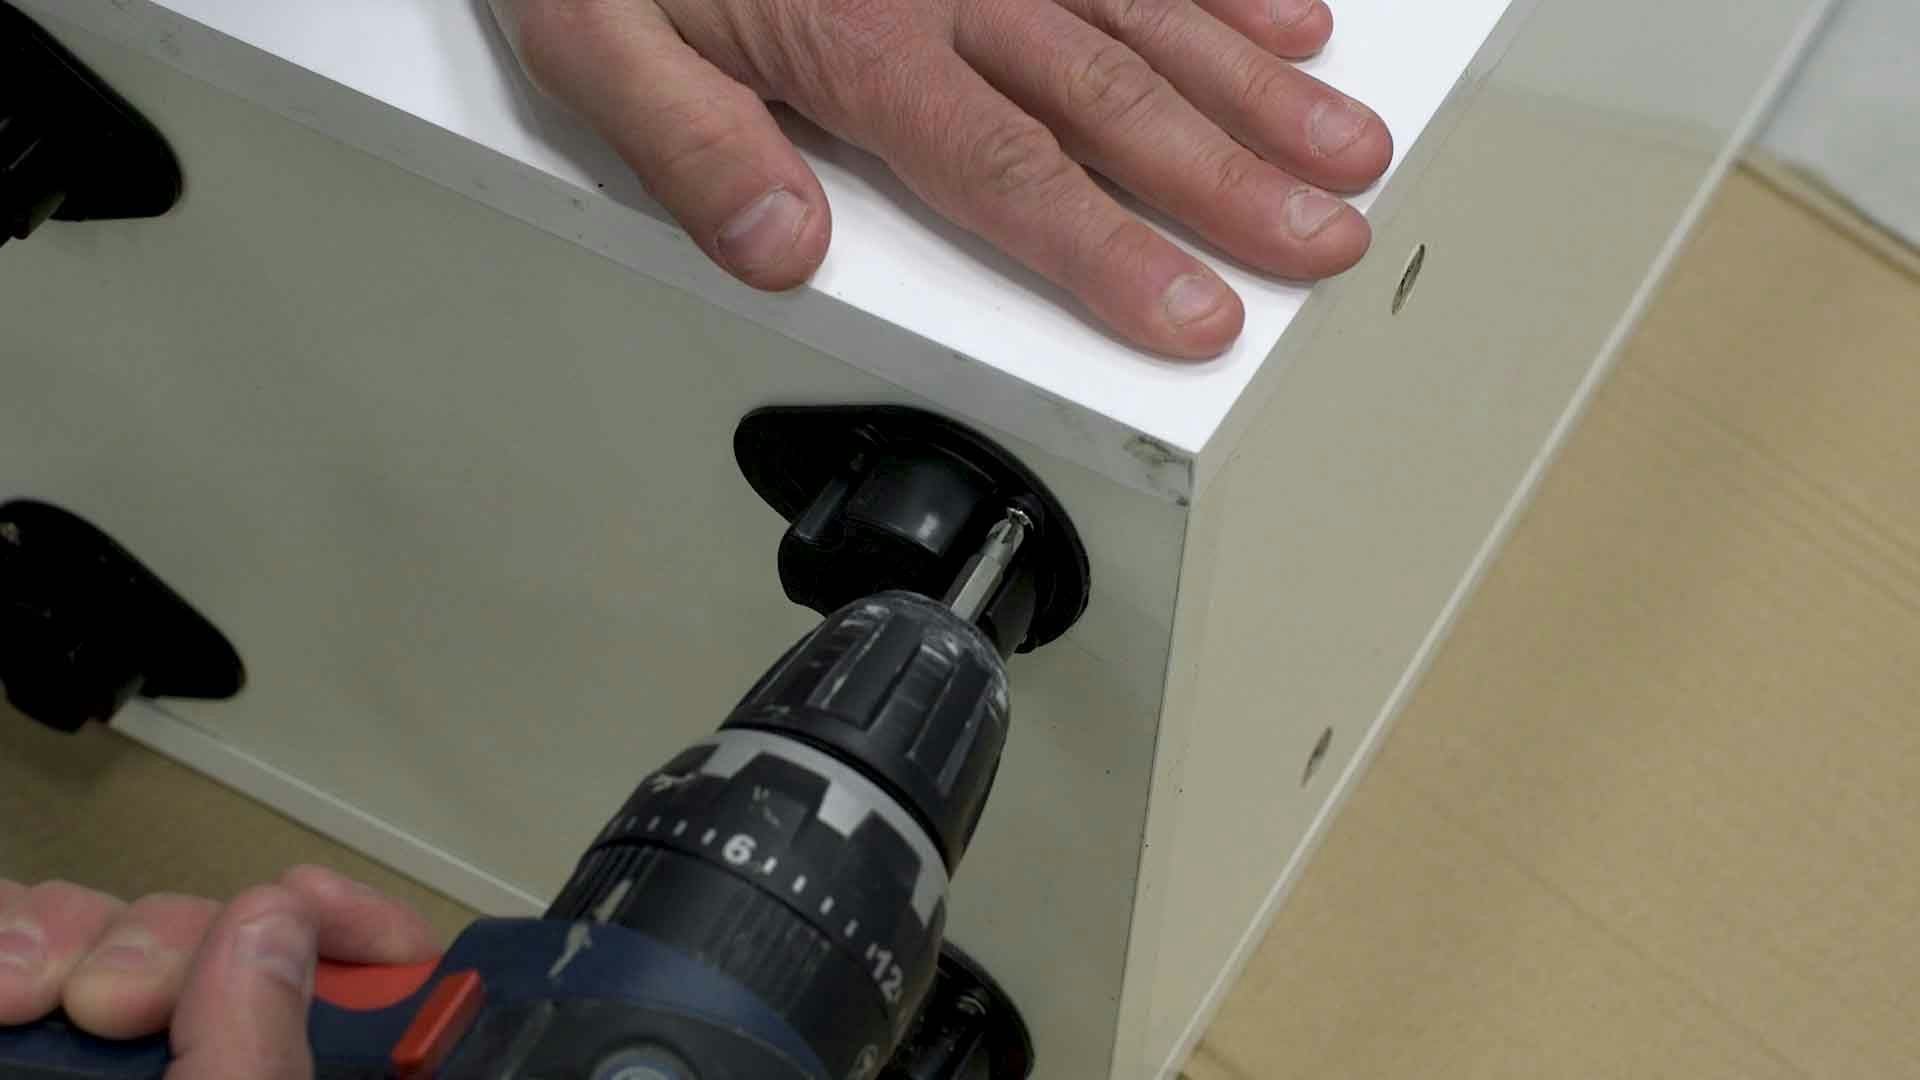
Fit the legs to each unit using the screws provided.
-
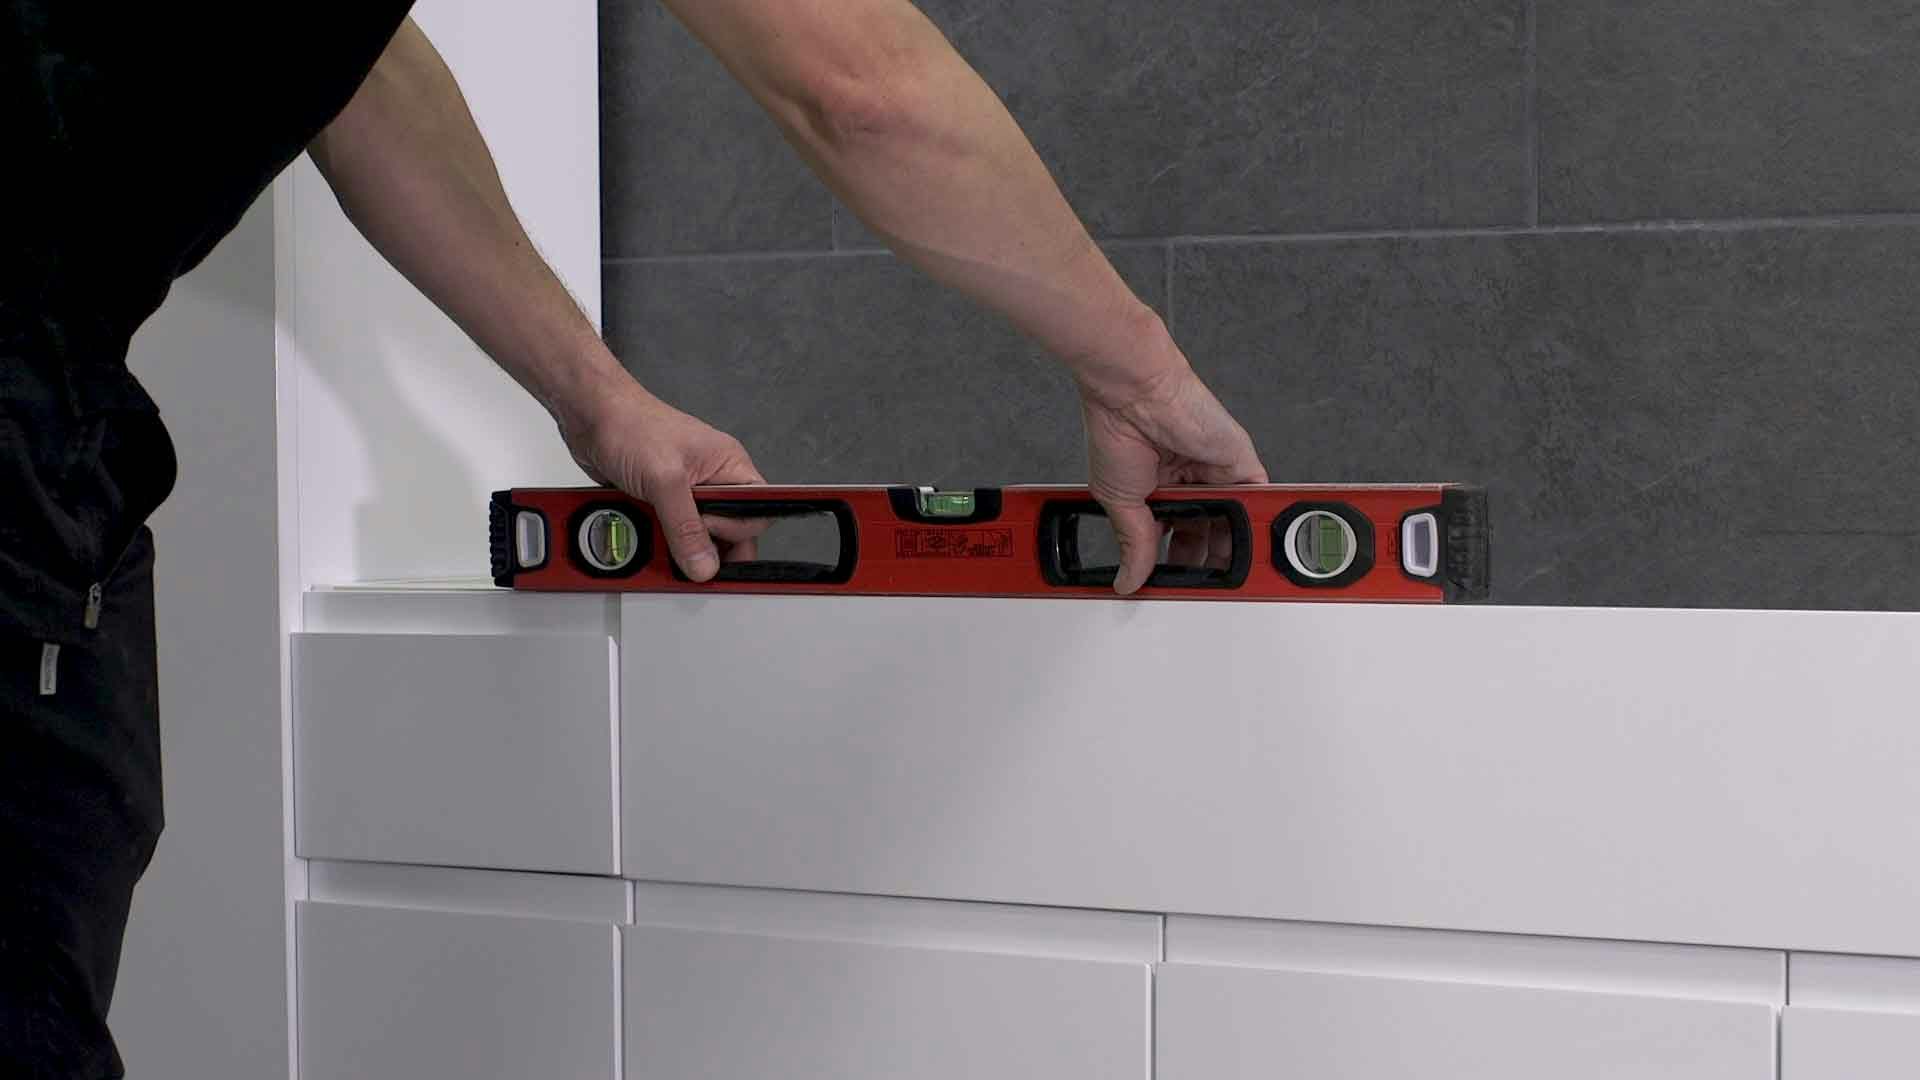
Once you've decided on the position of your units, check they're level. Adjust the legs as needed using the largest unit as a guide.
-
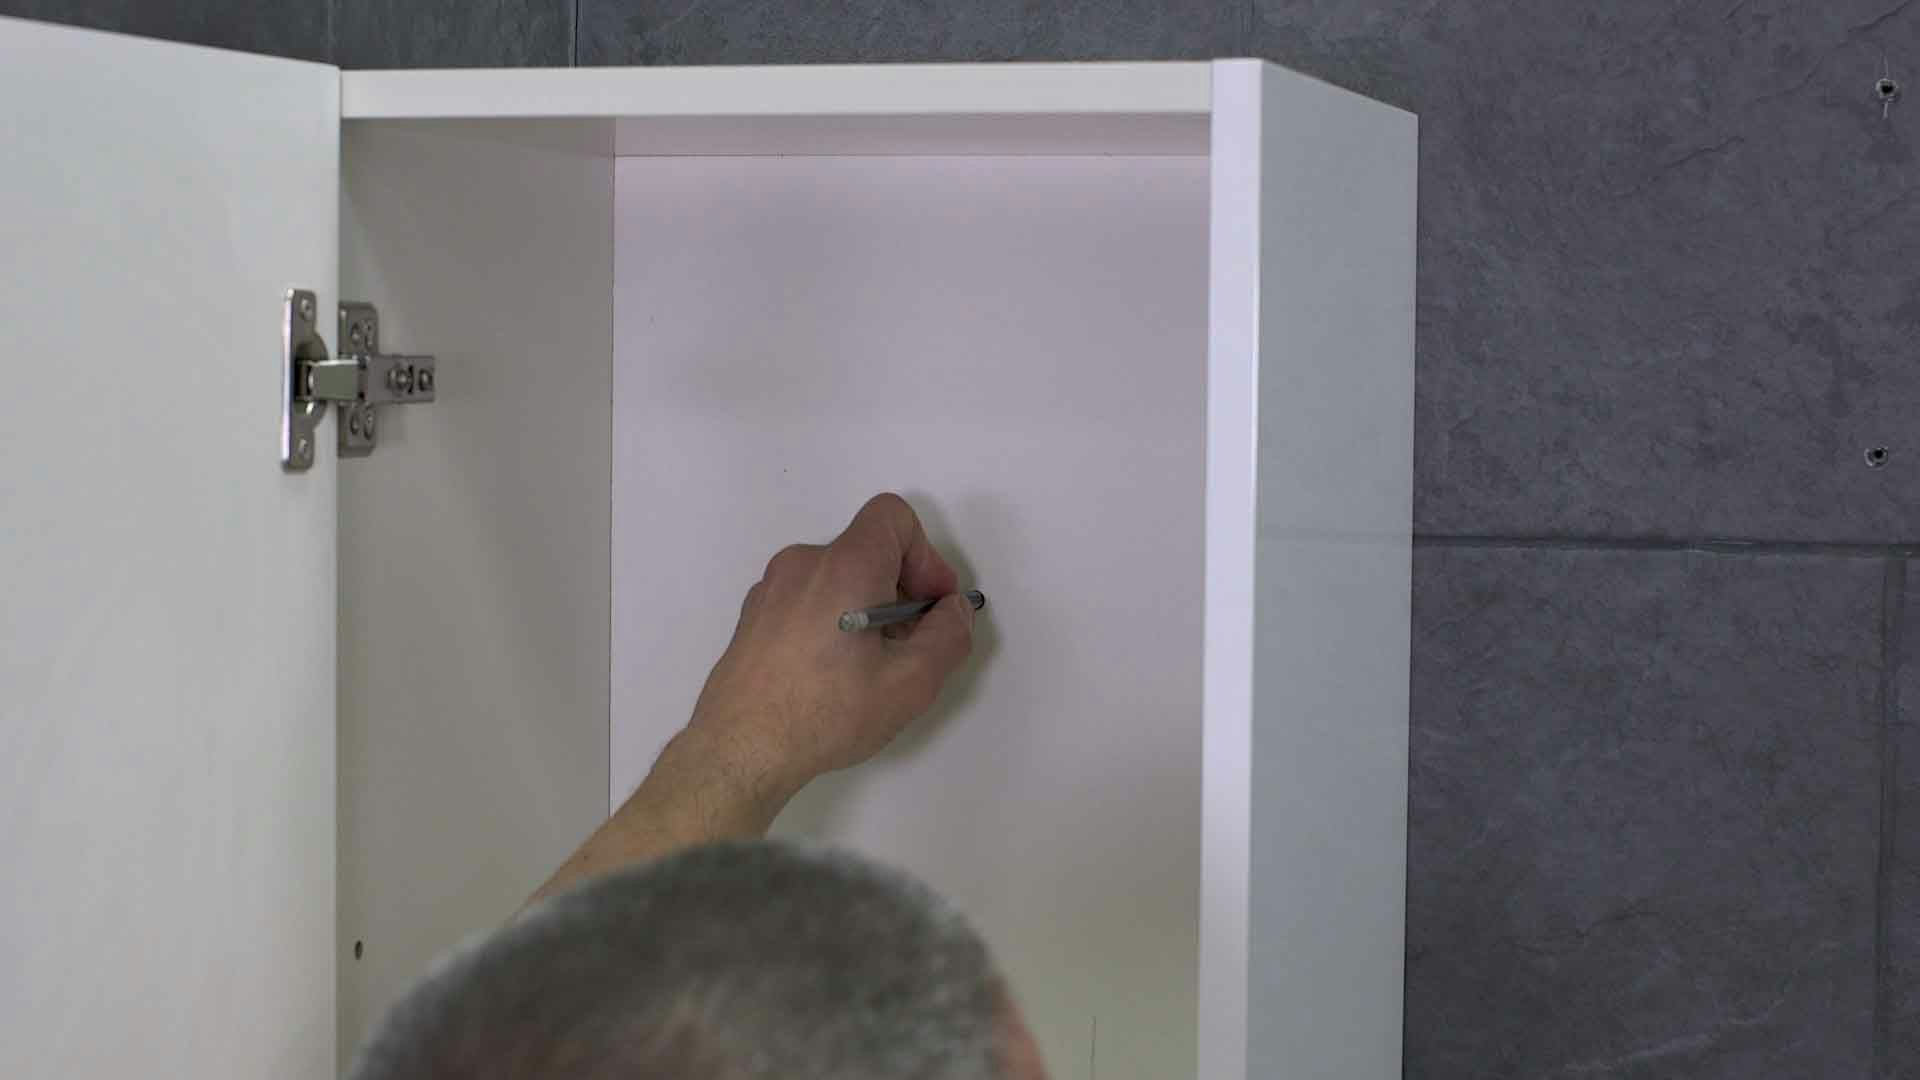
It's a good idea to fix your largest unit to the wall now. Mark the position of the holes and move it away from the wall.
-
Drill screw holes in the wall using necessary safety equipment.
-
Tap in wall plugs and place the unit back into position, screwing it into place.
-
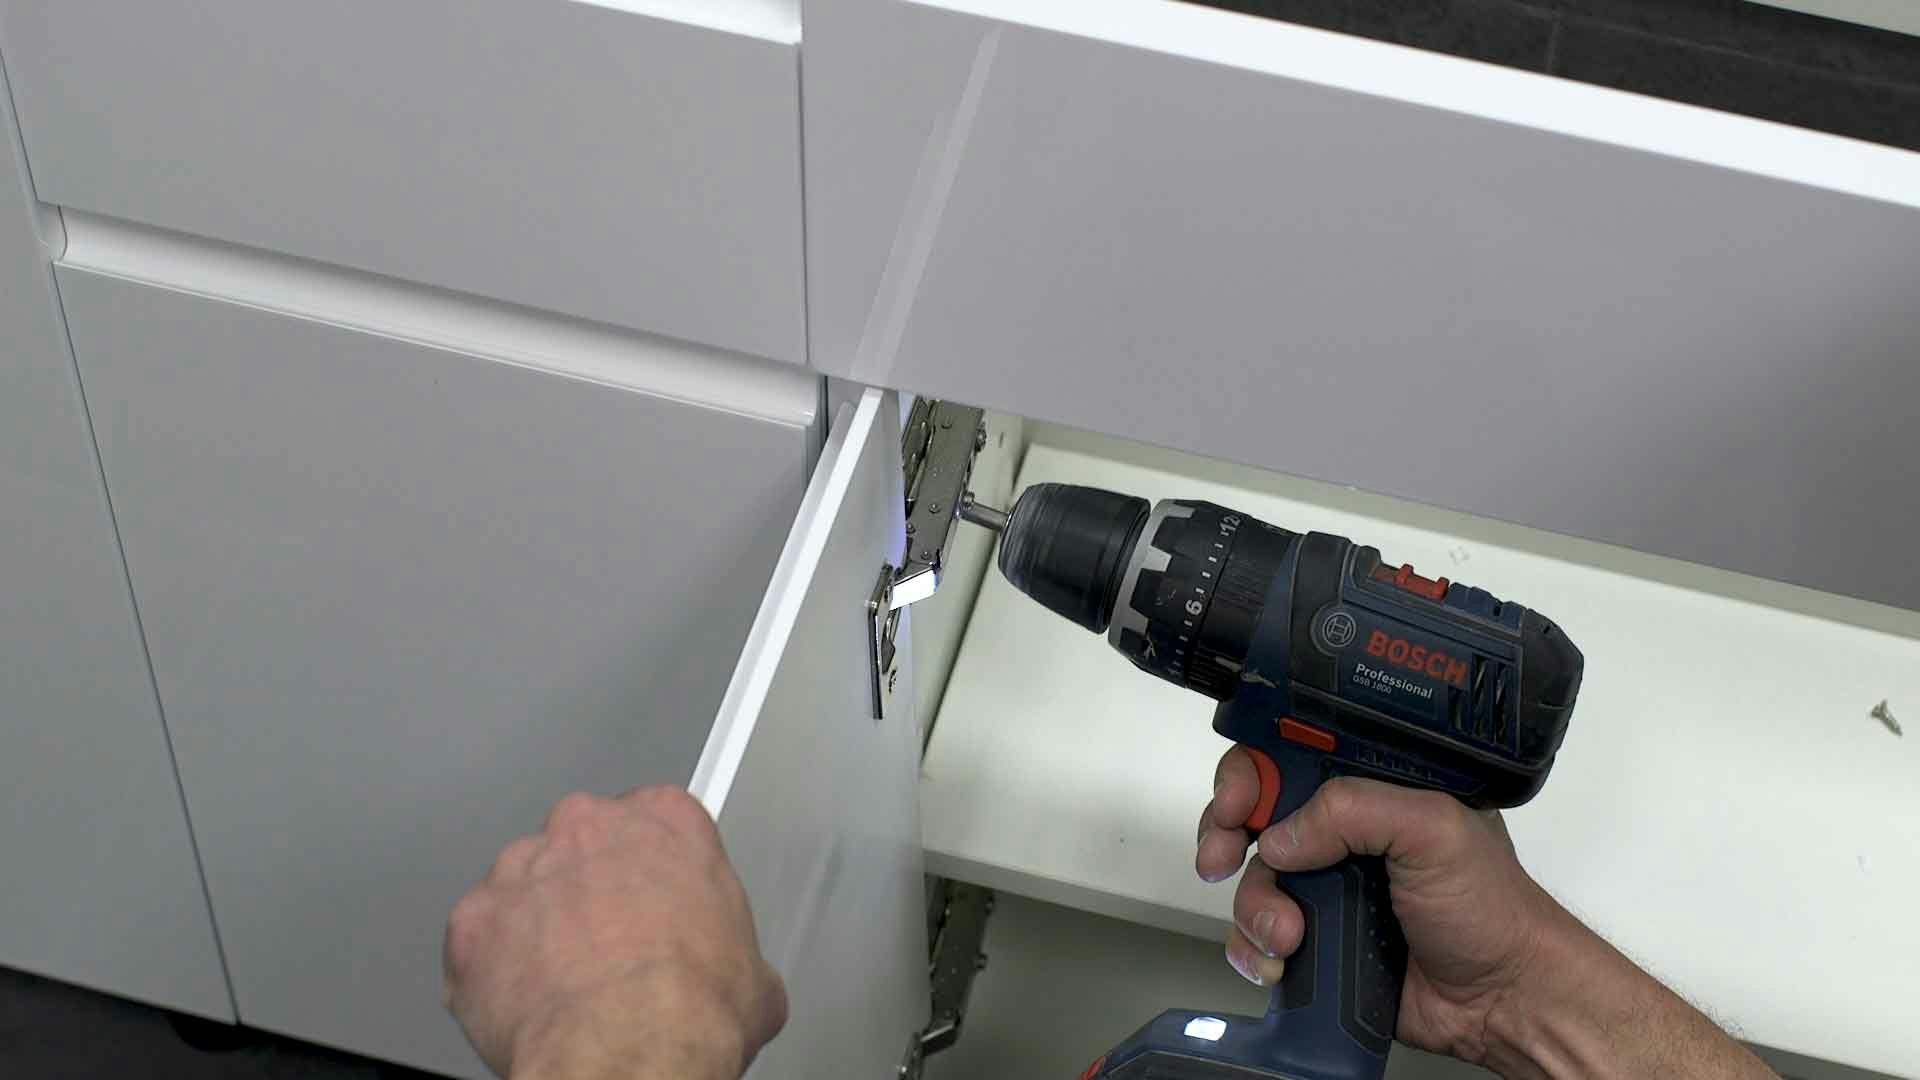
To secure the units to each other, remove doors and hinges first. This is to allow for potentially unsightly screws to be concealed.
-
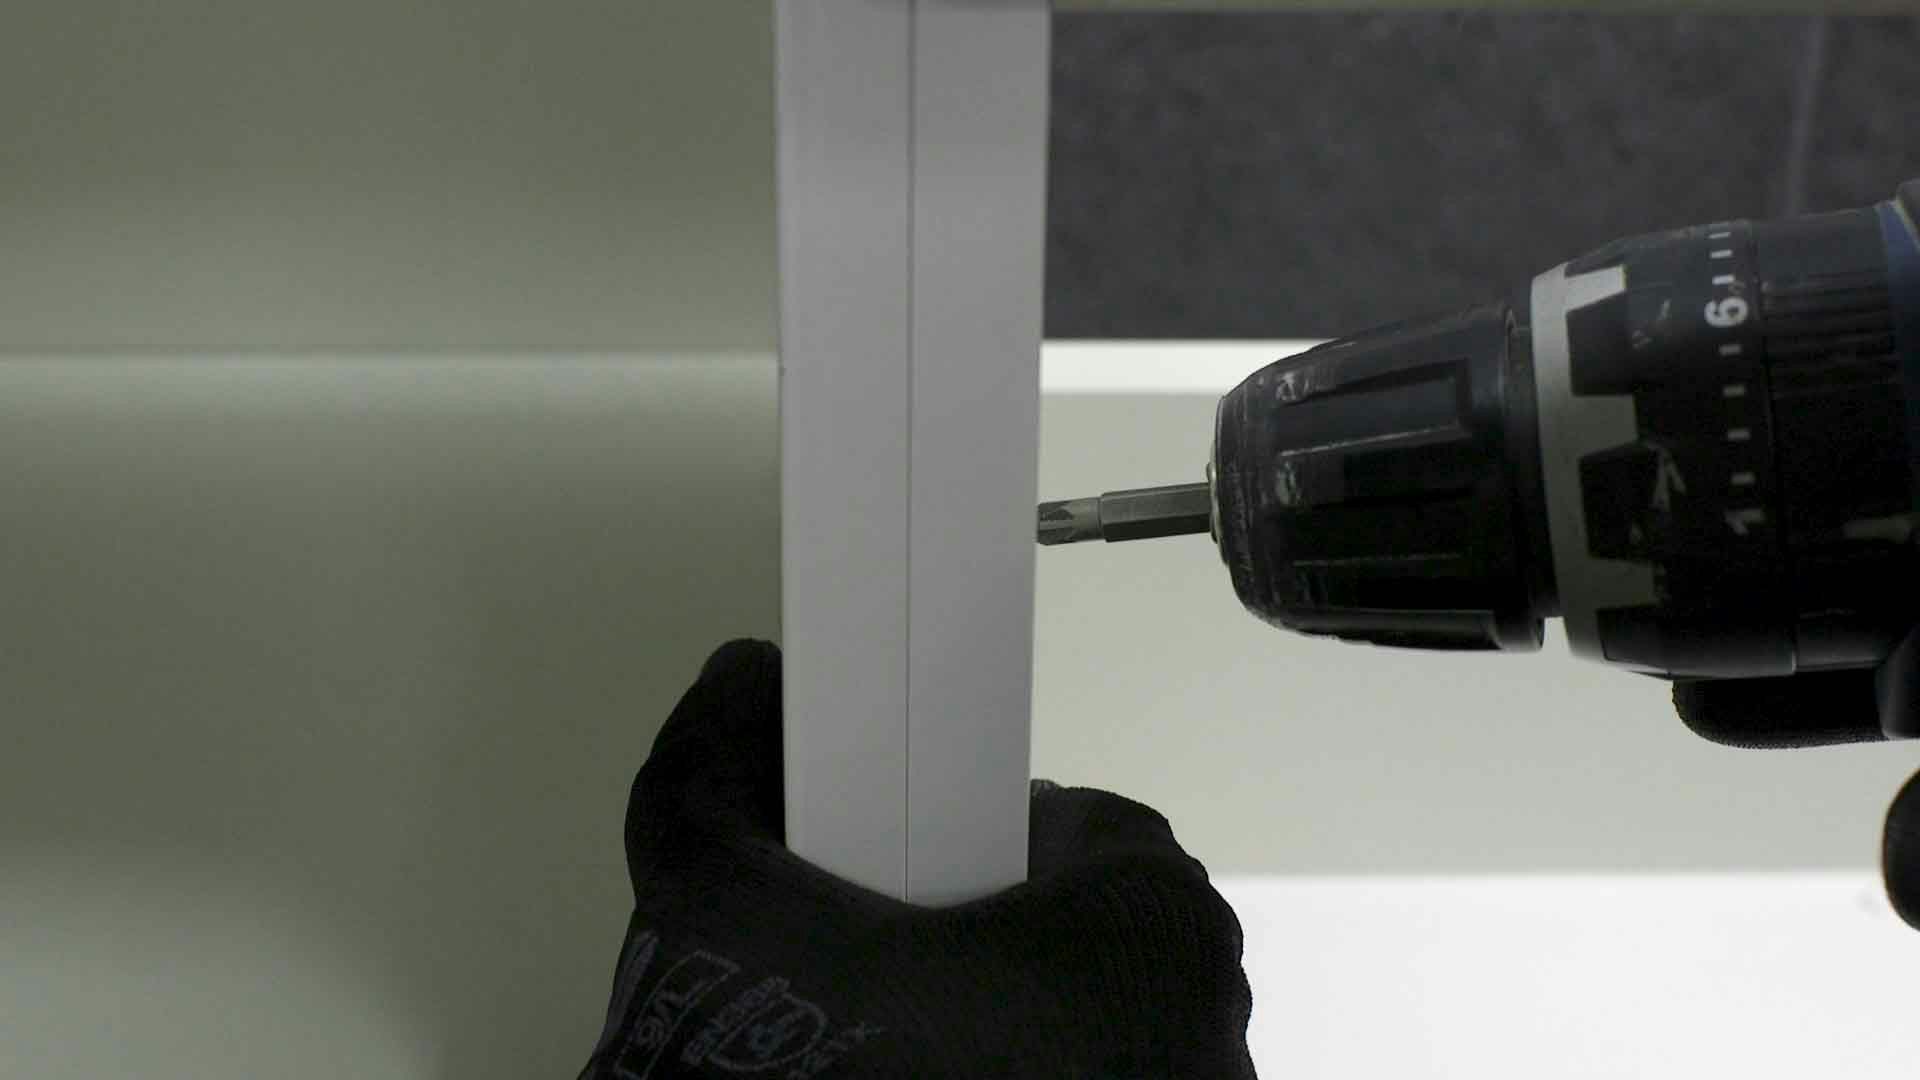
Your screws need to be less than the width of both units at the join. You can also use a clamp to help with this.
-
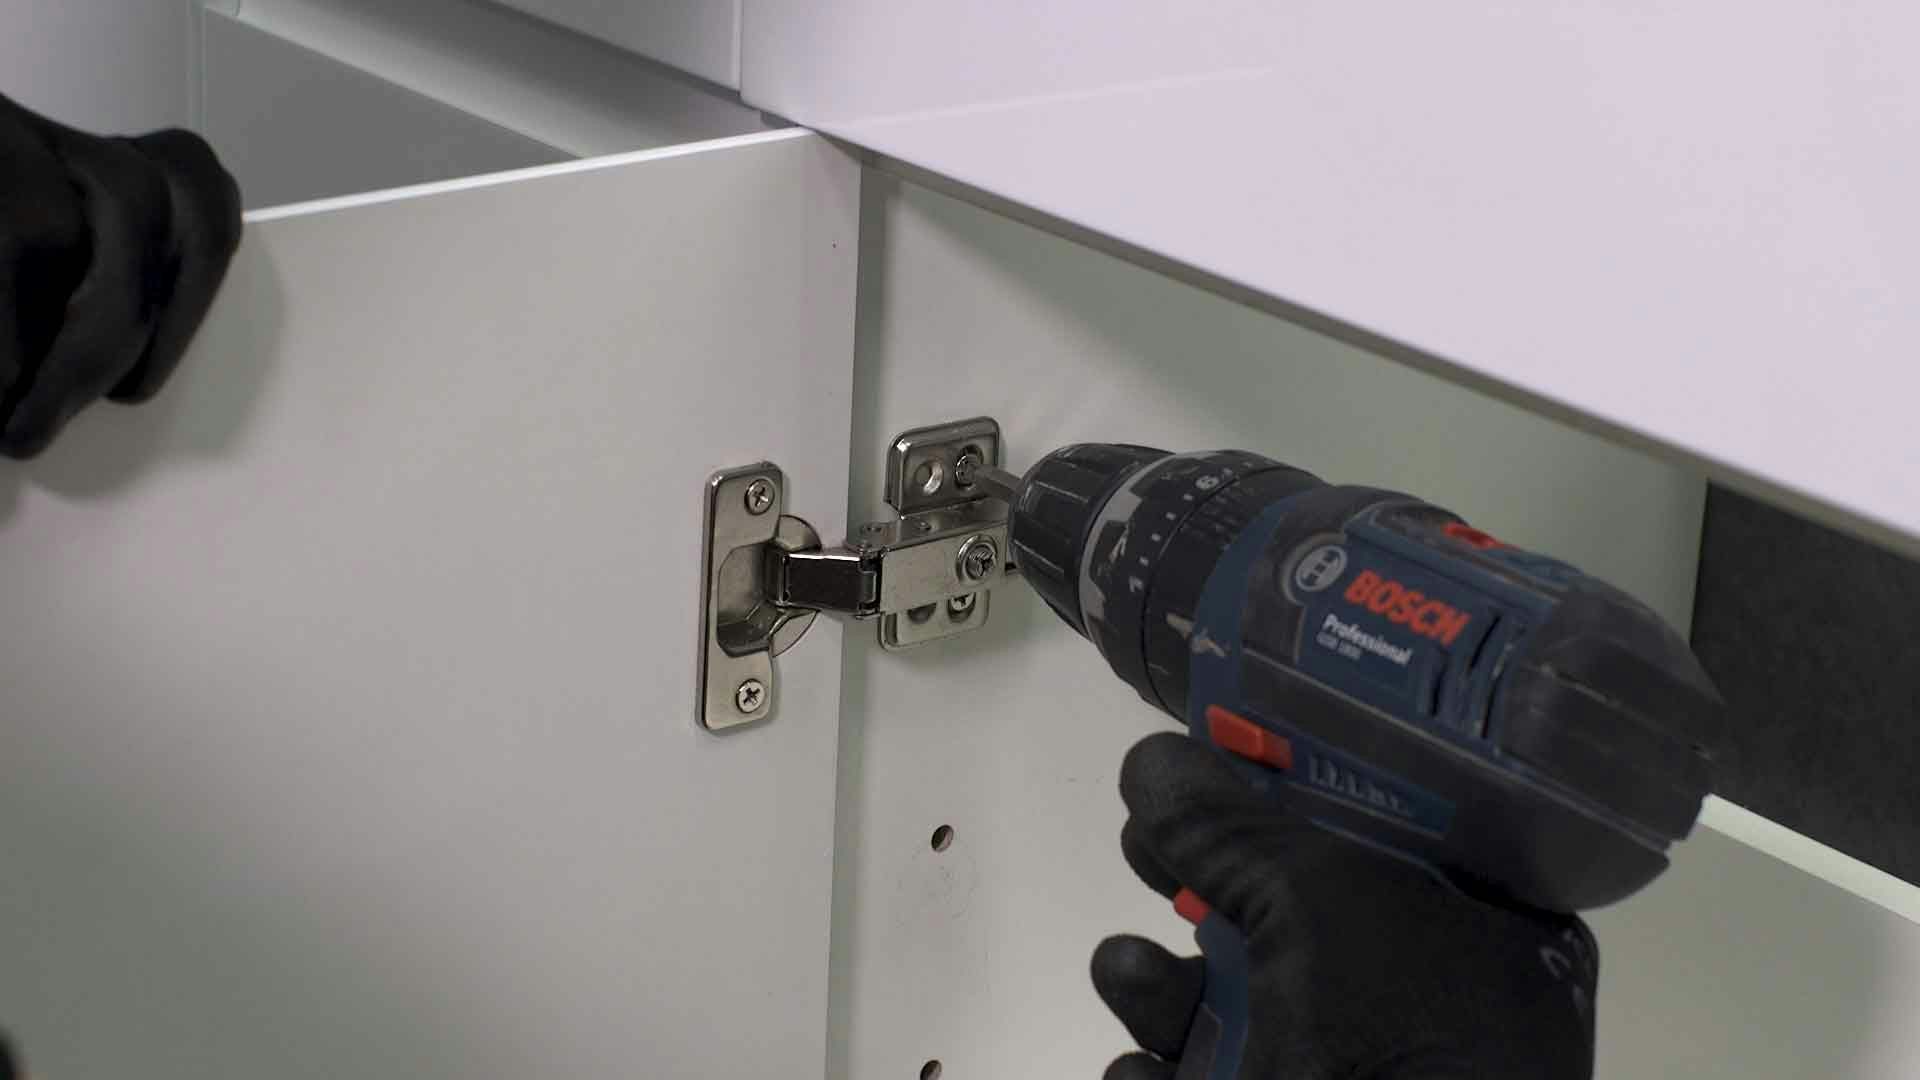
Now replace doors and hinges and ensure everything is still level.
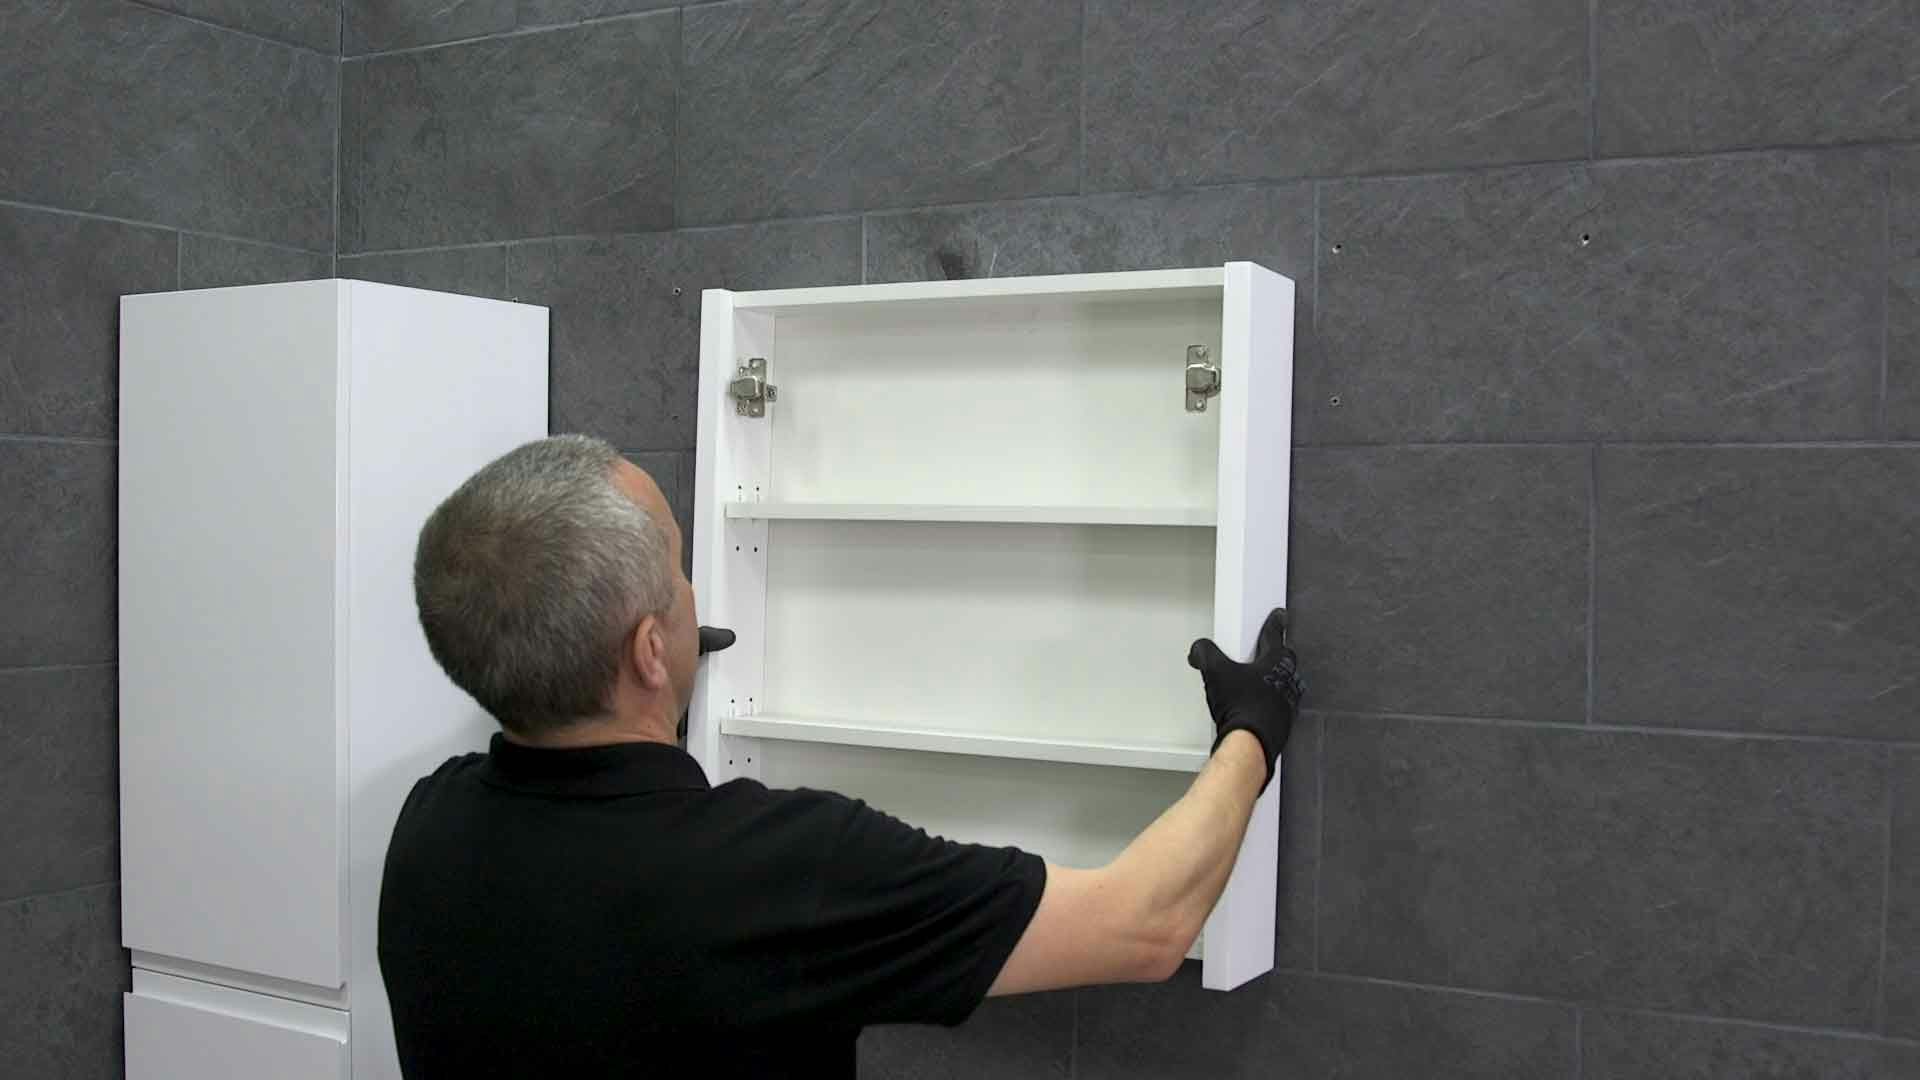
-
Fit wall hung furniture using the instructions provided.
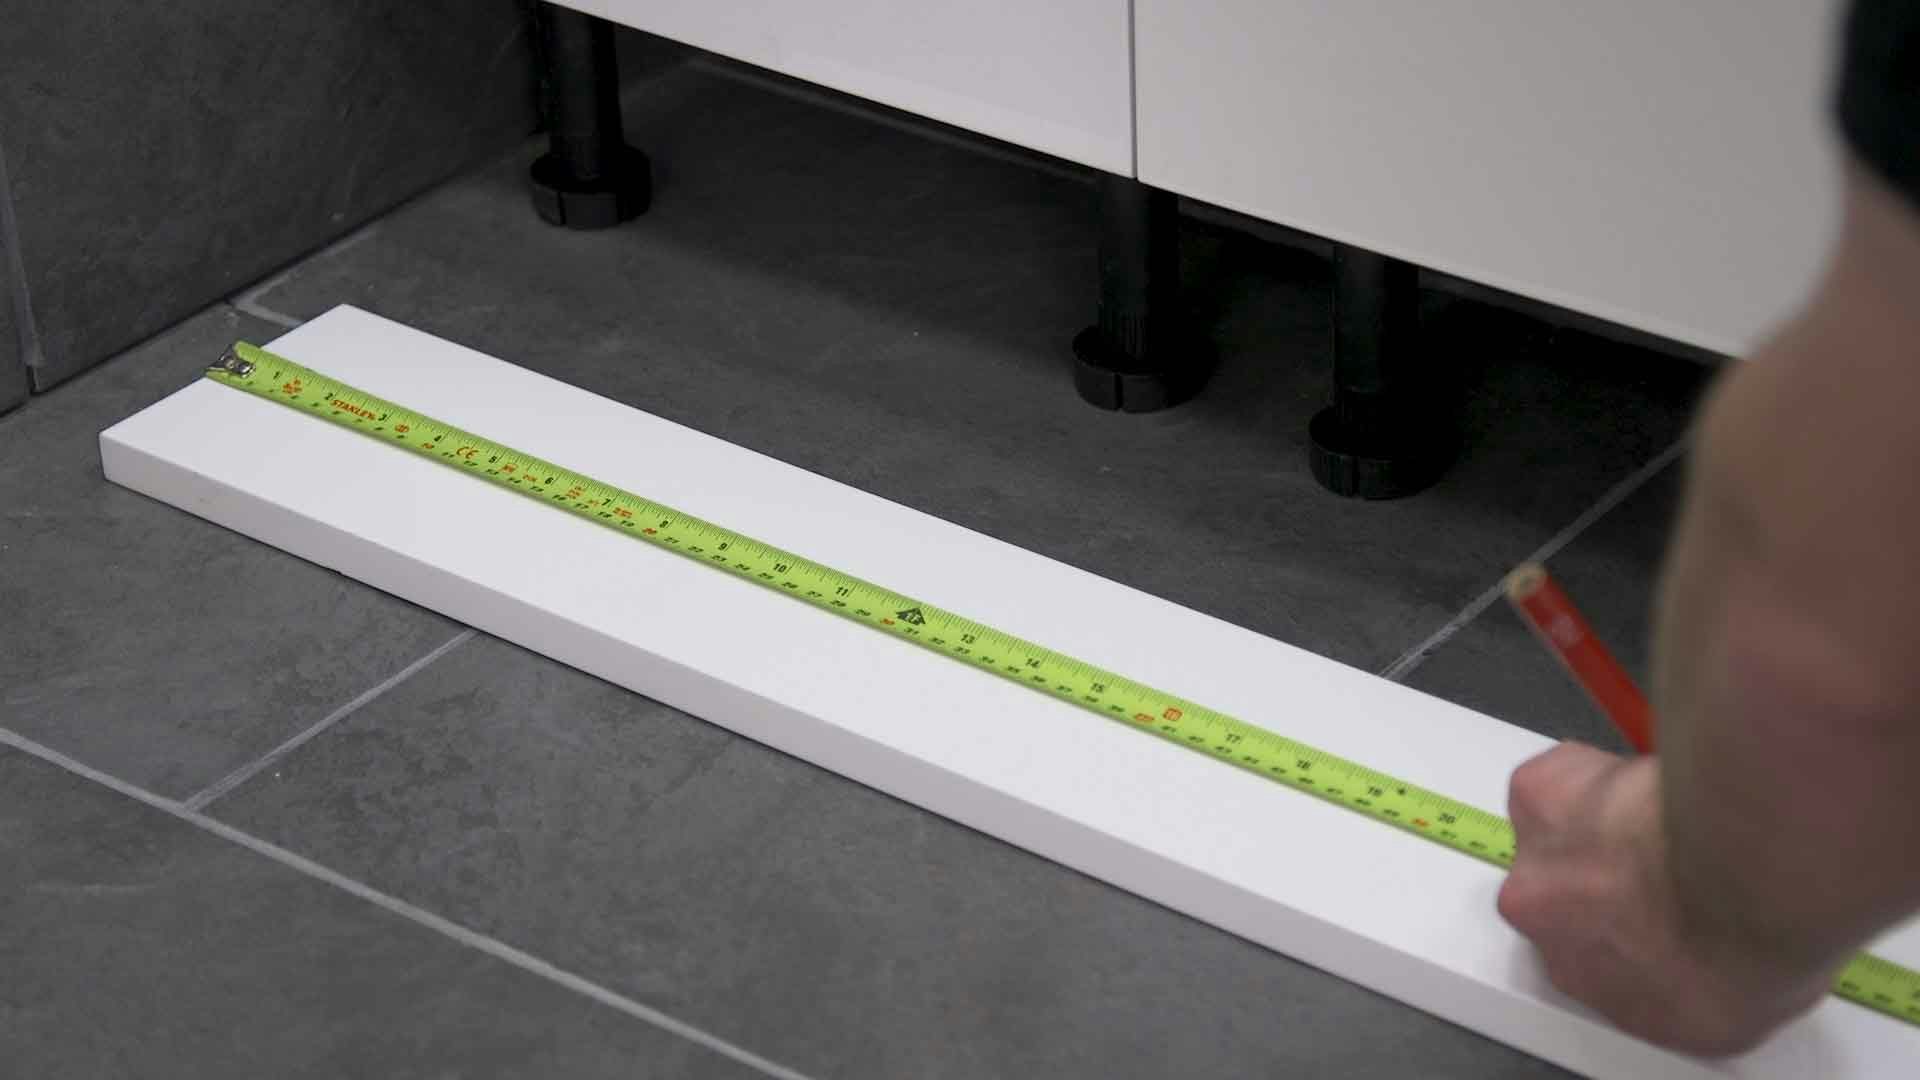
-
To fit the plinth, use a mitre saw to cut to size (a fine blade will produce a much neater cut).
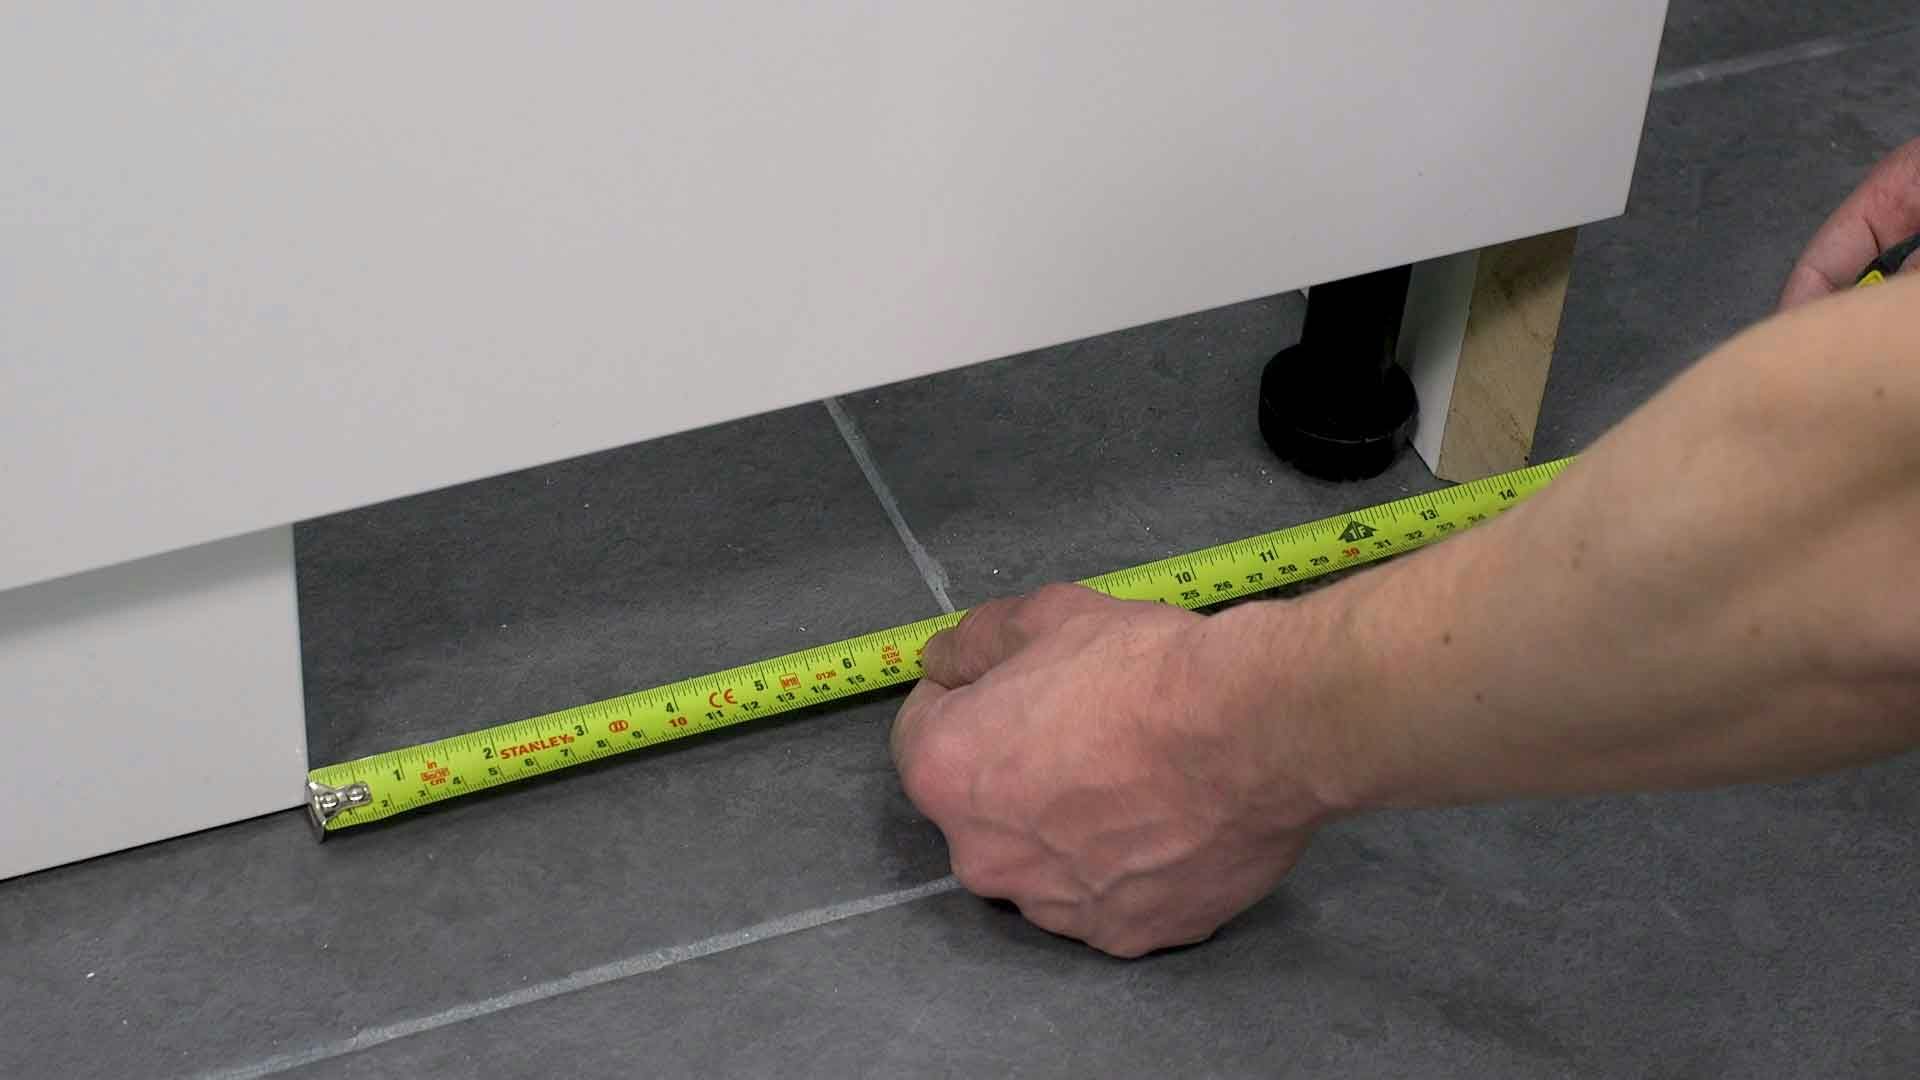
-
If your units do not reach the wall, cut extra pieces with mitre joints to cover the gaps at either side.
-
For the worktop, measure the required length and cut to size. The recessed basin will cover any joins.
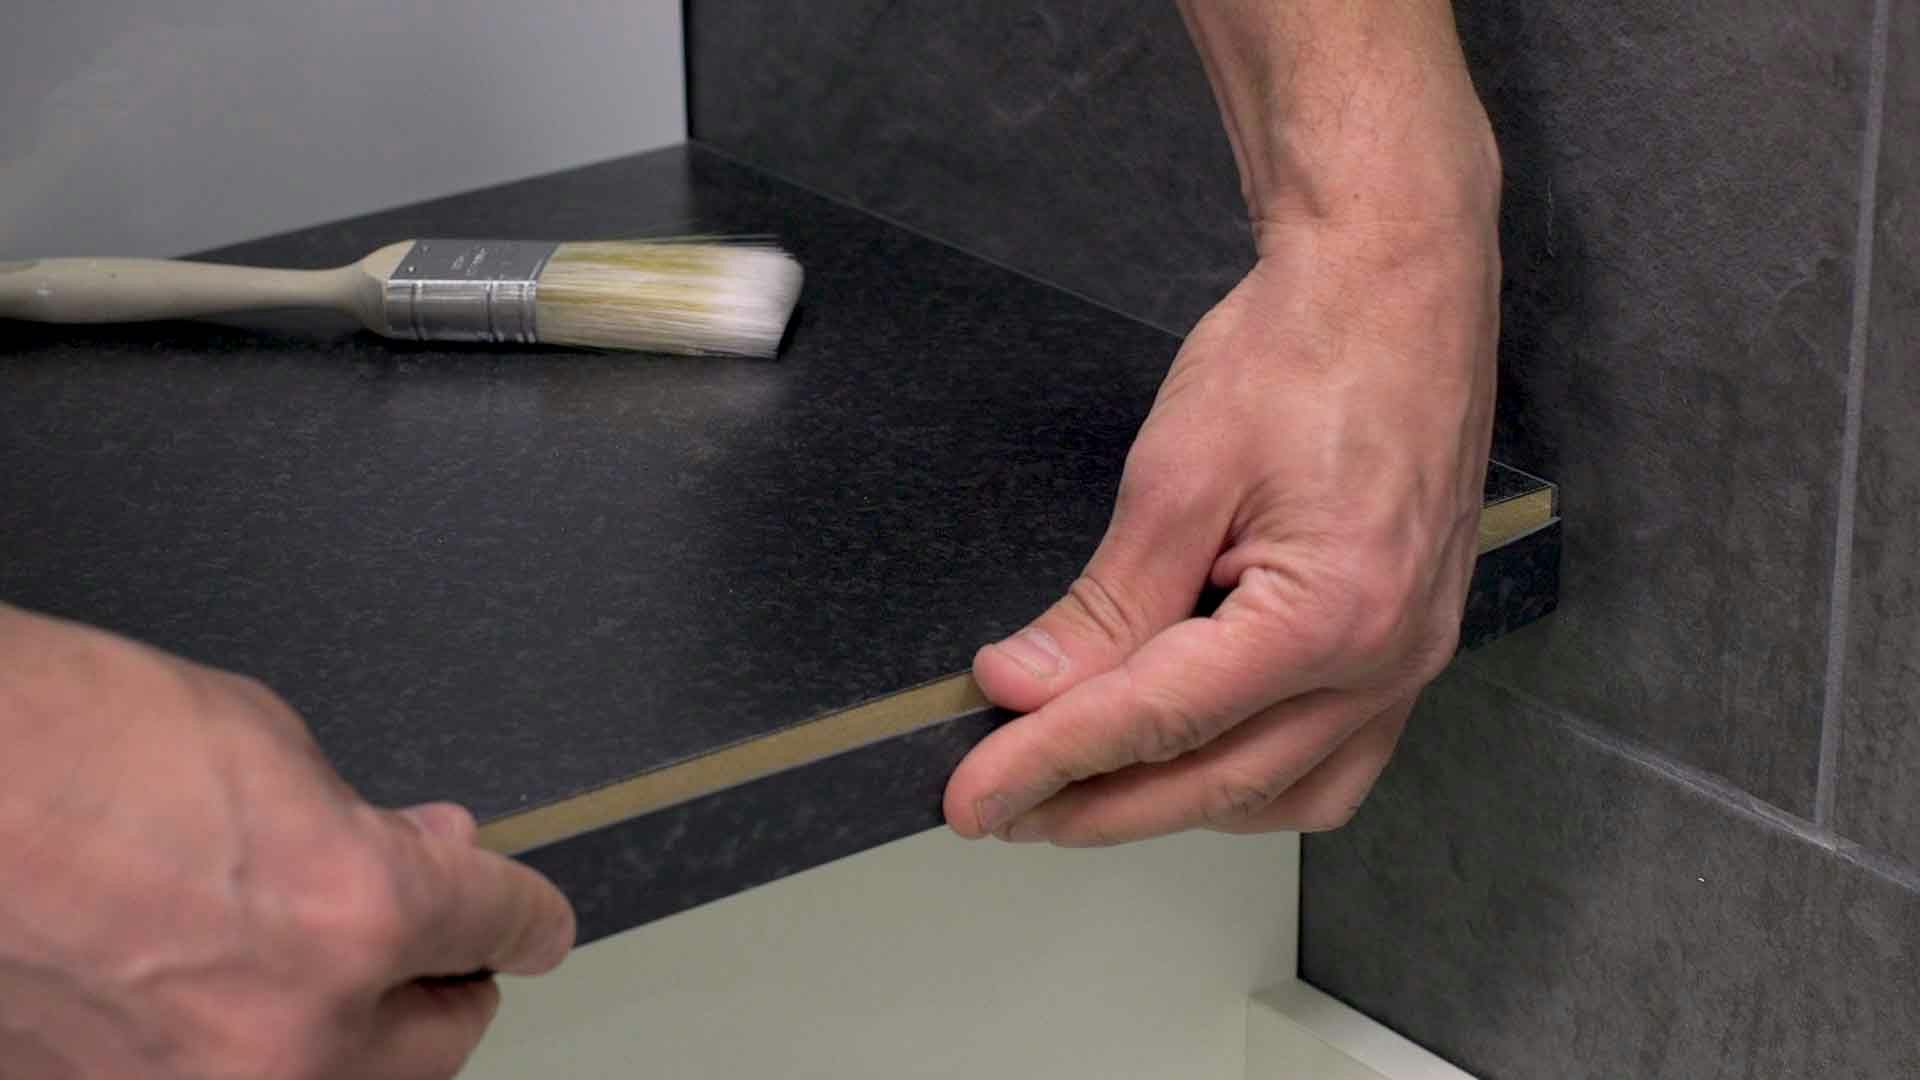
-
Remember to seal any cuts to keep out moisture.
-
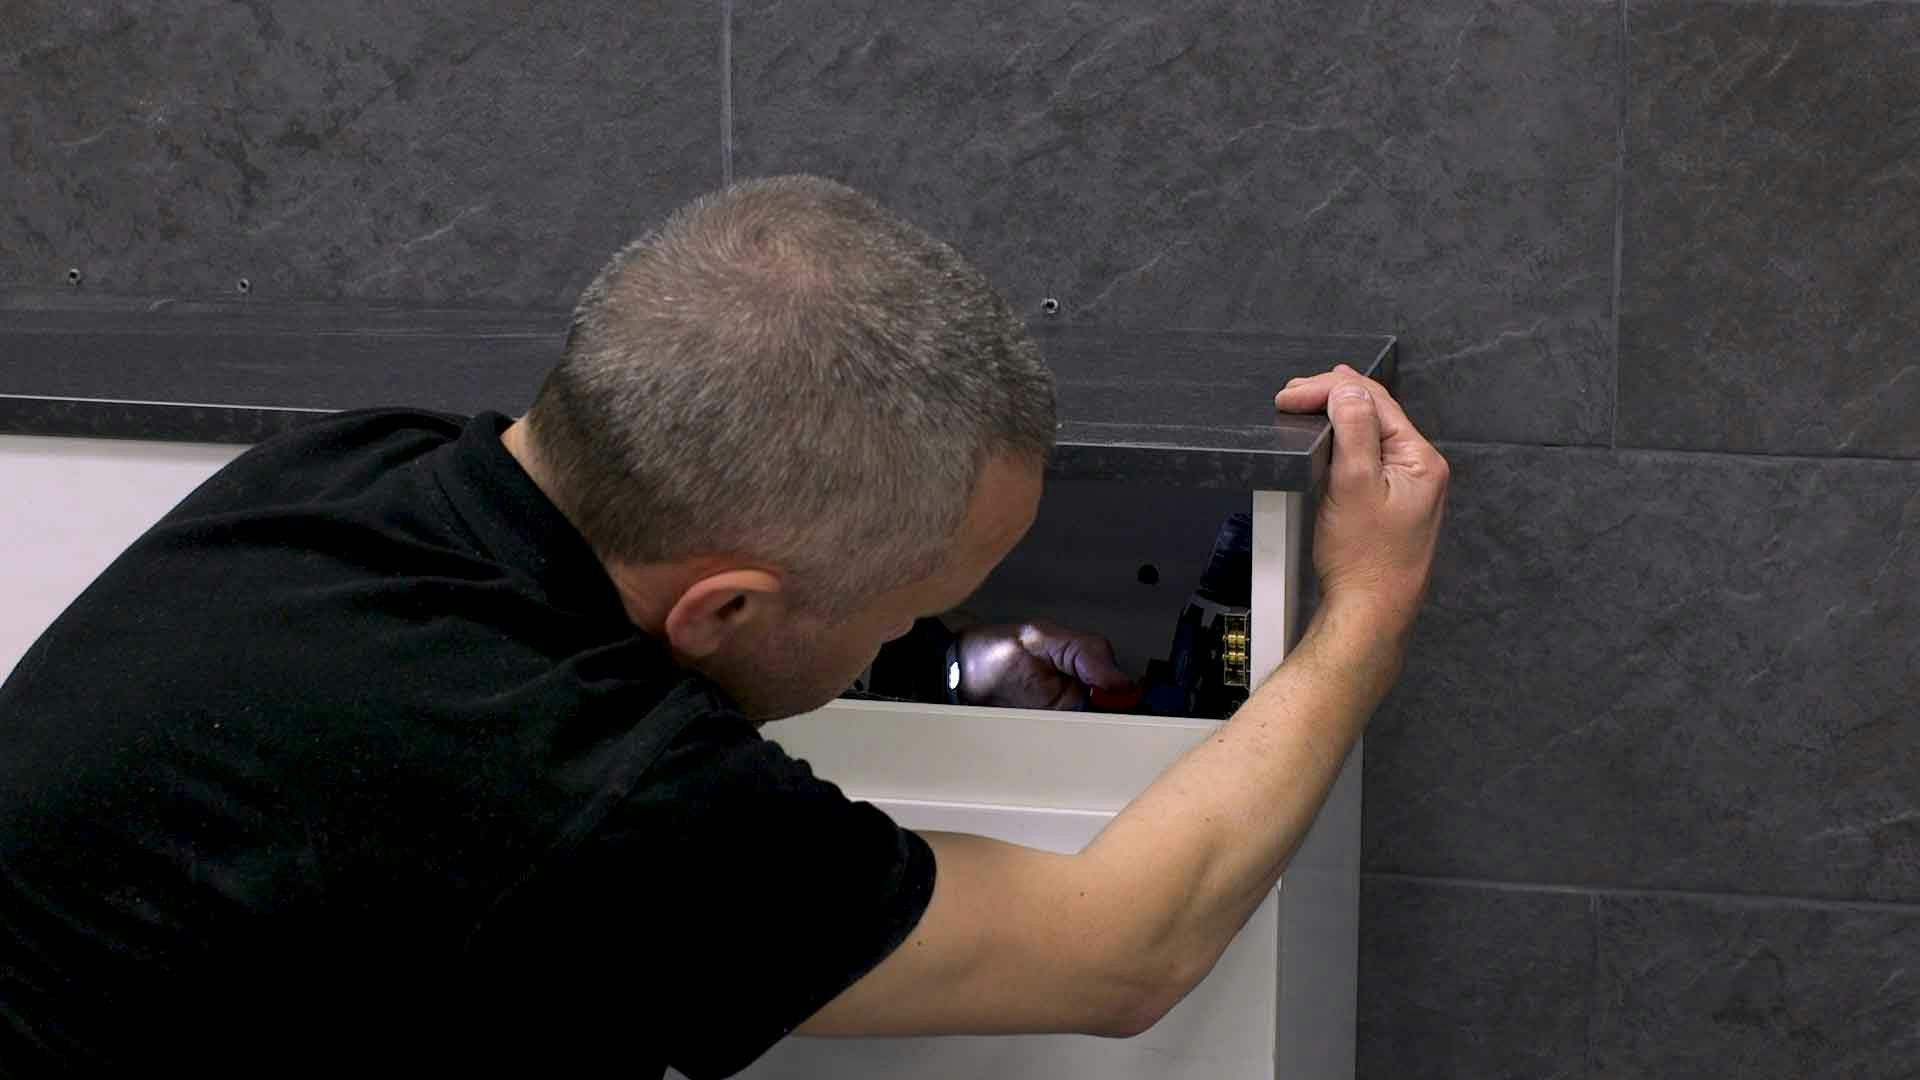
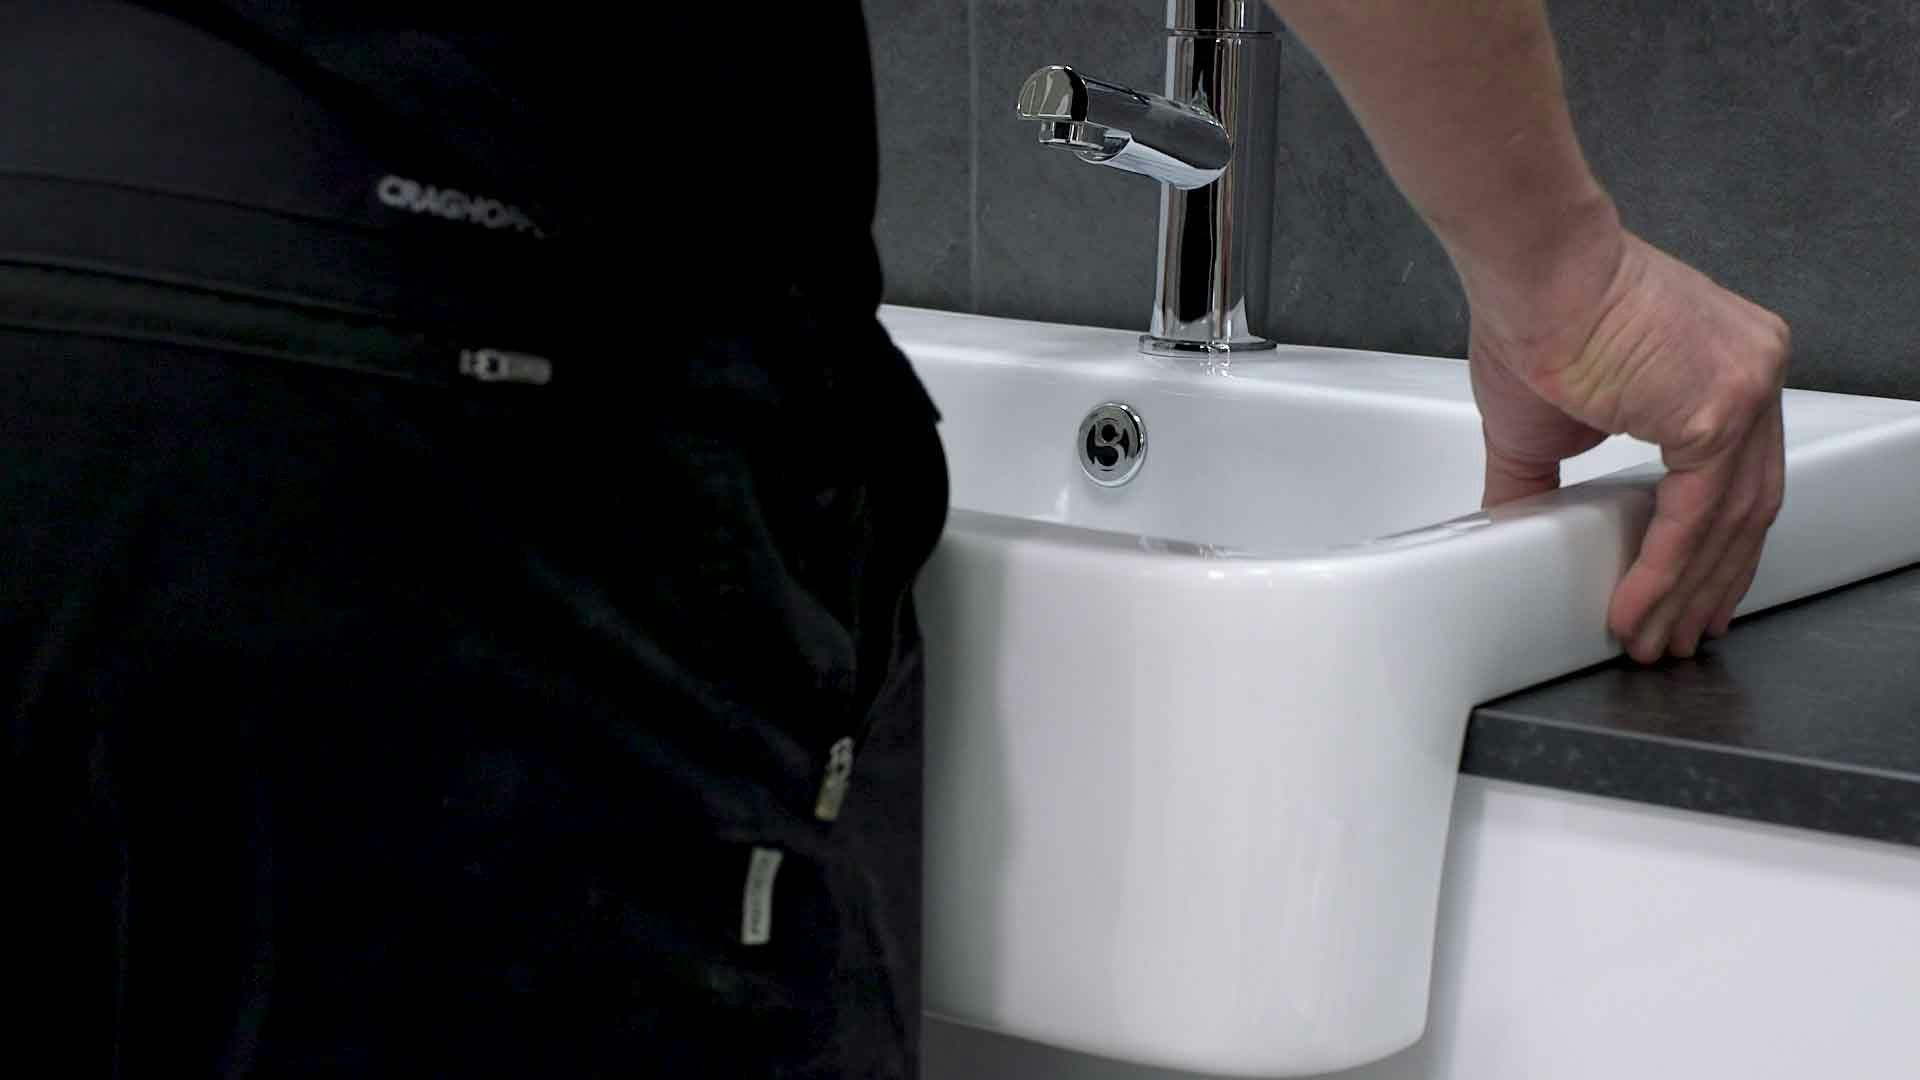
Fix the worktop in position and fit the basin.
Congratulations, you've now installed your fitted bathroom furniture.
Step by step images
Step 1
Unpacking the units.
Step 2
Fitting the legs.
Step 3
Checking the units are level.
Step 4
Fixing the largest unit to the wall.
Step 5
Removing doors and hinges.
Step 6
Securing units to each other.
Step 7
Replacing doors and hinges.
Step 8
Fitting wall hung furniture.
Step 9
Fitting the plinth.
Step 10
Cutting the worktop to size using a mitre saw.
Step 11
Sealing cuts to keep out moisture.
Step 12
Fitting worktop in position.
Step 13
Fitting the basin.
Expert bathroom advice and inspiration
However confident you are with DIY, you’ll find loads of handy bathroom advice right here at VictoriaPlum.com, to help you with your project.
Click on any of the links below to research a specific topic:
- Fitted furniture buying guide
- How to apply sealant
- How to fit a wooden bath panel in 9 easy steps
- How to fit an acrylic bath panel in 7 easy steps
If you’re still in need of ideas for your new bathroom, why not check out some of the blog posts below:

