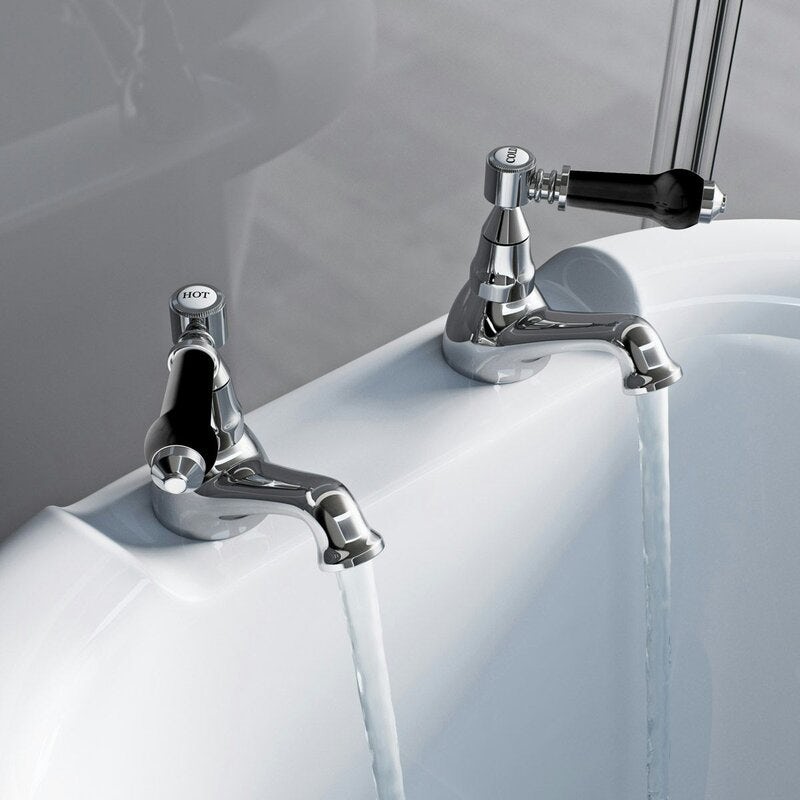
Fitting the taps to your new bath is certainly something you can do yourself, however, we would recommend leaving the plumbing to a qualified professional. In this expert guide, we’ll show you how with step-by-step instructions and video.
First things first, you will need to identify which type of bath tap you have. They mainly fall into 2 broad categories:
- Pillar taps—2 separate taps for hot and cold water
- Mixer taps—1 tap which combines both hot and cold water. These sometimes include a shower fixture too, known as a bath shower mixer tap.
There are other, less common bath tap options available, including freestanding taps, wall mounted taps and valve-operated bath fillers. If you’re unsure which tap you have, check out our bath tap buying guide.
You can find fitting instructions for other bathroom products by clicking the links below:
- How to fit a bath mixer tap
- How to fit a bath
- How to fit an acrylic bath panel
- How to fit a wooden bath panel
For the purposes of this how-to guide, we’ll be looking at fitting bath pillar taps, however, the instructions can be used to fit a bath mixer tap too.
What are bath pillar taps?
A pillar tap is a single tap that supplies either hot or cold water. Pillar taps usually come as a pair.
Bath pillar taps are larger than basin pillar taps as they are required to deliver a very large volume of water quickly, in order to fill up your bath.
Before you do anything
Always unpack your taps immediately after delivery. Check for any damage or faults as it’s better to find them now, rather than during installation.
Always turn off your water at the mains before attempting any DIY in the bathroom.
Tools you’ll need:
- Standard spanner set
- Tape measure
- Tap spanner
Check you have the following:
Usually supplied with tap:
- 2 x rubber washers
- 2 x nuts
Will need to buy separately:
- Flexible tap tails (if required)
Time to complete:
- 30 minutes
How much will a Tradesperson typically charge?
£100–£110 (price may vary—find out more about bathroom fitting costs)
Fitting your bath pillar taps
At Victoria Plum, you’ll find our bath pillar taps are manufactured to the highest standards, with chrome plated brass for both durability and a beautiful finish. All our taps come with ceramic disc technology which helps eliminate drips.
The following video and instructions are for fitting pillar taps to a straight bath:
Here is how to fit bath taps
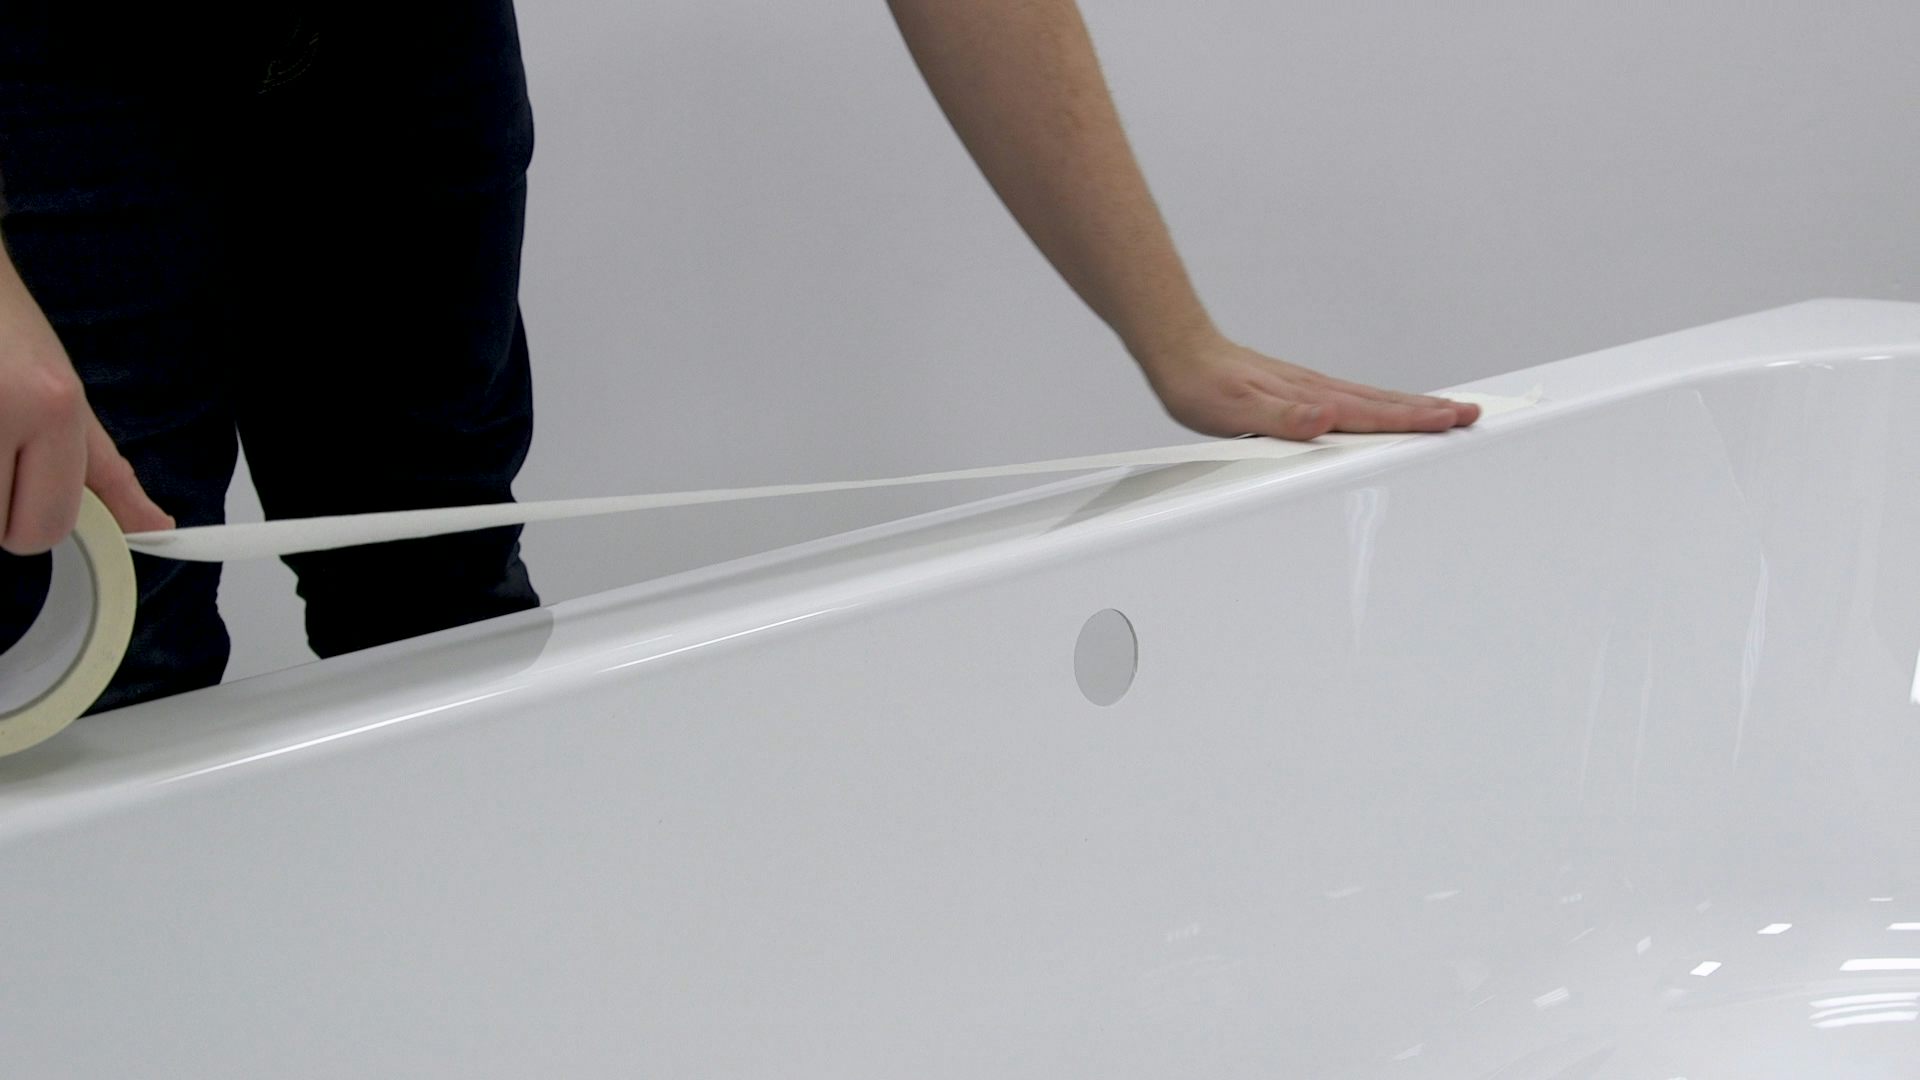
Step 1
Start by laying down a strip of masking tape along the tap end of your bath.
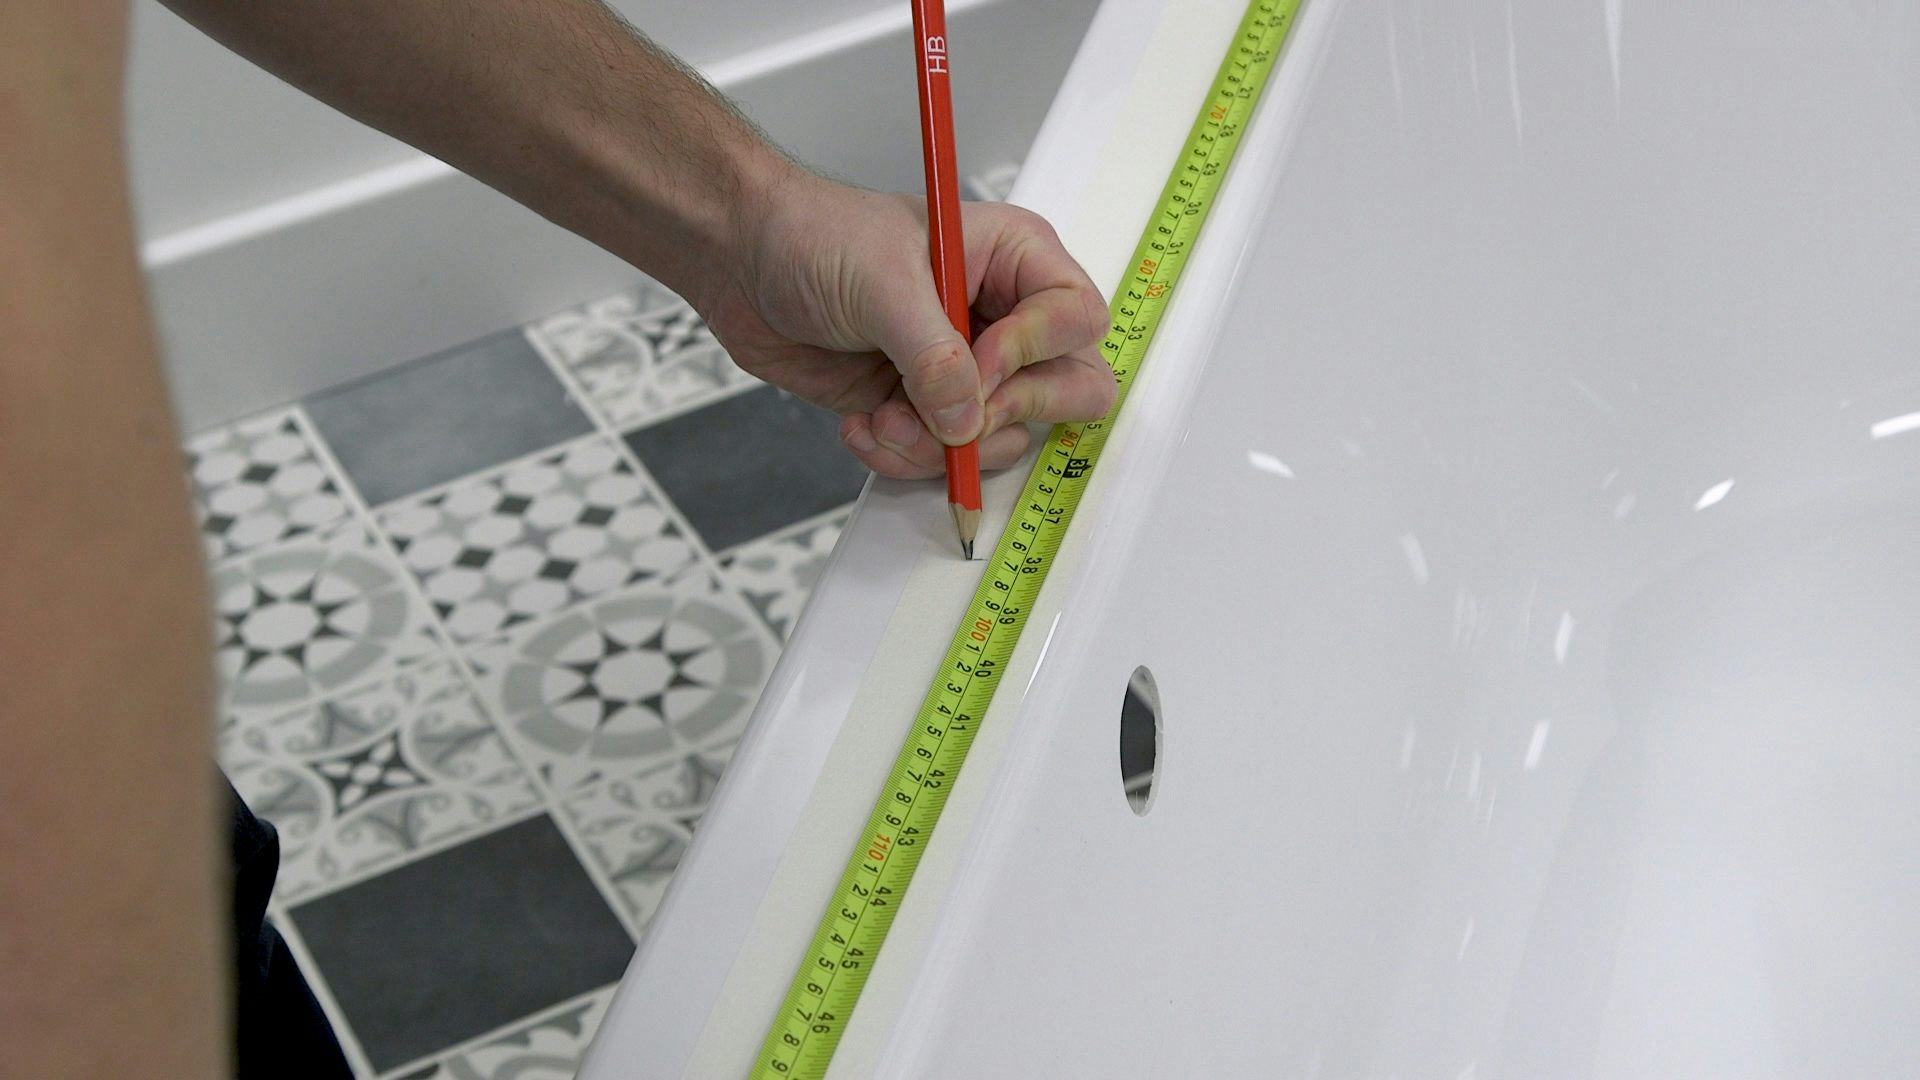
Step 2
With the help of a tape measure, mark the centre of the overflow and using this as a guide, measure the position of the tap holes. If you’re using a bath mixer tap, use the width as your guide for fitting.
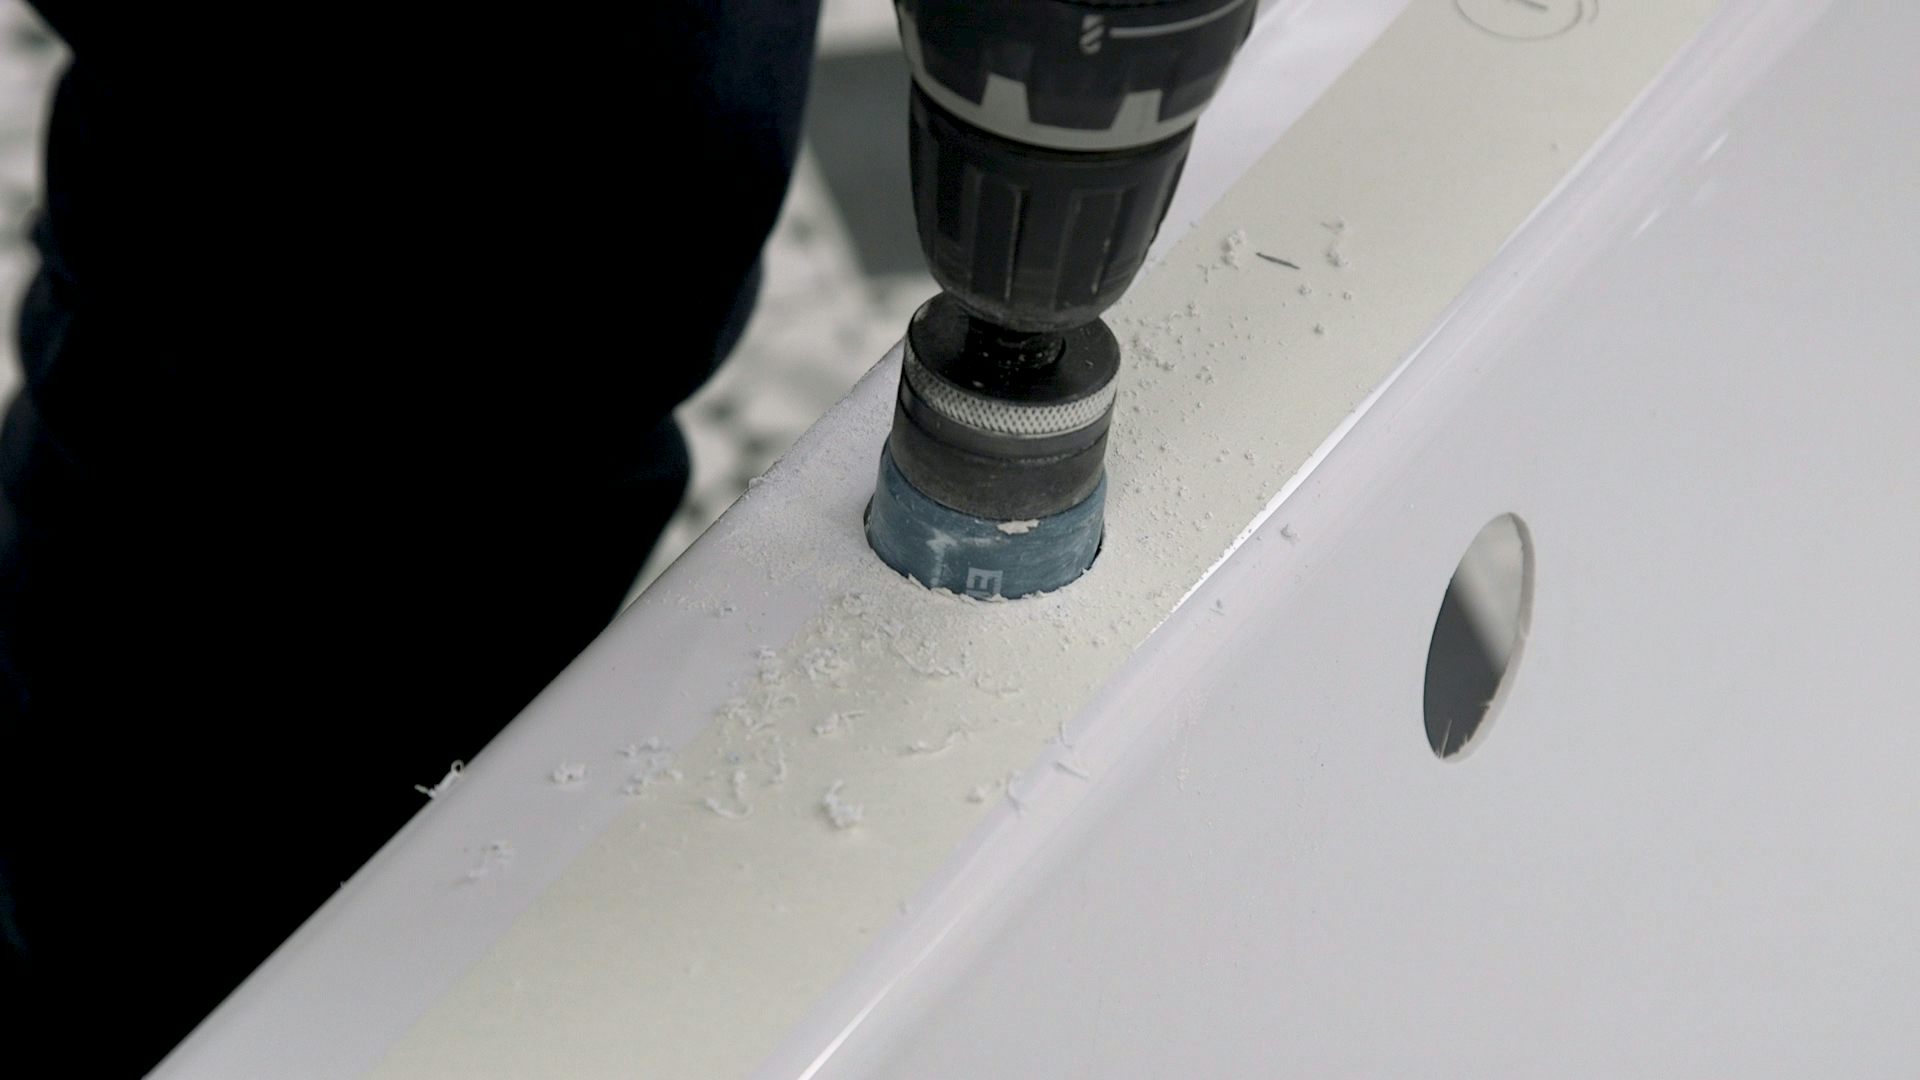
Step 3
Now find the centre points of your tap hole and drill these with a hole saw drill bit, widely available at most DIY stores.
Step 4
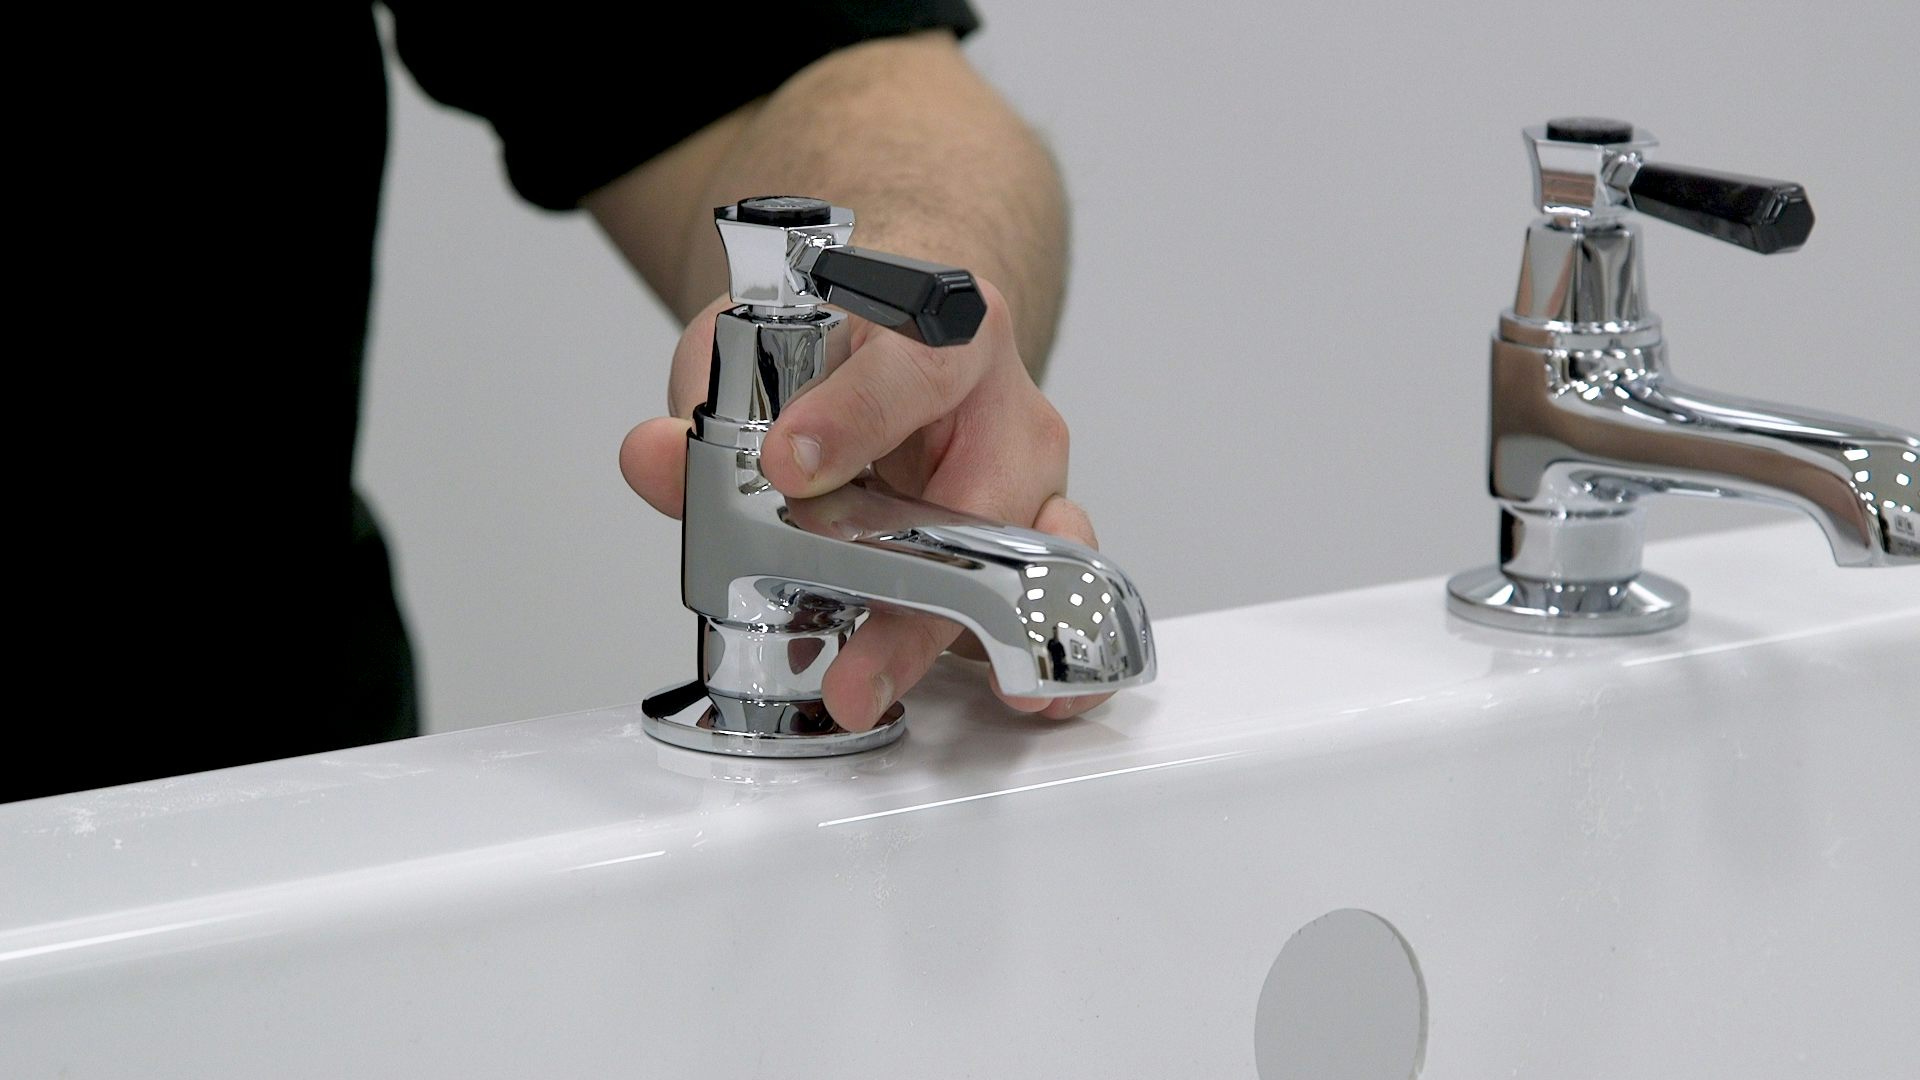
Remove the tape and fit the tap according to the instructions provided.
Handy hint: The hot tap should always be on the left side of the bath as you look at it from the opposite end to the taps.
Step 5
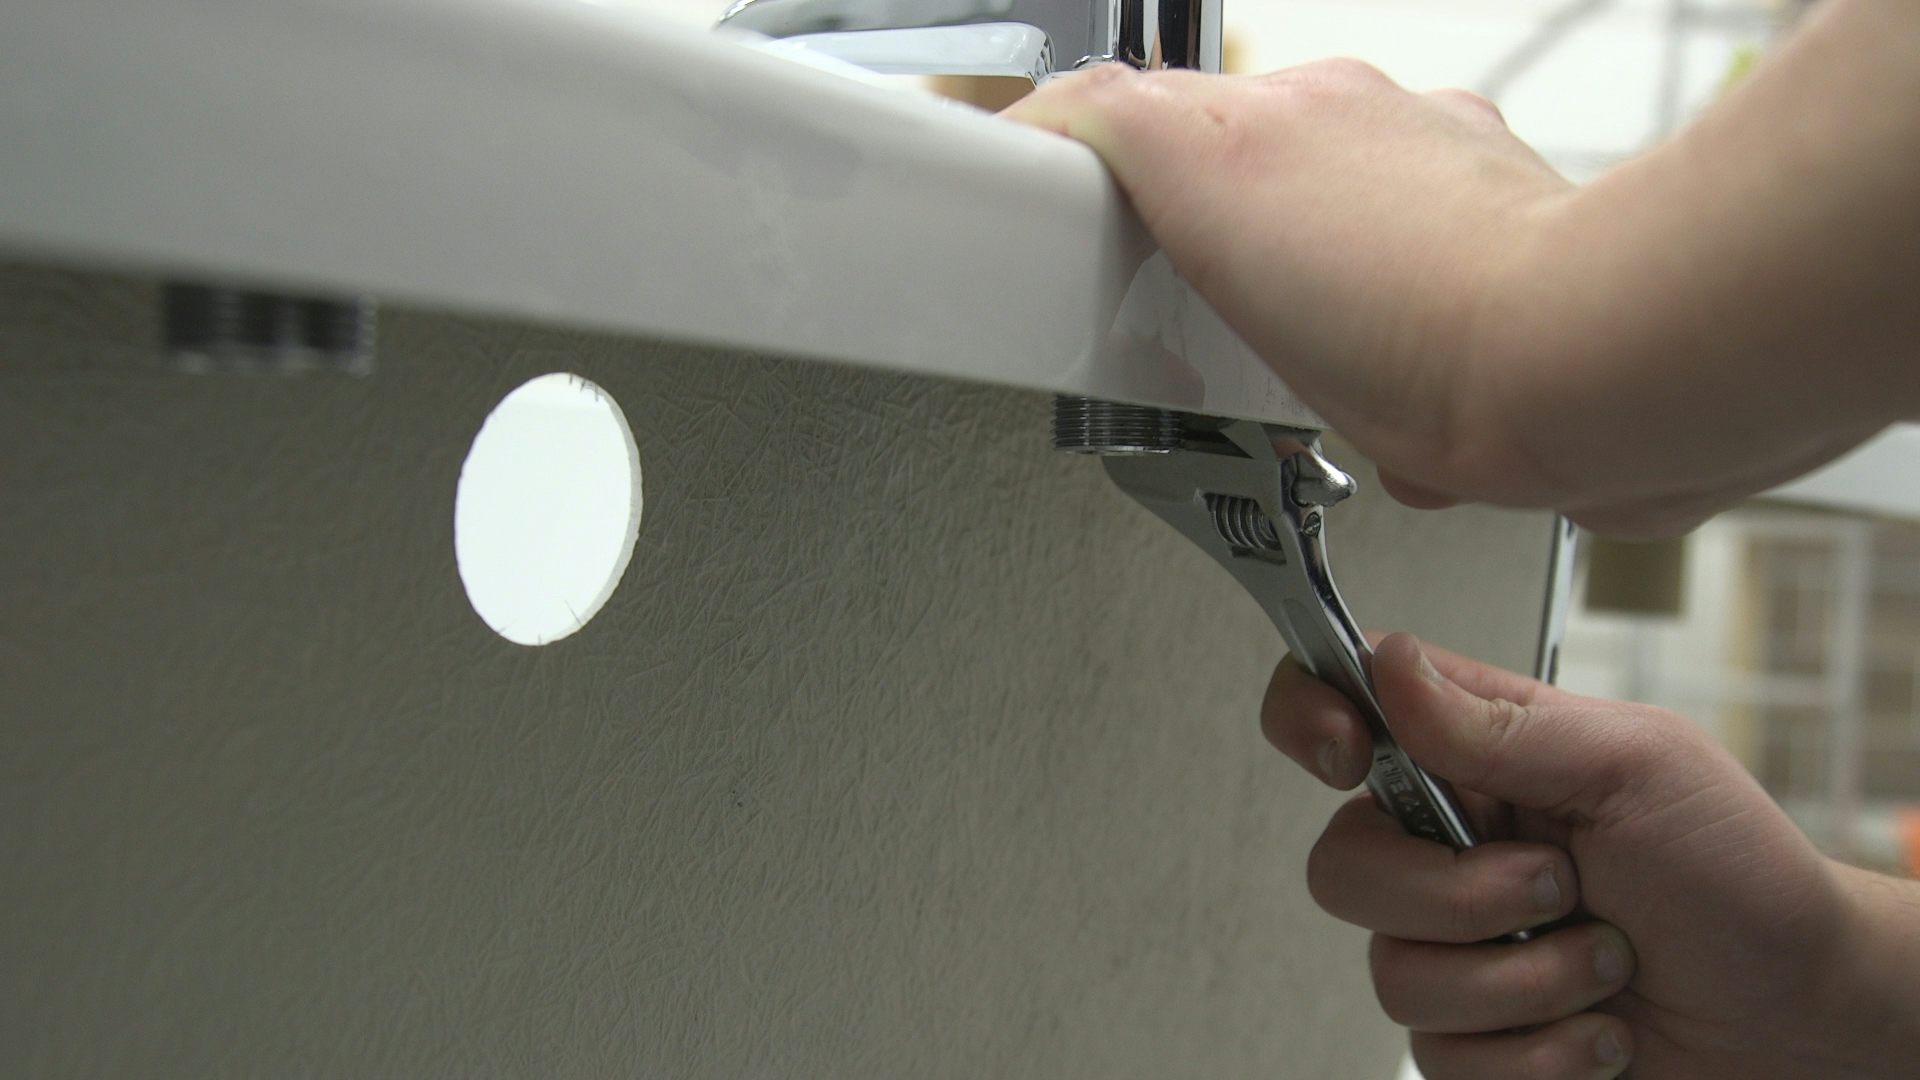
Add the washers and nuts to the underside of the tap and fix in place with an adjustable spanner.
Step 6
Once your bath is fixed into position, use flexi pipe to connect your taps to the corresponding outlets (we would strongly recommend hiring a professional tradesperson to plumb your bath in).
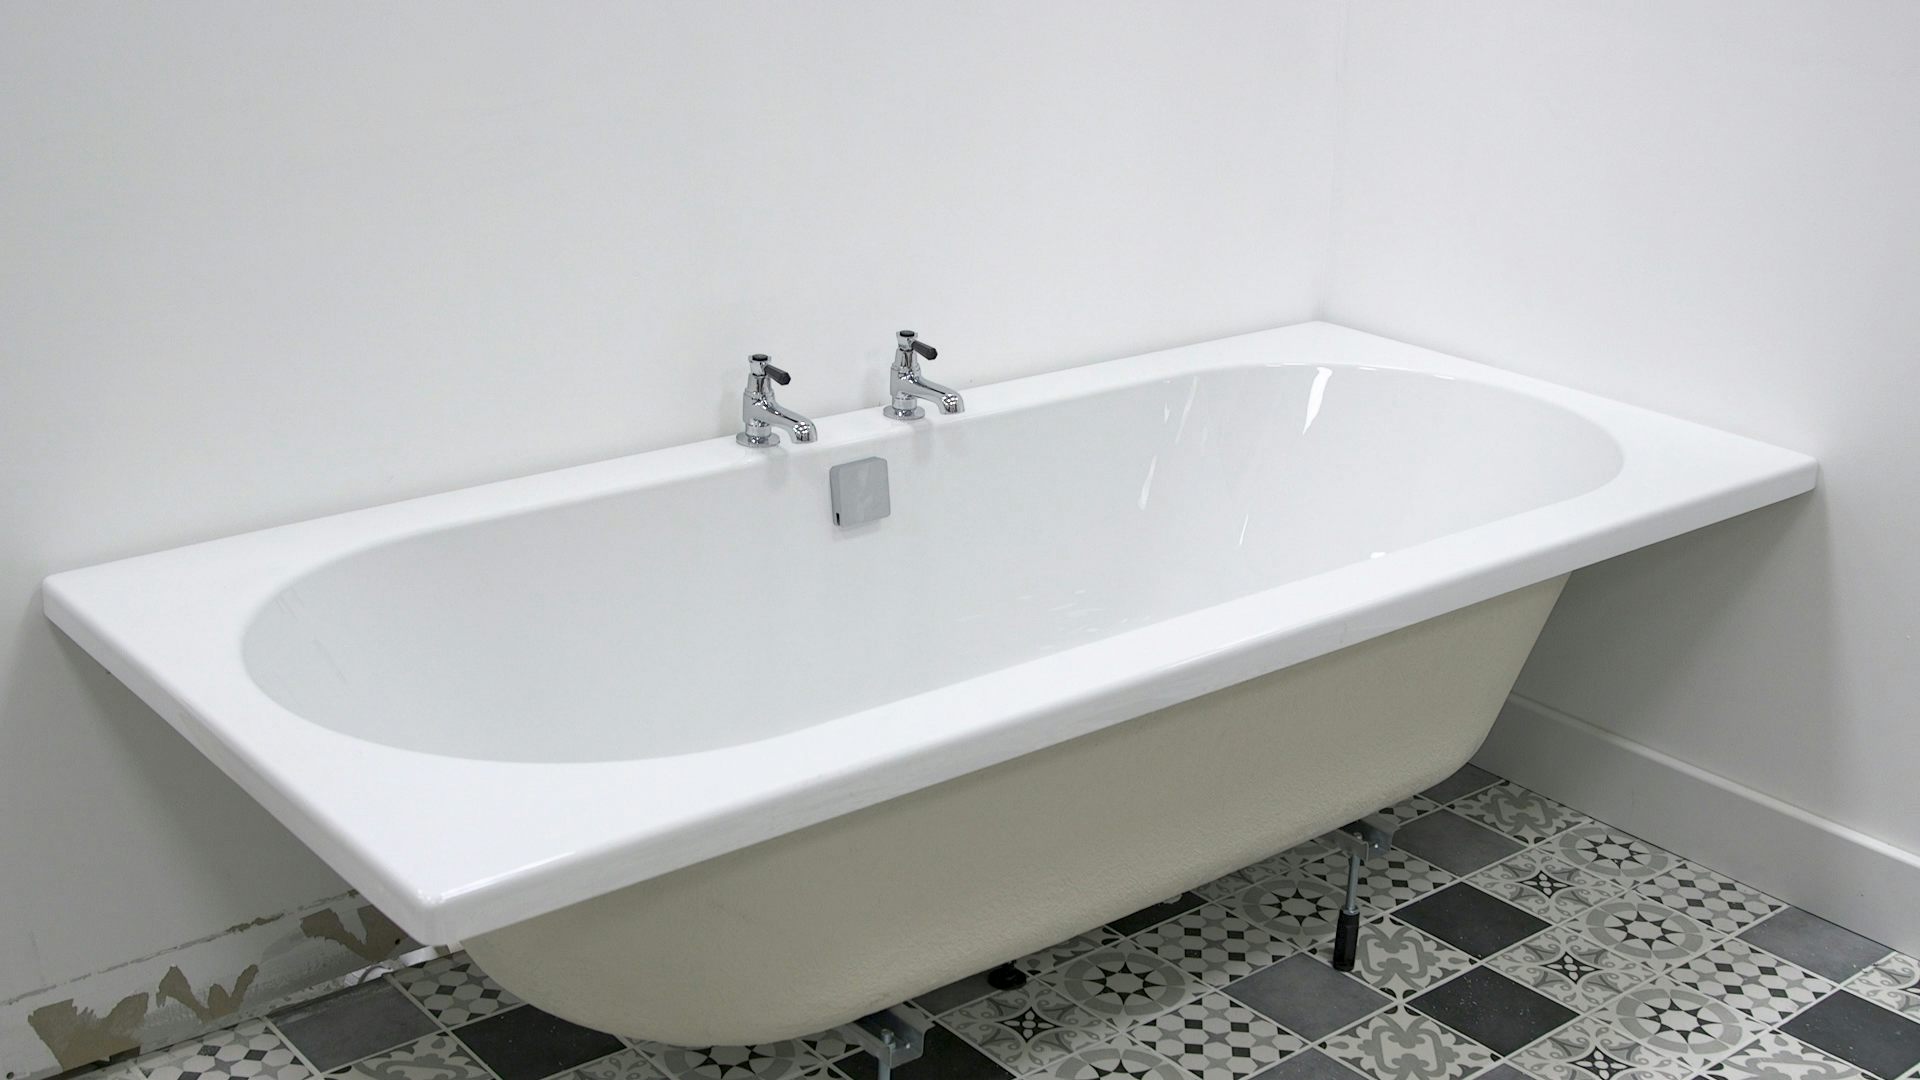
Congratulations, you’ve now fitted your bath taps.
Whilst DIY can be a good way to save time and money, you should always hire a qualified professional to plumb and install your products. The instructions above are simply a guide to fitting your new bath taps and shouldn’t be used to attempt full plumbing and installation.
Discover more expert bathroom advice
If you’re looking to carry out more bathroom DIY, we have plenty of expert guides to help you on your way. Simply click on any of the links below to find out more.

