Discover how to fit a bath with this expert guide, including step-by-step instructions and video.
Whilst saving money on your bathroom installation cost may seem a good idea, fitting a bath is best left to a professional tradesperson with experience in this type of work. They will ensure it is fitted and plumbed correctly, so you don't suffer any issues further down the line.
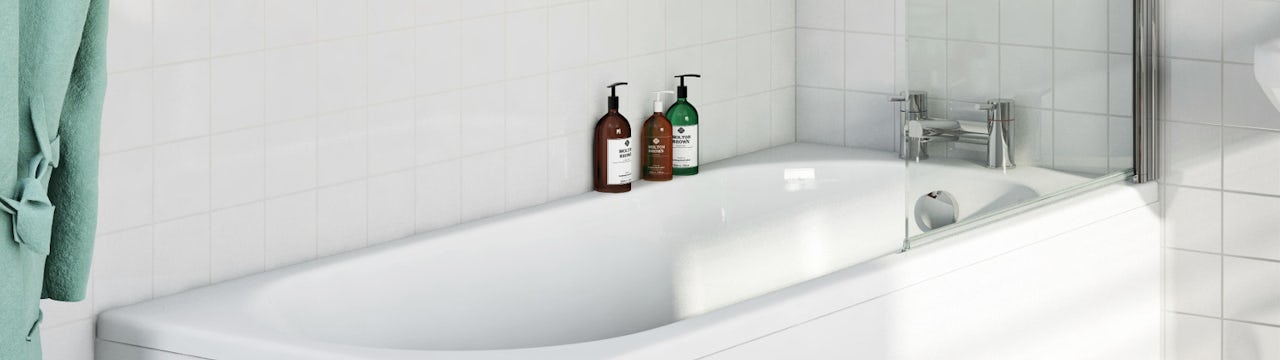
You'll discover a wide range of baths at Victoria Plum, in all manner of shapes, sizes and designs to suit your requirements. For example:
- Straight baths (either single ended or double ended)
- Shower baths (P shaped or L shaped)
You can find fitting instructions for other bathroom products by clicking the links below:
- How to fit an acrylic bath panel
- How to fit a wooden bath panel
- How to fit a bath screen
- How to fit a bath mixer tap
- How to fit bath taps
For the purposes of this how-to guide, we’ll be looking at fitting a straight bath.
What is a straight bath?
A straight bath is one of the most common baths you’ll find in the UK. Usually constructed out of acrylic or sometimes steel, it sits on legs which are then concealed by bath panels. Taps are found either at one end (in a single ended bath) or on one side (in a double ended bath).

The Orchard square edge bath is a good example of straight, single ended bath
Before you do anything
Always unpack your bath immediately after delivery. Check for any damage or faults as it’s better to find them now, rather than during installation.
Always turn off your water at the mains before attempting any DIY in the bathroom.
Tools you’ll need:
- Adjustable wrench
- Electric drill with hole cutter
- Hack saw
- Pencil
- Pipe cutter
- Sealant gun
- Spirit level
- Standard screwdrivers
- Tape measure
Check you have the following:
Usually supplied with bath:
- Bath tub
- Adjustable feet
- Wall fixing brackets
- Handles (if provided)
May need to buy separately:
Will need to buy separately:
Time to complete:
- 3–5 hours
How much will a Tradesperson typically charge?
- £370–£400 (price may vary—find out more about bathroom fitting costs)
Fitting your straight bath
At Victoria Plum, you’ll find most of our straight baths are crafted from high quality, acrylic that’s warm to the touch, and has excellent impact and scratch-resistance for superb durability.
The following video and instructions are for fitting a straight bath:
Here is how to fit a bath
Step 1
Place your bath on a level surface.

Step 2
Remove the fittings box (usually attached to the underside of the bath) and check you have all the components.

Step 3
It’s best to remove the protective cardboard and plastic film at this stage (although you can choose to keep them in place until you’ve fitted the legs, to help protect the bath). Inspect your bath carefully for any damages and check the colour match is acceptable to your suite and any panels.
If you're unhappy with your bath at this stage, please contact our Customer Care Team using LiveChat immediately (providing you bought the bath from Victoria Plum). Any refixing costs, claims for wrong colour match, and/or any other faults AFTER installation, will not be accepted.

Step 4
If the bath has handles, fit them now.

Step 5
Attach the brackets to the underside of the bath and fix the legs into the corresponding holes.

Step 6
Fit the centre leg bracket and the leg itself. You should have all of the legs at roughly the same height before standing the bath upright.

Step 7
Place the bath against the wall and check that it’s level, adjusting the height of the legs as necessary.
Handy hint: Take a couple of wooden battens up to 60mm wide and stand the bath on these to help protect your floor. If laid on floorboards, these should be at 90 degrees to the joists.

Step 8
Move the bath away from the wall and attach the wall fixing brackets to the side of the bath.

Step 9
It’s now time to fit the bath taps. Check out our “how to fit bath taps” guide for instructions.

Step 10
Secure the bath waste in place using the washers provided. A thin bead of silicone can help keep the seal watertight for longer.

Step 11
Fix the overflow into position.

Step 12
Once fitted, place the bath against the wall and secure it using the wall brackets attached earlier.

Step 13
Your bath is now ready to be plumbed in and sealed. We advise seeking the help of a professional for this.

Congratulations, you’ve now fitted your straight bath.
Whilst DIY can be a good way to save time and money, you should always hire a qualified professional to plumb and fully install your products. The instructions above are simply a guide to fitting your new bath and shouldn’t be used to attempt full plumbing and installation.
If you wish to print these instructions off, see our printer-friendly version below.
-
Place your bath on a level surface.
-
Remove the fittings box (usually attached to the underside of the bath) and check you have all the components.
-
It’s best to remove the protective cardboard and plastic film at this stage (although you can choose to keep them in place until you’ve fitted the legs, to help protect the bath). Inspect your bath carefully for any damages and check the colour match is acceptable to your suite and any panels.
-
If the bath has handles, fit them now.
-
Attach the brackets to the underside of the bath and fix the legs into the corresponding holes.
-
Fit the centre leg bracket and the leg itself. You should have all of the legs at roughly the same height before standing the bath upright.
-
Place the bath against the wall and check that it’s level, adjusting the height of the legs as necessary.
-
Move the bath away from the wall and attach the wall fixing brackets to the side of the bath.
-
It’s now time to fit the bath taps.
-
Secure the bath waste in place using the washers provided. A thin bead of silicone can help keep the seal watertight for longer.
-
Fix the overflow into position.
-
Once fitted, place the bath against the wall and secure it using the wall brackets attached earlier.
-
Your bath is now ready to be plumbed in and sealed. We advise seeking the help of a professional for this.
More how to guides and videos
If you’re searching for more on bathroom DIY, check out our bathroom advice section or click on any of the links below to read a relevant article.


