Renovating your bathroom and need a bit of order and organisation? Do you put the flooring or toilet in first? Read on...
Introduction
Penny-wise, pound foolish. That’s what happens if you try to cut corners with your bathroom renovation project and take shortcuts. Many homeowners try to cut costs when DIYing a bathroom renovation project when they lack the necessary expertise.
If you are going to renovate the toilet yourself, please do not attempt to do work over existing fixtures and floor tiles. It is important to research beforehand. Whilst you certainly can install new tiles without touching the existing toilet, such a move is not recommended by experts. If there is an existing toilet or finished floor, it’s going to have to be removed before you start a tiling project or it’ll cost you much more in future when you fail to detect leakages. As a rule, you should always remove the toilet and install the tiling first on your bathroom floor—when you don’t follow this golden rule, you risk increasing the amount of time and money spent on renovating your bathroom.
The look of your new toilet
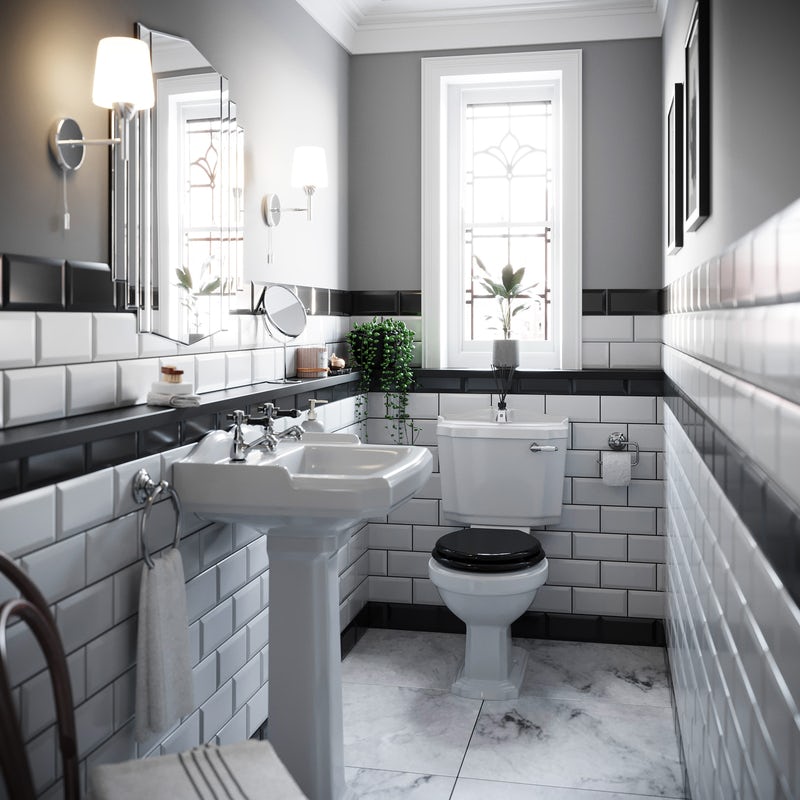
Whether you choose the DIY route or hire a professional for your new bathroom installation, significant expenses are inevitable. Attempting to cut corners to save a few pennies is not advisable, as it can result in an unattractive bathroom and tile floor that you'll regret for years. Opting to tile around an existing toilet, for instance, might save a small amount initially, but it will look poorly executed and become increasingly noticeable over time.
You might as well spend more for custom floor and wall tiles, as well as toilets that match since it’s near impossible to cut a ceramic tile to fit precisely around your toilet. If you opt to do it yourself, it may result in tiling and floor covering that is uneven and which needs the use of additional sealant or grout to conceal, resulting in an unprofessional look.
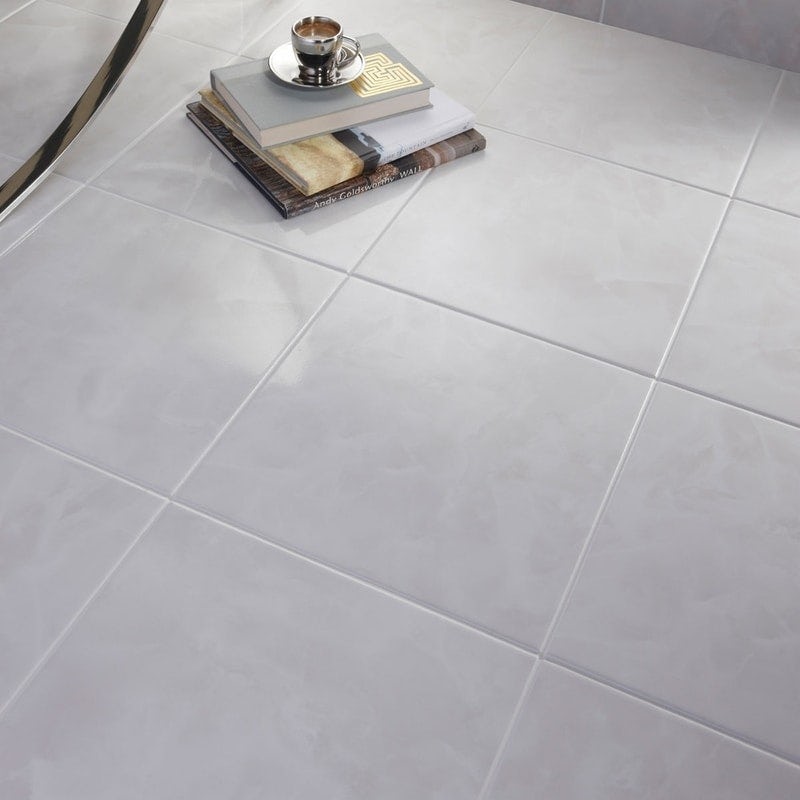
If you are opting for a classic look, then you should opt for ceramic tiles for both the tile walls and the new floor. These types of tiles are long-lasting and have a timeless look that is sure to be pleasing to the eye even in years to come. If opting for this tile type, make sure to allow for at least 48 hours for the grout to dry before moving on to the next step of the renovations. You should also ensure that you or your contractor clean up the excess grout by scraping it off before it dries.
If you are opting for a more flashy bathroom design, then go for a vinyl floor instead. If this is your selected option, be sure to remove all excess glue and air bubbles from the tile to allow it to be fully set. Most reliable contractors or a floor installer will know to do this, but if you are DIY-ing your bathroom tiles, then pop around to a handy shop in your area and purchase a roller to aid you in doing so. Being fashion tiles, there can be large variations in the manufacturer's directions for use, so be sure to thoroughly understand the treatment your tiles and floor coverings need, such as the type of adhesive that can be used and how long you’ll have to wait for it to dry before moving onto the next step of the renovations.
The removal and installation of the throne
It can prove to be difficult to remove an existing toilet before you commence the laying of your new tiles while it is certainly possible, we recommend that you do so either with the help of a professional contractor or by hacking away at it yourself. This step will make it easier for you to lay the tiling after, since it is common for toilet bases to be of an odd shape, making it hard for the flooring to be cut exactly to accommodate it. If you have the toilet removed prior, you could then easily tile around the toilet flange, and then reinstall the toilet. While at this step, take the chance to check on the condition of the toilet flange, and determine if this too needs replacement. If the flange is not broken, it could easily be reused. Check also on the surroundings of the flange to see if repairs are required. If so, make sure to do the repairs before tiling over. Tiles ought to be cut in a way to fit around the toilet flange. Once done, this will make for an overall more pleasant look.
The importance of forward-thinking
It’s not just the appearance of the new bathroom that matters, but also anticipating problems down the road. If you choose to cut corners to save costs and refuse to remove the toilet prior to laying out new tiles, more problems are likely to occur in future that will cost you more money to repair. For instance, you could find yourself with a shoddy sub floor replacement or toilet installation in the unfortunate event your current toilet spoils since toilet bases come in all sorts of shapes and sizes and it is often difficult to find one that’s exactly the same as what you currently have.
Another possible problem is the failure to scrape off wax or caulk residue during the installation process of tiles and toilets. You should always check that any residue is cleaned up before it dries, or risk having to redo the whole thing. Prior to the toilet installation, you should also have a wax ring installed on top of the flange or beneath the toilet base, which will allow the flange to be even with the new flooring such that the toilet and flange are sealed to prevent leakages from occurring.
Moreover, by removing the toilet during your renovation works, you are allowing yourself or your contractors more room to move about and to work in, which is surely more comfortable. You could also reuse the toilet if it isn’t damaged during the removal, which could save you some money since you don’t have to spend on buying a new toilet.
Conclusion
Now that you know the tips and tricks relating to a bathroom renovation, we hope that you put them to good use. Just remember, don't take shortcuts and always consult a professional if you need help.
More bathroom flooring ideas
For an even greater range of flooring solutions for your bathroom, browse our full tiles, walls and floors section today or head straight to flooring, by clicking on the image below.


