Manage the warmth and comfort of your home by fitting thermostatic radiator valves. In this step-by-step guide from the bathroom experts at Victoria Plum, we’ll show you how.
As the seasons change and temperatures fluctuate, maintaining the perfect ambience in your home is crucial. One of the most efficient ways to manage your indoor comfort and save on heating bills is by installing thermostatic radiator valves. These nifty devices allow you to regulate the heat output from your radiators, room by room, ensuring you're always cosy and energy-efficient.
In this easy-to-follow guide, we’ve worked closely with BiKBBI-accredited bathroom installers, to show you the steps you will need to take if you’re thinking of fitting thermostatic radiator valves in your home.

Examples of TRVs (Thermostatic Radiator Valves). Turn the dial on the left to set your desired temperature
Before you begin…
Plumbing should only be carried out by an experienced and qualified professional. This guide is merely intended to demonstrate the steps required when fitting thermostatic radiator valves and shouldn’t be used by anyone who isn’t qualified to undertake plumbing tasks.
To find a qualified plumber near you, why not post a job on MyBuilder.com?
Now that’s out of the way, let’s take a look at what’s required…
Tools you’ll need
- Adjustable spanner
- Grips
- Hex tool
- Pipe cutter or hacksaw
- A bucket or towels to catch any water
- A spirit level
Check you also have
- Thermostatic radiator valves
- PTFE tape (for thread sealing)
Time to complete
- 1–2 hours
Changing thermostatic radiator valves: A step-by-step guide
Step 1: Turn off the heating system
Safety first! Ensure your heating system is switched off. This will prevent hot water from circulating through the radiator while you work, reducing the risk of burns and leaks.
Step 2: Drain the radiator
To avoid any spills and leaks, you'll need to drain the radiator. To do this, place a bucket or towels beneath the valve and open the bleed valve with your radiator key. This will allow the water to flow out, so be prepared for a bit of a mess.
Step 3: Remove the old valve
Remove the top cover of your old valve. Using an adjustable spanner and grips, carefully unscrew the nut for the pipes that come out of your radiator. Once loosened off, pull the old valve away from the radiator pipework (be ready for some water to escape, so keep your bucket and towels close by). You can then unscrew the pressure fitting (you’ll find this on the base of the valve) and remove the entire valve from the floor pipes. If you're faced with resistance, use a little more elbow grease, and the old valve should come loose.

Step 4: Clean the threads
Once you've removed the old valve, it's a good idea to clean the threads on the radiator using a cloth. This ensures a tight seal when you attach the new thermostatic radiator valve.
Step 5: Check the new valve will fit
In some cases, your new thermostatic radiator valve might not fit the existing valve insert. In this instance, you will need to replace with a new insert (which will be supplied with the new valve). To remove the old insert, insert a hex tool and loosen off with an adjustable spanner.
Step 6: Apply PTFE tape
To ensure a watertight connection, wrap the threads on the radiator with PTFE tape. This will help prevent any leaks once the new valve is in place.
Step 7: Fit the new valve
Now, it's time to install the thermostatic radiator valve. Carefully screw it onto the radiator, ensuring it's tight and secure. Use a spirit level to make sure it's perfectly horizontal.
Step 8: Connect the pipework
Attach the pipework to the new valve. Depending on your specific setup, you may need to use a pipe cutter or hacksaw to trim the pipe to the correct length. Once the pipe is in place, use an adjustable spanner to secure it to the valve.
Step 9: Turn on the heating system
With the new valve in place and pipework connected, you can turn the heating system back on. Keep an eye out for any leaks or drips. If you notice any, you may need to tighten the connections further.

Step 10: Set the desired temperature
The final step is to set your desired temperature on the thermostatic radiator valve. Most models have a numbered dial or scale, allowing you to fine-tune the heat output to your preference.
Top tip: If your radiator or heated towel rail is nice and hot, but your room is still cold, don’t be tempted to turn up the dial further. The TVR is still trying to do its job at this point. If your room is cold and the radiator or heated towel rail feels cold, this is the only instance in which you might want to turn it up.
Fitting thermostatic radiator valves: Frequently Asked Questions
What is a thermostatic radiator valve?
Also referred to as TRVs, thermostatic radiator valves control the water flow into your radiator or heated towel rail to maintain a set room temperature. It’s really rather simple yet ingenious in its design. Much like a thermostat, once your desired temperature is reached, the valve will turn off the flow of hot water. However, when the temperature drops the valve will reopen.
And how does this work exactly? The valve contains a metal spring which is very reactive to the ambient room temperature. The spring contracts when the temperature is cold, opening the valve jumper and allowing heated water to enter your radiator or heated towel rail. Once the ambient temperature warms up, the spring expands. This closes the valve, stopping the flow of hot water. You will also find TRVs which use a wax jacket, instead of a metal spring. However, these function in much the same way.
What are the benefits of a thermostatic radiator valve?
By fitting thermostatic radiator valves, you can save money on your fuel bills, as hot water is automatically turned off once your radiator or towel heater reaches desired temperature. It will help to optimise your central heating system, by ensuring your room isn’t excessively hot or cold.
Radiators are one of the best places to begin if you’re looking for great ways to save on heat, as they provide some of the largest heat output in your entire home. TVRs will improve the efficiency of your overall central heating system.
Are there any downsides to fitting thermostatic shower valves?
Whilst the benefits of thermostatic radiator valves are pretty clear, they can be quite sensitive to things like drafts, especially if you’ve cracked open a window to ventilate a room. In this instance, some other forms of thermostat may offer a more accurate room temperature reading, regulating a more efficient heating system.
Can I fit a thermostatic radiator valve myself?
While this task can clearly be completed by someone who is experienced at DIY, we would always recommend employing a qualified Tradesperson to fit a thermostatic radiator valve.

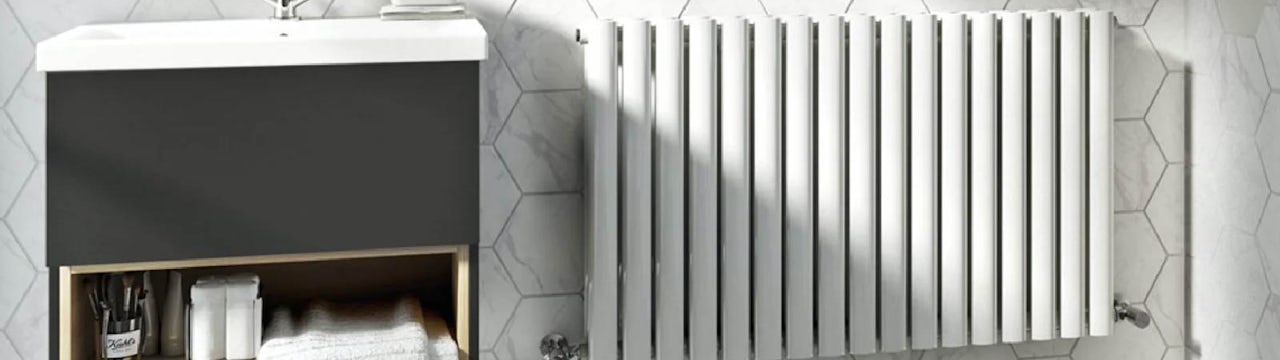
Enjoy stylish heating like this with thermostatic radiator valves
Conclusion
Fitting thermostatic radiator valves in your home is a simple yet effective way to control your indoor comfort and save on heating costs. With the right tools, a bit of patience and this step-by-step guide, you can easily upgrade your heating system. Enjoy a cosy and energy-efficient home, one room at a time. Happy heating!
Shop radiator valves
Discover our extensive selection of exquisite radiator valve options, designed to complement an extensive range of radiators and heated towel rails. Whether your taste leans towards timeless classics or contemporary designer pieces, you'll undoubtedly uncover the perfect choice, all while enjoying exceptional value. Begin your exploration by clicking below.

More advice on home heating
For more information on this subject, why not read our radiator valves buying guide, where you’ll find out all about the different types of radiator valve and discover which is perfect for your needs.


