Cleaning your tap cartridges can help prevent limescale and particle build-up which, over time, can affect the flow of water.
In the first of our Quick Fixes articles, we’ll show you how to clean a mixer tap cartridge. It’s really easy to do and could help improve the performance of your tap.
Tools you’ll need:
- Adjustable spanner
- Flathead screwdriver
- Phillips head screwdriver

You’ll also need:
- Toothbrush
- White vinegar
- Bowl or container
- Clean cloth
Before you begin:
- Fill a bowl or container with a mix of half water/half white vinegar
- Turn off your water supply
Step-by-step video
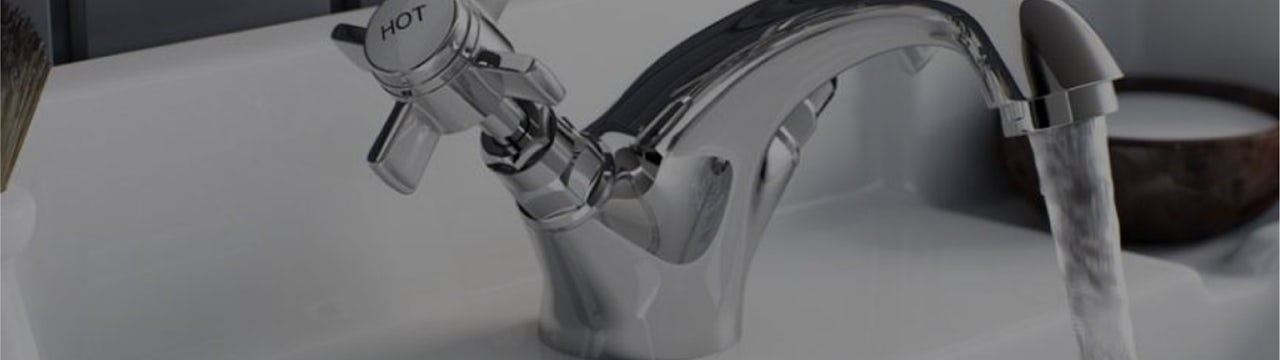
For demonstration purposes, the tap used in this video is The Bath Co. Camberley basin mixer tap. It contains ceramic mixer tap cartridges which you’ll find as standard in all of our high quality mixer taps. Ceramic mixer tap cartridges are more hardwearing and durable than the rubber washers found in older taps, offering greater control over flow and temperature.
Here’s how to clean a tap cartridge
- Remove the tap head cover (also known as tap inserts) before removing the tap head using the screwdriver and then the cartridge retaining nut underneath.

- Using your spanner, take out the tap cartridge. Repeat steps 1 and 2 for any further tap cartridges.

- Soak your tap cartridges in a mix of half vinegar and half water for 10 minutes.

- Take your old toothbrush and gently clean the inside of the tap.

-
Give the tap cartridge a scrub, rinse with fresh water and pat dry with a clean cloth.
-
Put the cartridge back into the tap and replace the cartridge retaining nut.

- Finally, screw on the tap head ensuring not to overtighten and replace any tap inserts.

Congratulations, you’ve now cleaned your ceramic tap cartridge.
More DIY advice
You’ll find loads of great bathroom advice at Victoria Plum, including DIY advice for installation and maintenance.
Check out our Switches and Fixes hub for more easy tasks that’ll help improve both the look and functionality of your bathroom.


