Whether you're replacing an old basin mixer tap or simply installing a new one, this expert guide on how to fit a basin mixer tap will save you time and money.
Whilst fitting a whole bathroom is best left to an experienced professional, fitting a basin mixer tap is relatively simple if you are competent at DIY.
Basin taps are, generally, split into 2 categories:
- Mixer taps—1 tap which combines both hot and cold water
- Pillar taps—2 separate taps for hot and cold water
If you’re not sure which tap you have, check out our tap buying guide.
You can find fitting instructions for other bathroom products by clicking the links below:
- How to fit a basin taps
- How to fit a pedestal basin
- How to fit a basin waste
- How to fit a basin waste trap
What is a basin mixer tap?
A mixer tap is a tap that mixes hot and cold water in the body of the tap, either by using separate hot and cold levers, or a single lever that swivels from left to right to determine the flow of the hot and cold water.

A basin mixer tap is smaller than a bath mixer tap as it isn’t required to deliver a very large volume of water quickly. You can even buy cloakroom basin mixers—smaller versions for small basins. Find out more in our basin mixer tap buying guide.
Before you do anything
Always unpack your tap immediately after delivery. Check for any damage or faults as it’s better to find them now, rather than during installation.
Always turn off your water at the mains before attempting any DIY in the bathroom.
Tools you’ll need:
- Adjustable spanner
- Grips
- Flat head screwdriver
- Tap spanner
Check you have the following:
Usually supplied with tap:
- Fixing studs
- Washers
- Nuts
- Flexible tap tails
Typical time to complete:
- 30 minutes
Typical cost when hiring a tradesperson:
- £100–£110 (price may vary—find out more about bathroom fitting costs)
Fitting your basin mixer tap
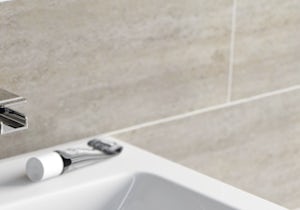
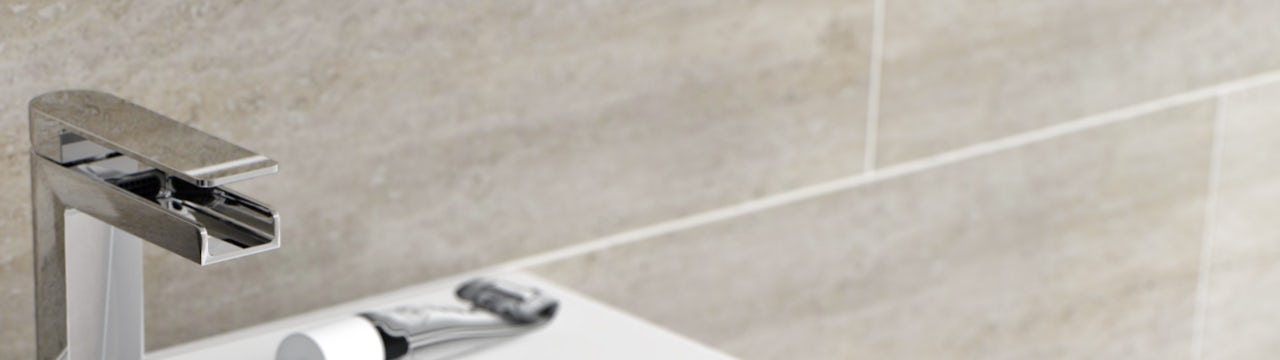
At Victoria Plum, you’ll find our basin mixer taps are manufactured to the highest standards, with chrome plated brass for both durability and a beautiful finish. All our taps come with ceramic disc technology which helps eliminate drips.
See our step-by-step video showing you how to fit a basin mixer tap.
Here's how to fit a basin mixer tap
Step 1
If you need to remove an old tap, undo the connection (you may need a spanner and grips to do this) and remove the hexagonal nut holding the tap in place (a tap spanner will make this easier). Now you can take out the old tap and wipe down the area.
Step 2
Screw the flexible tap tails into the tap body and tighten by hand.
Step 3
Screw fixing studs into the bottom of the tap.
Step 4
Position the tap over the tap hole in your basin or countertop (ensuring it is at 90 degrees to the basin rim) and lower the flexible tap tails and fixing studs through it.
Step 5
From below the tap hole attach a washer and retaining plate onto the fixing studs.
Step 6
Screw nuts onto the fixing studs by hand. Once you’re satisfied that the tap is in the correct position, tighten the nuts using a spanner, taking care not to damage the basin.
Step 7
Make sure there aren’t any leaks by turning the water back on at the mains. If any leakage occurs, check the connectors and tighten as required.
Handy hint: Looking at the tap from the front, hot is on the left and cold is on the right
Congratulations, you’ve now fitted your basin mixer tap.
Step-by-step images
To help you visualise each step of the process, follow the images below.
Step 1
Removing the old tap.

Step 2
Fitting the flexible tap tails.

Step 3
Screwing fixing studs into bottom of tap.

Step 4
Feeding the flexible tap tails through the tap hole.

Step 5
Attaching a washer and retaining plate onto the fixing studs from below.

Step 6
Screwing nuts onto the fixing studs.

Step 7
Checking connectors.

A final word...
Whilst DIY can be a good way to save time and money, you should always hire a qualified professional to plumb and install your products. The instructions above are simply a guide to fitting your new basin mixer tap and shouldn’t be used to attempt full plumbing and installation.
Shop taps
Whatever type of tap you're looking for, whether it's for your kitchen, bath or basin, we have one of the widest selections in the UK. Simply click on the image below to begin browsing.

Tap into our knowledge
At Victoria Plum, you'll find plenty of practical, expert advice on taps to help you save money on your bathroom. Head to our bathroom advice section or click on any of the links below to read an article.