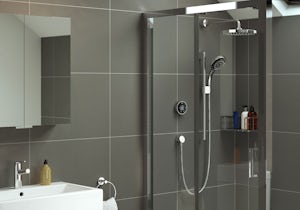
Bar valve mixer showers are growing in popularity, thanks in no small part to their slim and stylish looks, simple controls and easy installation.
In this blog post, we'll take you through the installation steps you'll need to follow when fitting a mixer bar valve—specifically, the Mira Coda Pro EV mixer shower which features a quick-fix installation system that sits in front of your tiles. At this stage, it is important to stress that this article is only intended as a guide for experienced, professional plumbers. Never attempt to install a bar valve yourself if you are not qualified to do so.
Mira Showers have designed their bar valve mixer showers to be quick and easy to install. Watch the full step by step installation video below:
This step-by-step guide is intended to be used in conjunction with the installation guide provided with your bar valve, which contains further information, and will assist with some important steps and tips. This guide covers the Mira Coda Pro bar valve mixer shower but will give you a general understanding of what is involved in installing any bar mixer shower. It should be noted that such products can be used with fixed or movable inlet pipework, and here the details are for movable inlet pipework.
Installing your bar shower valve instructions
Step 1
Install copper pipework with 150mm +/- 5mm centres and projecting by 50mm. 150mm pipe centres are standard for the majority of bar valve mixer showers. Do not secure the internal supply pipework within 500mm of the shower. Each pipe should have at least 5mm radial movement, allowing marginal adjustments to the pipe.
Mira Showers supply a rigid plastic guide to set the pipe centre distance, and this is left in place until the wall is finished. The hot water supply must be on the left with cold on the right.

Step 2
After finishing the wall surface, using a standard pipe slice, cut the recessed pipe length so it protrudes through the finished surface by 21–26mm. Remove any burrs from the pipe and remember not to use a hacksaw, as this may damage seals in the valve.

Step 3
Combine the olives and connectors to the brass wall brackets, taking care not to overtighten more than finger tight. Mark the positions for each brass wall bracket, making sure there are no supply pipes behind, drill fixing holes and install the wall plugs. Then screw the brackets on using the screws provided. Tighten the connectors using two spanners.

Step 4
It is essential at this point that the supply pipework is thoroughly flushed through before connection to the shower unit. Wait until a clear and clean supply is available—in some systems this could take some time. It is important as failure to do so may result in product malfunction. Next install the concealing plates.

Step 5
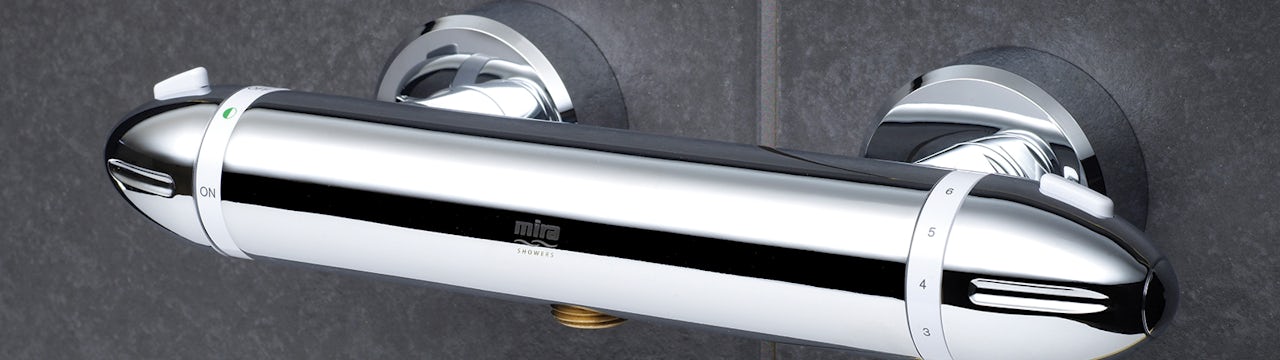
Making sure the sealing washer/filters are in each inlet, attach the Mira Coda Pro bar valve to the connectors; the hose outlet should be at the bottom. Tighten the unit with a spanner.

Step 6
For new installations where the accessory kit is being fitted for the first time, (and not over a previous item), mark the fixing centres at 510mm. Drill and screw the mounting bracket into the wall. Assemble the fittings and slot them into the mounting brackets. Fix the slide bar at both ends with the hex screw supplied. Attach the hose making sure the rubber washers are in place at both ends.


Your new Mira Coda Pro EV mixer shower is now ready for use.

Shop Mira bar valve shower sets
Now you can see how easy Mira bar valves are to fit, why not browse our great selection of mixer showers from Mira Showers?