If you’re happy taking on more advanced DIY tasks in the bathroom, you can save time and cash by fitting your own heated towel rail. Follow our expert guide, complete with easy-to-follow video and full instructions.
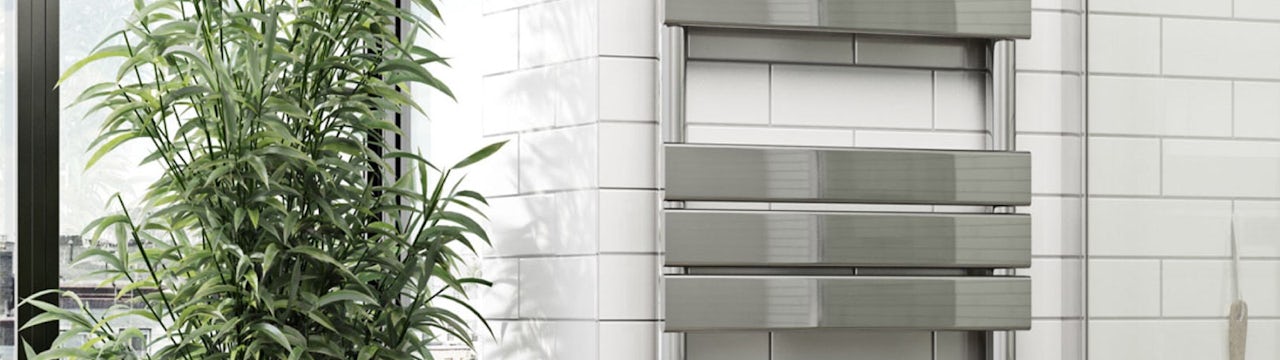
Heated towel rails or towel heaters, as they are sometimes known, offer a convenient alternative to radiators in the bathroom. Designed specifically to warm towels, it’s no surprise that many people decide to make the switch.
As with any task which requires plumbing, we would always recommend hiring an experienced and qualified professional. However, if you are experienced and confident with DIY, you could save time and effort by fitting your new bathroom heating to the wall yourself.

Before you do anything
It’s important that you remove all packaging and inspect your towel heater as soon as you receive it. If there is an obvious issue, you can get it sorted there and then, rather than delaying your task any further. Always turn off your water supply before doing any DIY in the bathroom and wear protective clothing, if applicable.
Tools you’ll need:
- Adjustable spanner
- Pencil
- Phillips head screwdriver
- Power drill
- Spirit level
- Tape measure
Check you have the following:
Usually supplied with the heated towel rail:
- Wall fixings
Not usually supplied with your heated towel rail:
- Appropriate screws and wall plugs
- Valves
Time to complete:
- 2–4 hours
Typical cost a tradesperson may charge to install
£300—£360 (price may vary—find out more about bathroom fitting costs)
Step-by-step video
In this video, we show you how to fit The Heating Co. Bali chrome heated towel rail. Fitting may vary between different models. Please see the instructions supplied for specific installation advice.
Here is how to fit a heated towel rail
- Once you’ve taken your heated towel rail out of its packaging, remove the plugs from each corner.
- Fit the chrome air vent, cap and plug. Then finish with a spanner, taking care not to overtighten.
- Measure the distance between the bolt holes on the rear side of the heated towel rail. As well as between the foot of the heated towel rail and the bottom bolt holes.
- With your heated towel rail in the desired position, mark the height on the wall in pencil.
- Working from the height mark, measure the distance between the bolt holes and mark this on the wall too.
- After checking that the marks are level, measure the distance once more to ensure they’re correct.
- Carefully drill holes using an appropriate drill bit for the surface.
- Measure the distance between the top and bottom screw holes. Mark this on the wall and check your lines are level.
- Check the measurements at the bottom are also correct and level. Then drill the second pair of holes.
- Remove the retaining screw from the 4 hanging brackets and attach the heated towel rail mounts to the fixings.
- Using appropriate wall plugs, attach the 4 wall mountings and ensure these are level.
- Hang the heated towel rail on the wall using the fixed wall mounts and, once you’re happy with the position, secure it with the retaining screws.
- You can find matching heated towel rail valves on our site. Check whether you need horizontal or angled valves.
Congratulations, you’ve successfully fitted your heated towel rail.
Step by step images
Use these step by step images to help you visualise each stage of the installation.
Removing the plugs.

Fitting the chrome air vents, caps and plugs.

Measuring the distance between the bolt holes.

Marking the height on the wall in pencil.

Measuring and marking the distance between the bolt holes.

Measuring the distance once more.

Drilling holes.

Measuring and marking the distance between the top and bottom screw holes.

Drilling the second pair of holes.

Attaching the heated towel rail mounts to the fixings.

Attaching the 4 wall mountings to the wall.

Securing with retaining screws.

Fitting valves.

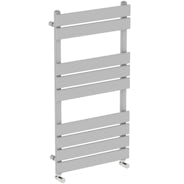
Shop heated towel rails
When you step out of your bath or shower, a heated towel rail is the perfect way to keep your towels nice and warm. At Victoria Plum, you’ll find one of the widest selections in terms of size, style, colour and price. Browse our high quality range today by clicking on the image below.

More heating advice
If you’re unsure about anything to do with heating your bathroom, head to our bathroom advice section where you’ll find plenty of helpful guides. Simply click on a link below to read a relevant article.