To help you keep your home fires burning, we show you how to replace a radiator with our complete guide.
Replacing a radiator is low on the to-do list of many homeowners. The reason? We forget that we can replace a radiator. They're just...well…there, warming our homes, drying our clothes, and occasionally going "clank" in the night. However, there are several reasons why radiator replacement should be considered a priority. These include:
- Energy efficiency
- Safety
- Better heating
- Style considerations
- A chance to tinker!
Get to know your home
If you'd like to get more out of your central heating system and learn more about how your home works, learning how to replace a radiator is just the ticket. We've put together this guide to why you should consider replacing an old radiator(s), as well as a step-by-step instructions to help you with the process.

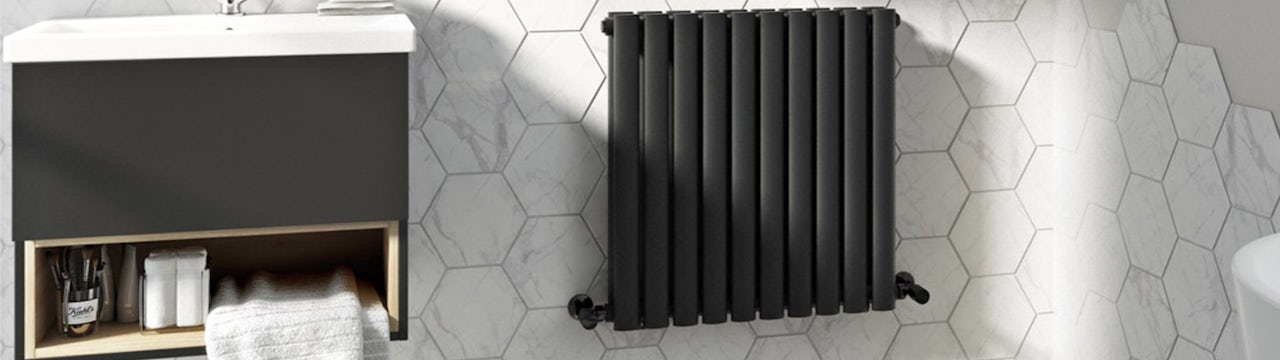
As well as being more efficient, a new radiator can really enhance the look of your home decor
When should you replace a radiator?
You should consider replacing a radiator if:
- It's not getting hot any more
- It makes an excessive amount of noise
- It's visibly rusting
- It's inefficient
Efficiency matters
As with most technologies, radiators have become more efficient over time. Besides improvements in design, old radiators can become inefficient due to:
- Internal blockages
- Rust & corrosion
- Leaks & cracks
An inefficient radiator doesn't just offer poor heat distribution. It also takes its toll on your bank balance (lower efficiency = higher bills) and can be a safety risk.
Top Tip: Spend more to save more
A radiator is a long-term investment. If you're shopping for replacement radiators, look for models that have great energy efficiency over a long period.
It might seem like a big investment in the short-term, but you can reduce your energy bills and avoid having to replace your radiators every few years by buying a quality designer radiator.
Is It easy to fit a new radiator?
So, as far as home DIY difficulty goes, replacing your radiator is somewhere in the middle. It's much easier than re-roofing the house, but it's more complicated than assembling a flat-pack chest of drawers. It's made a lot easier by having the right tools.
Radiator replacement toolkit
You may need:
- Adjustable pipe wrench
- Adjustable spanner
- Anti-corrosion fluid
- Bucket(s)
- Drill and masonry drill bit set
- Pipe cutter
- PTFE tape
- Screwdriver(s)
- Spirit level
- Tape measure
You can make everything easier for yourself if you make sure you have these tools before you start. Changing a radiator is something that most of us can do with the correct tools and precautions, though if you have doubts you can always call a professional.
Top Tip: Call a friend
A radiator is heavy and, at some point, you're going to have to physically remove it from the wall. This is much easier if you have someone around to help you.

Radiators (like this) can be very heavy! This could be a 2-person job
Learning to safely remove and replace a radiator is exciting, but don't be a hero. A work buddy can help you with lifting, offer a second pair of eyes to spot problems, and prevent avoidable injuries (ever had a radiator fall on you? It's no fun). Plus, it's nice to have company; it means you've got someone to natter to.
How do you replace an old radiator with a new one? A step-by-step guide
By following the steps described below, you can replace any radiator in your home. Make sure you've got your buddy and your tools ready, and let's get to work.
1. Turn off the water supply
This one's easy enough, right? Wait, where is the water supply? Why didn't I call a plumber?
Don't panic. First, turn off your central heating. Allow the old radiator to cool completely before you do anything else.
See, isn't this easy? One minute in and you can stop for a cuppa. Plumbers have it easy.
Once the radiator cools, it's valve time.

-
You'll find valves (which may look those in the image above) at either end of the radiator.
-
At one end is the valve you use to switch the unit on and off, and/or adjust the temperature. This is the manual control valve. Turn this valve off completely.
-
At the opposite end is the lockshield valve. This controls the flow of water through the radiator. It may have a protective cap.
-
Remove the cap if necessary. Underneath, most radiators have cap nuts. Use your adjustable wrench to tighten it by turning clockwise. Make sure you count the number of turns: you'll need the same number of turns to open the value afterwards.
What you've done is stopped any more water from coming into the radiator. If you simply need to replace your radiator valve, we've got a guide for that.
2. Drain the radiator
You're going to need one bucket for this next bit, and possibly some old towels in case a bit of water misses its mark.

Put some old towels down, along with your bucket, to protect your floor
-
Return to the manual control valve.
-
Loosen the large nut that connects the pipework to the radiator bleed valve. Use an adjustable spanner to keep the control valve in place.
-
Place a bucket and towels under the loosened valve.
Go to the top of the radiator and unscrew the air bleed valve using a radiator bleed key. This will allow air into the system and the water will begin to drain.
Note that water may also come out near the top when you open the bleed valve with the radiator key. Hold a towel to this to prevent creating a mess or shooting yourself in the face with water!
Do you have to drain the system to replace a radiator?
“Draining the system” refers to draining your entire central heating system, rather than just the one radiator. You don't have to drain the system when replacing a radiator, as the pipes connecting the radiator to the mains are closed off.
However, if you are installing a new unit that is a different size from your current model, you may need to replace or adjust the pipes. Installing new pipework is a more technical job than learning how to replace a radiator and is best conducted by a professional. In this case, you would also need to drain the central heating system.
3. Take the radiator off the wall
Tell your work buddy to stop Instagramming your efforts. It's time they did their share in this DIY job.
-
Make sure the nut at the control end is fully loosened.
-
Unscrew the vertical nut connecting the lockshield valve to the body of the radiator.
-
Get your buddy to hold one end while you hold the other. Gently lift the radiator from the pipework and brackets on the wall. You may need to manoeuvre the pipes slightly to allow the valves to come free, but be careful not to bend them.
-
Allow the water to drain out of the bottom of the unit by tilting it over the bucket.
-
Place the radiator on towels to catch any drips and avoid getting radiator water on your carpet.
You're doing great! Now it's on to installing your replacement radiator.
4. Installing your new radiator
First, you have to decide if you want new radiator brackets (your unit may come with these). If so, simply remove the old brackets and screw the new brackets to the wall using appropriate bolts.
If you plan to decorate the wall behind your radiator, this is the time to do it.
Size matters
As mentioned above, if the new radiator is the same size, you can simply follow this guide. The measurement for the size of a radiator is called its pipe centres: if the pipe centres are the same, the new radiator will fit easily. If not, you may need to enlist the help of a professional.

Don't mess with the pipes in your home unless you're experienced
Supposing you've measured up your new radiator, step 4 is as follows:
-
Wrap PTFE tape around the radiator's adaptor screw threads. This is also known as thread seal tape and works as a sealant when you connect the valves.
-
Before you hang the unit on the wall, connect the radiator valves at either end to the pipework.
-
Open the valves where they connect to the pipes.
-
Get your friend to help you lift the radiator back onto its wall brackets. Tighten up the nuts that connect to the valves.
-
Use the radiator key to open the bleed valve at the top and make sure the valves at the base are open. This will fill the radiator with water.
-
Remember how many turns you needed to close the lockshield valve? Open it by the same number.
-
Make sure all the joints are airtight (but not overly tightened).
-
Now, switch on your central heating.
If all has gone to plan, you're now able to remove and replace radiators. Not only that, you can now nod knowingly at other people when they complain about their noisy old radiators and say “I can help you with that...”

Congratulations! You've now replaced your old radiator with something infinitely more stylish
Replacing a radiator: extra tips
That's the big job taken care of. Now, we'll offer a few handy maintenance tips.
- Bleed your heating system after removal
Once you've removed a radiator, there's a good chance that some air has got into the pipework. It's well worth bleeding all the units in your home to ensure there's no trapped air after removal. The same is true after installing the new radiator.
- Regularly bleeding radiators increase efficiency
Getting into the habit of bleeding the radiators once a year or so comes recommended. Quite aside from how fun it is to say, trapped air is likely to build up over time and this affects the performance of your central heating.
If you have a digital detector acting as a thermostat, you don't have to change the radiator's temperature at the control valve. When you don't have to interact with your radiators, it's easy to forget that they need attention just like any household appliance.
- (Mostly) avoid drying clothes on radiators
There are a few reasons to avoid this, if possible:
- Heavy clothing blocks heat output
- Condensation can cause mould to build-up
- Wet clothing can damage the paint on the wall behind a radiator
- Wet clothing can be very heavy and you risk damaging wall supports if the radiator is overloaded
We know: sometimes it's the best option. Heated bathroom rails are also often used for this purpose, though only in ventilated spaces. We're not saying don't ever do it, but try to avoid it where possible.
Decorating behind a radiator
If you're already replacing radiators, it's the perfect time to decorate behind the radiator. If you've had the same radiators in your home since you first moved there, there may be no paint behind it. However, if you've changed the colour of your walls since you moved in, this area will be a different colour, therefore it's a great time to give it that fresh coat of paint.

Add a fresh lick of paint to the wall behind your heating
Timing is everything
If you time installing a replacement radiator with repainting a room in your home, you can kill 2 birds with 1 stone. It's much neater than putting a fresh coat of paint on the wall behind the radiator without redecorating the room. Even if the new paint matches the existing wall paint, it'll be fresher and so a slightly different colour.
You might also want to:
Paint the radiator itself
If you wish to repaint your new radiator, apply a coat of primer first. Some manufacturers provide specific instructions for painting a radiator, so follow these closely.
Radiator paint is different from normal paint. It's designed to cope with the heat output of the unit, so make sure you're using the right stuff.
You should paint your unit while it's cold, but heat the system within 24 hours of applying the paint. Radiator packaging also makes a great paint mat to prevent your floor from getting dirty!
Just one thing to remember: by painting your radiator, you may void any guarantees that come with it.
Paint the pipework
You can also use radiator paint to repaint the pipes that attach to the radiator. If you choose to do this, make sure you're not painting over any valves. Remember how important it was to be able to turn the valves easily? Paint won't help with that.
You can remove old paint from pipes using wire wool. This can also help to remove old, messy paint from the wall behind the radiator.
Conclusion: Can I fit a radiator myself?
Do you have the plumbing skills to replace a radiator? That's not the question. If you have the tools and the instructions, anyone can replace one.
That said, it's always a good idea to seek professional help if you're unsure. Better to pay a little extra than to damage your pipework or your wall.
On the other hand, we love a DIY attitude, and we hope this guide helps you on your way. Get to know your thermostatic radiator valve from your bleed valve (that's radiator slang for your so-and-so from your elbow) and enjoy some DIY remodelling today!
More DIY heating advice and inspiration
If you’re looking to expand your DIY skills further, you’ll find plenty of handy guides here at Victoria Plum. Whether you’re replacing radiator valves or installing a heated towel rail, we’ll help you achieve this with step-by-step instructions and videos. Need general advice about your heating? Read our radiator buying guide, heated towel rail buying guide or even find out whether underfloor heating is right for you.
Seeking inspiration? Check out all our home heating ideas, including the best vertical radiators for your home and the top heating products for your bathroom.
Shop radiators
Keep your home fires burning with our fabulous range of stylish radiators. From elegant traditional designs to more contemporary styles, you’ll find the perfect heating products for your home at Victoria Plum. To begin browsing, simply click on the image below.


