Want to save money on some of the more basic bathroom tasks? Check out our step-by-step guide to installing your pedestal sink.
Do you want to make your little bathroom look more beautiful, traditional and stylish, but have no idea how to go about doing that? Thankfully, there are plenty of options to choose from. A popular way to enhance your bathroom, including small bathrooms, is to install a pedestal sink. This is a simple and cost-effective transformation that you can complete. This style of sink may appear basic, but it is a quick fix for your makeover.
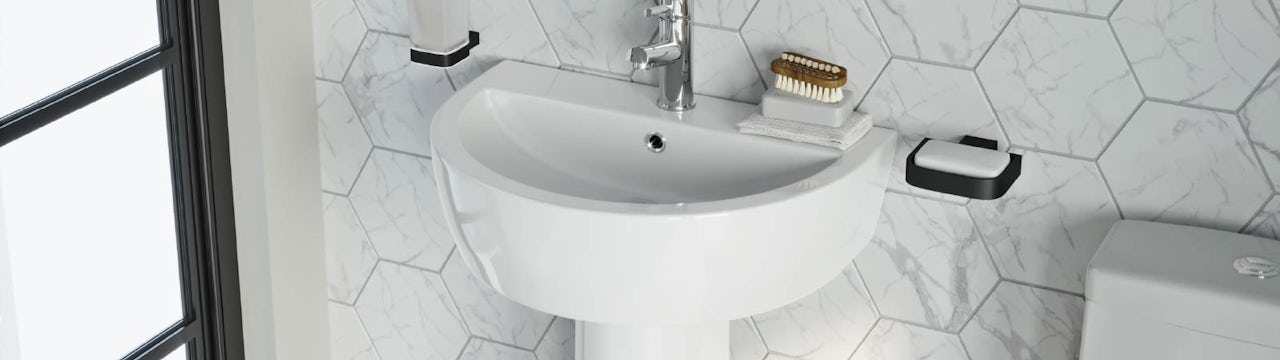
But first, what is a pedestal sink? To deine, it is a bathroom sink mounted to a wall with a basin supported, in part, by a floor pedestal. These basins look fantastic and can completely transform the appearance of a standard bathroom when installed. They take up a portion of the wall so be sure you have the correct amount of space available.
Because you've managed to free up both visible and physical space held by a vanity cabinet, a pedestal sink makes a small bathroom appear larger. The layout also offers the pedestal sink a smooth, clean and smart appearance because the waste, sink drain and water supply lines are covered under the pedestal. Covering supply lines looks neat and tidy.

What do you need to install a pedestal sink?
Tools needed
You will need an adjustable wrench, drain pliers, bolts, a spirit level, flathead screwdriver plus screw, slip nuts, hacksaw, Philips screwdriver and a power drill for your pedestal sink project. Do prepare these tools before your installation so you would not need to run about fetching them while you are at work.
It's crucial to do your research about certain features, such as water supply pipes, drain assembly, cold water valves, water lines and other plumbing connections. Follow the sink's instructions closely as a new sink will take time to prepare. You also need to consider how you will remove the old sink.
Materials needed
You will need the pedestal sink that you have selected based on your bathroom style, decor and size, plus a tap and plumber’s putty.
Installing the pedestal sink
If you are a Do-It-Yourself (DIY) enthusiast, you should complete the task by following certain procedures. Although it isn't rocket science, installing a pedestal sink is a relatively difficult task. You must be self-assured in your job management and be experienced with plumbing in order to work confidently with both the sink and the bathroom.
If you aren’t confident, we would always recommend hiring a qualified trade professional to complete any plumbing tasks, sort plumbing connections and ensure the installation against the wall is done properly.
Mounting the wood blocking
You must determine the height of your pedestal sink's mounting plate using the instruction booklet. Measure and mark the position on the partition wall. Then cut out the wall piece using a suitable saw, making sure to cut from one stud to the next.
To install the blocking, drive angled screws through the blocking and into each wall stud. Cover and paint the wall next. If you need to replace your vanity unit and install tiles, now is the time to do it all at once.

Attaching the mounting plate
Pedestal sinks usually come with a mounting plate. Place the sink on the pedestal top and then against the wall to determine where it should be installed. Now you must make a mark where it will fit and atleast two assistants should be there to help you. One person should be in charge of holding the sink steady, while the other is in charge of marking the wall. The new pedestal sink should be straightforward to install if people are there to help.
Remove the sink and secure the wall-mounting bracket. Because the brackets don't come with screws, lag screws or other heavy-duty fasteners can be used instead. The installation manual instructions and recommendations should be followed here. Use a spirit level to check that the mounting plate is exactly level across the top when you connect it.
The tap
Installing the sink at this stage is recommended because it is easier. The process will become more difficult once the sink is put on the pedestal. If you don't have a gasket, one suggestion to avoid leaks by putting the plumber's putty underneath the tap base.
Now it's time to get your hands dirty. Continue to tighten the stem nuts and slip nuts under the tap deck of your pedestal sink as far as possible, then use an adjustable wrench to tighten them further. Over tightening the screws might cause the sink to break. The pop-up assembly can now be installed. Connect the cold and hot sides of the tap with the flexible tap tails.
Install the sink
Next, mount the sink to the wall by sliding it into the mounting bracket. When it's securely in place, use a spirit level to make sure it's level from side to side. Slide the pedestal into place to ensure that the sink fits properly. If the pedestal is slanted, use small shims to level it.
If the pedestal and sink are properly installed, use a pencil to mark the pedestal holes on the floor and the sinking anchor holes on the wall.
Making holes
Remove the pedestal and sink, then drill holes for lag screws and floor anchor marks in the walls. Sink lag screws are sometimes included with pedestal sinks from the manufacturer.
Place the sink on the mounting plate without using lag screws. More flexibility is gained by installing the pedestal without the screws at this point. Otherwise, you could discover that locating the pedestal in the proper location becomes too difficult.

Attaching the drains
The sink drain is important. In this stage, you'll need help holding the sink steady, so it doesn't tip over the wall mount. Fit the elbow assembly and P-trap to the waste and test them. It's now time to determine the distance between the floor and the trap's open vertical end.
Mark the same distance on the tailpiece of the pop-up waste assembly. Remove the elbow and place the p trap assembly over the waste tailpiece of the pop-up. Finally, wrap the p trap with the plumber's tape and slip the trap onto the mark you placed on the tailpiece.
Thread the nut against the trap with your hand again and tighten it with water pump pliers.
Connecting the water pipes
Are you ready to get down to business with the shutdown valves as part of your pedestal sink? Attach them to the tap pipes with a wrench and tighten them. If you're utilising chrome supply tubes, measure the distance between the shutoff valves and the tap. Allow 3cm (1 inch) before cutting to allow you to bend the tubing to fit.
It's important to avoid kinking the tubing while bending it. To prevent leaks, tighten the top bolts on the tap and apply pipe dope (a lubricant and sealing compound) to the ferrules (AKA grommets or fasteners). Tighten the compression nuts to the valves now.
Place the pedestal sink
Return the pedestal to its original position beneath the sink. You may require assistance from another individual to do the task securely. If the front of the sink needs to be carefully lifted to place the pedestal underneath, you can do so with the help of an assistant.
You may find some resistance due to the trap and drain connections. However, if the connection is made carefully, it will elevate sufficiently to allow it to pass beneath the pedestal. On the other side, too much or too quick lifting can harm the sink or produce leaks.
After confirming that the pedestal is in the proper location, check to see if the sink is level. After that, recheck the leak by flowing water through the drain and shutting off the water valves.
Work on the lag screws
Insert the lag screws into the mounting holes of the pedestal sink and secure them into the wall through the predrilled holes with a socket wrench. Tighten the screws on the other hand. Make sure you just tighten them till they are snug.

Are there any leaks?
Open the cold and hot water valves on your pedestal sink and inspect any drain and water connections for leakage. Fill the floor and pedestal gaps with silicone sealant once you've double-checked everything and made sure everything is in working order.
Conclusion
Although pedestal sink installation can be difficult at times, especially if you haven't worked on complex DIY projects before, doing it yourself is incredibly satisfying.
As you gain more experience, plumbing DIY tasks like this won’t present too much difficulty and you can keep your hard-earned money firmly in your purse or wallet. Good luck, as you are now well-equipped to begin your pedestal sink installation project.
Shop bathroom sinks and basins
Browse our full range of bathroom sinks by clicking below.


