If you’d like to make use of our Bathroom Design Service, we’ll show you the quickest and easiest way to provide us with your bathroom measurements.
As you’ll already be aware, at Victoria Plum, our Bathroom Design Service is the easiest, hassle-free way to achieve your dream bathroom. If you’re taking the first step on the journey, one thing we’ll need from you, before we can provide you with your professional bathroom design, is a diagram showing your bathroom measurements.
Whilst you could sketch a rough outline of your bathroom, using good old pencil and paper, there is a quicker and easier way using our 3D bathroom planner. In this step-by-step guide, we’ll show you just how simple it is.
Measuring your bathroom
Measuring your bathroom is quite straightforward. All you need is a tape measure, a pencil, some paper and perhaps a partner, family member or friend to help. Either check out our guide to measuring your bathroom or watch the video below.
Using the 3D bathroom planner
Now you have all your measurements, including the position of doors and windows, it’s time to use the 3D bathroom planner. Watch our video and follow the step-by-step instructions below.
How to use our 3D planner to provide us with your bathroom measurements
Step 1
Head to our Victoria Plum 3D bathroom planner. It may be better to open this in a new window, so you can refer back to these instructions.
Step 2
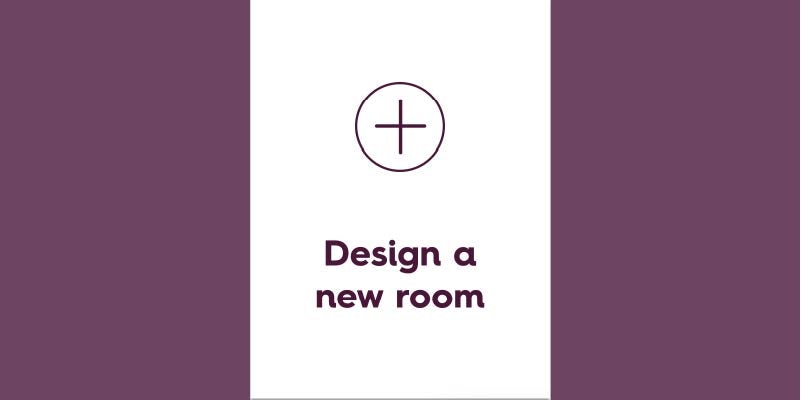
Click on “Design a new room”.
Step 3
Select the shape of your bathroom. “Rectangular” is by far and away the most common.
If your bathroom is a slightly odd layout, don’t worry. You can adjust this during the next step of the process.
Step 4
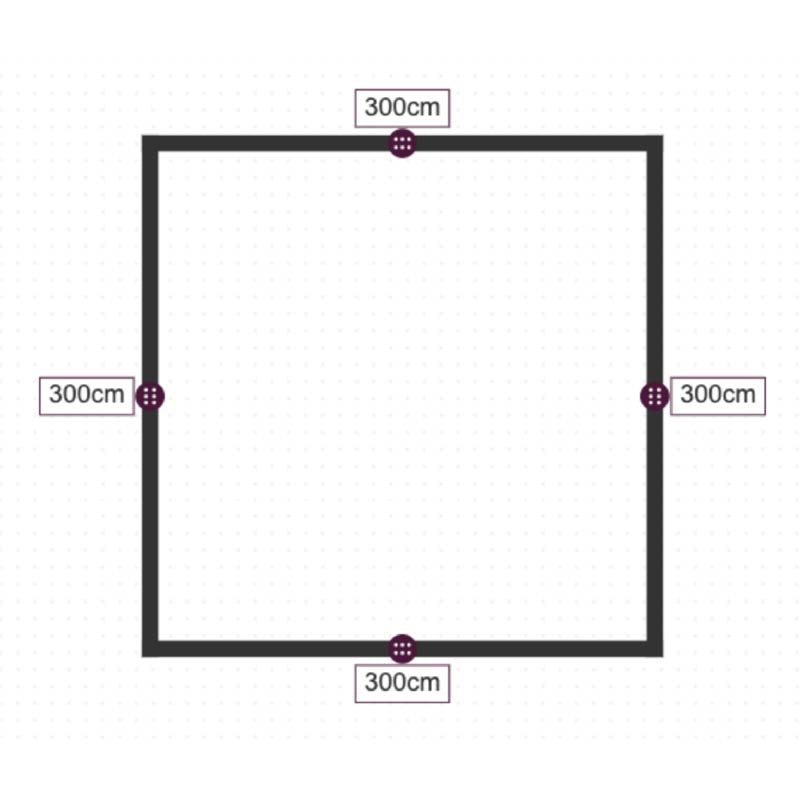
Enter the dimensions of your bathroom in cm.
You can either drag the sides of the room until they reach the correct dimensions or enter the values into the boxes provided.
Step 5
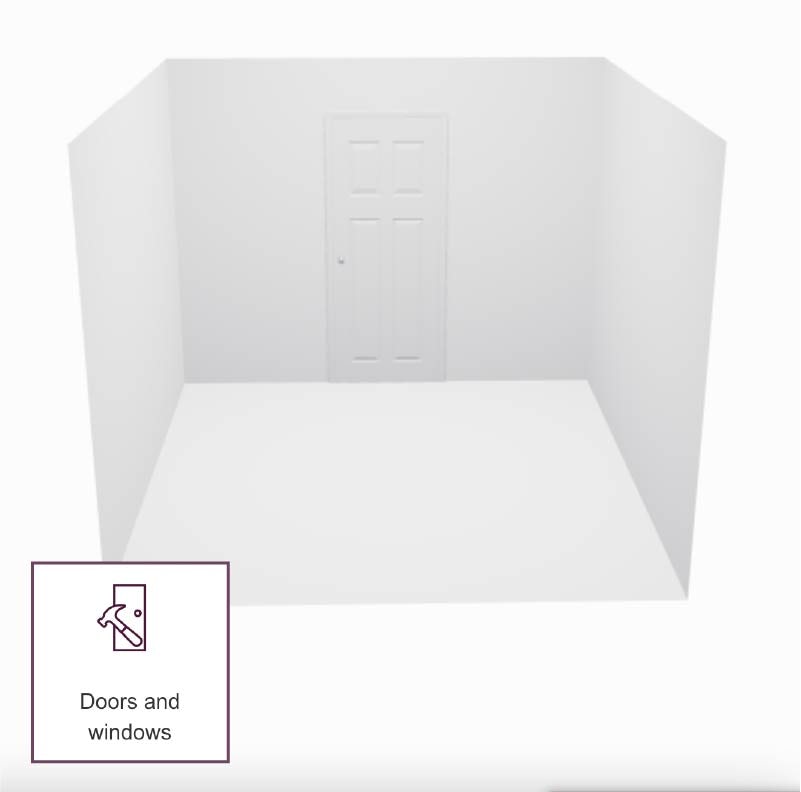
You’re nearly there! Next, add in the position of your door by clicking on it then dragging it to the correct position. If you have windows, add these by selecting from the menu and dragging them to the correct position too.
Step 6
Your bathroom now contains all the basics we need. However, should you like to add some products like a bath, suite, furniture tiles and flooring, which might give us a better idea of how you want your bathroom to look, feel free! You’ll find further step-by-step instructions on how to do this in our guide to using our 3D bathroom planner.
Step 7
Now, you will need to download a high definition (HD) snapshot of your bathroom. To do this, click on the 2D button at the side of the screen (to switch to the top down image). Then click on the HD button below it (with a camera icon next to it). Click the HD button a second time to download the picture.
Step 8
Save your downloaded image to your desktop, so that you can send it to us by email, along with some photos (or, better still, a video) of your current bathroom and your survey.
Step 9
Your design will be saved, so (as long as you are using the same device, like a laptop, tablet or phone), you can pick up exactly where you left off. All that’s left is to give your design a name.
Further help and advice
If you’re in need of further help and advice, VictoriaBot (our friendly and ever-so-knowledgeable chatbot) can help you through the process. Simply contact us to begin chatting.

