Thinking of changing things up in your bathroom with a new vanity unit? Find out how to install it in 10 easy steps.
It is that time of the year when everyone seems to start renovating, including you. This means clearing out old and worn-out furniture, purchasing new plants and renovating rooms to allow for better flow. Maybe it’s time to change up your bathroom as well?
Fitting a new bathroom vanity unit may seem daunting, especially for first-timers, but it isn’t as bad as it seems—and certainly not as difficult as changing kitchen units. Bathroom vanities are usually smaller and lighter, making them easily portable and ensuring that the installation process is fuss-free.
Though the amount of work required depends on the type of vanity unit chosen, bathroom vanities often come fully assembled, so it doesn’t vary too much. We recommend purchasing a fully assembled unit because it has a workmanship guarantee. Prebuilt vanities might be slightly more expensive than do-it-yourself ones, but that guarantee is worth paying extra for.
Preparation is key
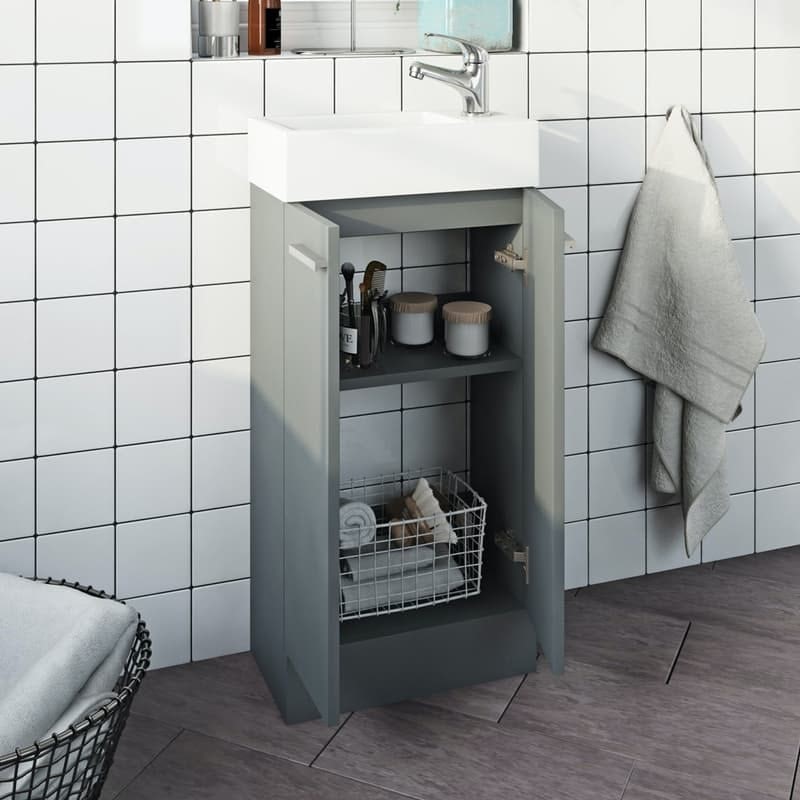
Firstly, you need to measure your bathroom so that you can find an appropriately-sized vanity unit. According to clearance guidelines, the edge of the toilet must be at least 760mm or more away from the edge of the vanity unit, and the front edge is recommended to be at least the same distance away from the opposite wall. If you have a smaller sized bathroom, you might want to opt for a more compact vanity unit rather than the standard one.
For smaller bathrooms, the Clarity Compact satin grey floorstanding vanity unit and basin is ideal
Assembling a bathroom vanity unit
1. Constructing the cabinet
If you’ve purchased a pre-built cabinet, you can skip this step. Those that opted for a ready-to-assemble one, it’s time to get down and dirty. You need to follow the instruction manual carefully to piece it together. Once it’s done, we recommend taking out the drawers to make it easier to manoeuvre for the time being.
2. Draw accurate guidelines on the wall
Now that the cabinet has been assembled, use a tape measure to record the dimensions of the cabinet. Then, draw the guidelines on the wall as meticulously and accurately as you can. Measure everything with a horizontal line to ensure that it is straight––if not, it might not line up well with the cabinet.
3. Measure and cut out the back panel for plumbing
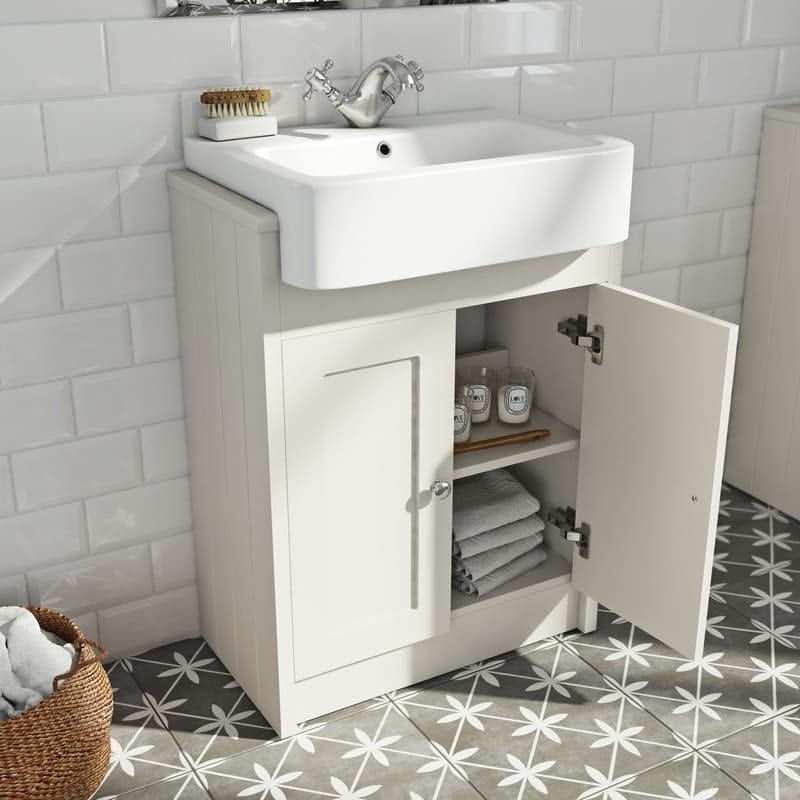
This step depends on whether your cabinet has a solid or open panel at the back, and also whether it has space included to the rear for plumbing. If it is open or has a utility space built into the design (like most vanity units available from Victoria Plum), you can skip this step. For those with a solid panel and no utility space, take your tape measure and locate where the waste pipe and water pipes should go through.
As you can see, like most of the bathroom vanity units exclusive to Victoria Plum, the Dulwich stone ivory floorstanding vanity unit comes with a handy utility space behind the shelves for plumbing
Next, drill or saw out 3 individual holes. If your waste and water pipes are near each other, we recommend cutting out a rectangular section where they can all fit with a reciprocating saw. If you’re using a hole saw to cut out the holes, make them larger than required to give room for adjustment.
4. Mark out the wall studs
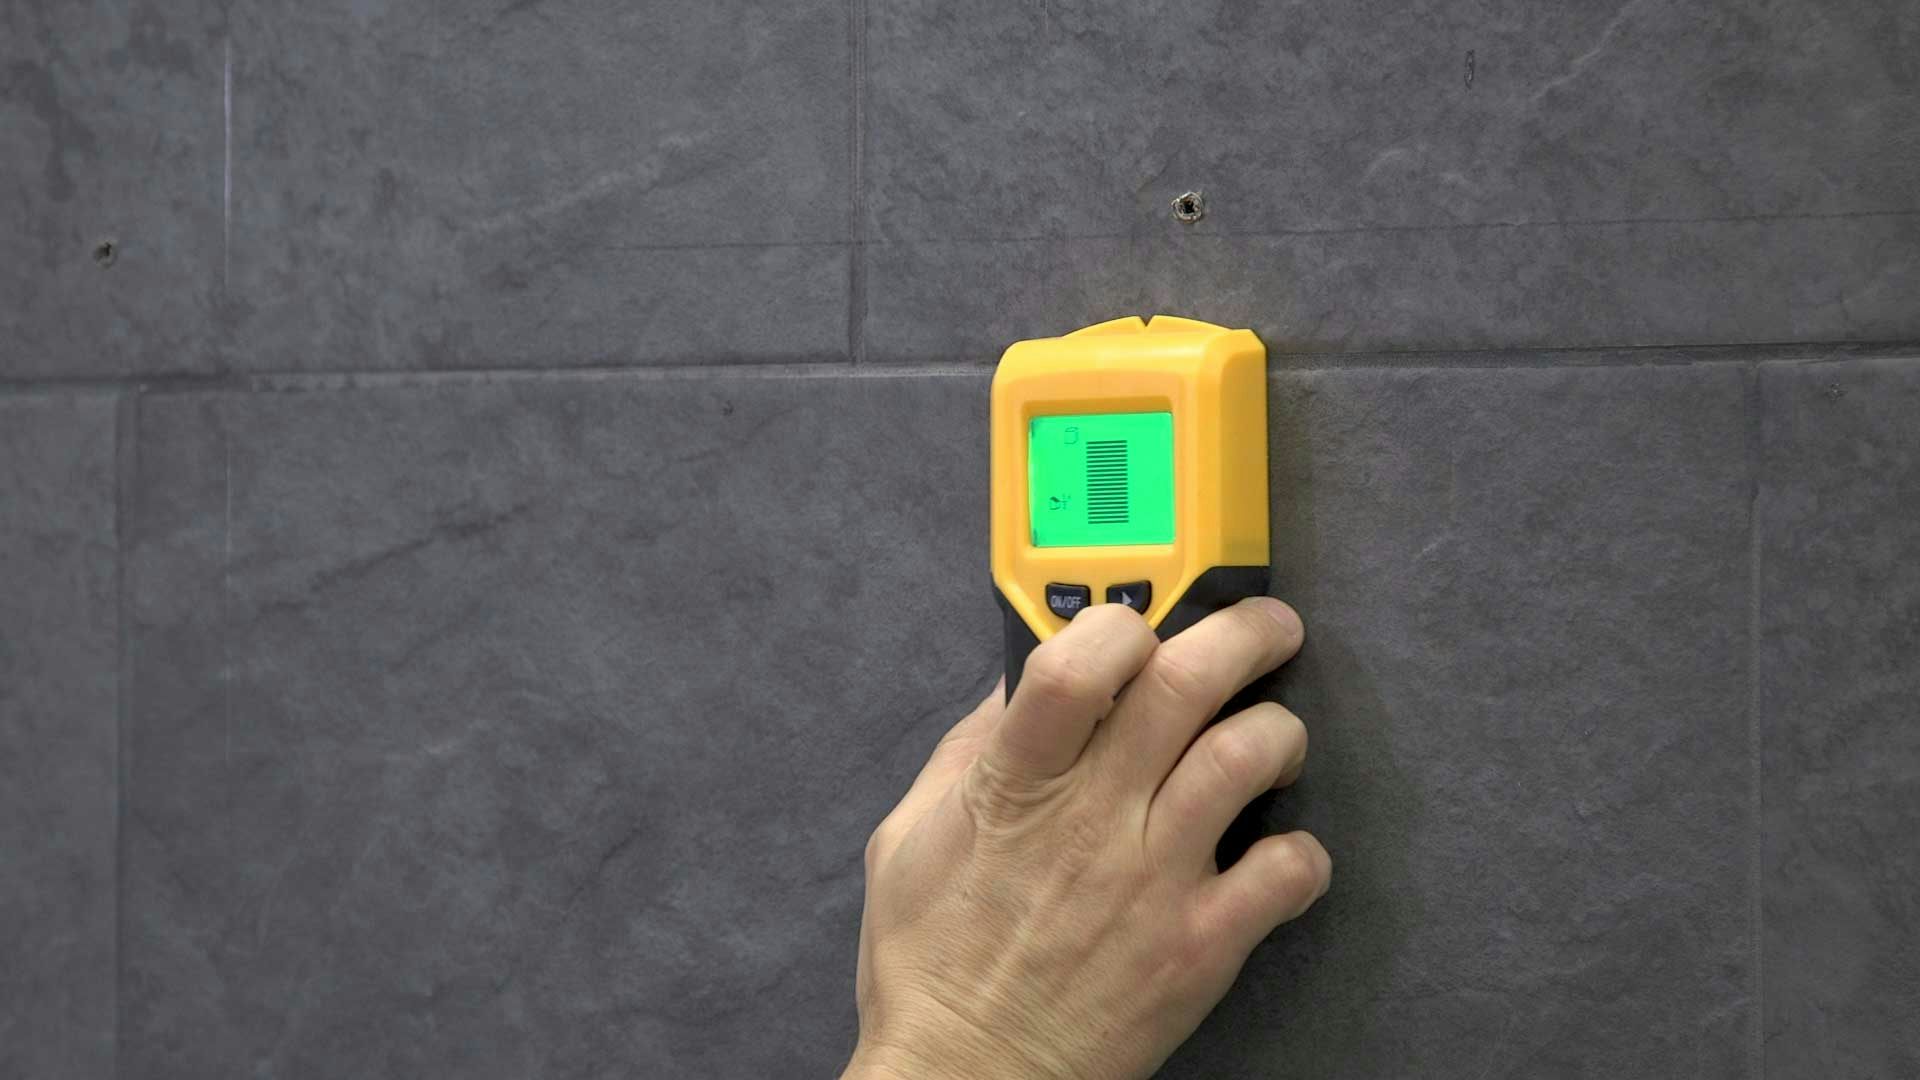
You’ll need a stud finder to first identify where the wall studs are, then mark them on the horizontal outline you’ve drawn out on the wall. This will be used to secure the vanity to the wall.
5. Level and position it
Now, slide the cabinet into the outline that you’ve marked out, and double-check with a spirit level––both depth and lengthwise. Check whether the vanity unit comes with adjustable feet, then adjust it until the bubble is in the centre of both directions. If there aren’t any adjustable feet, and your unit isn’t level, you can gently tap wooden shims underneath the vanity until it is level.
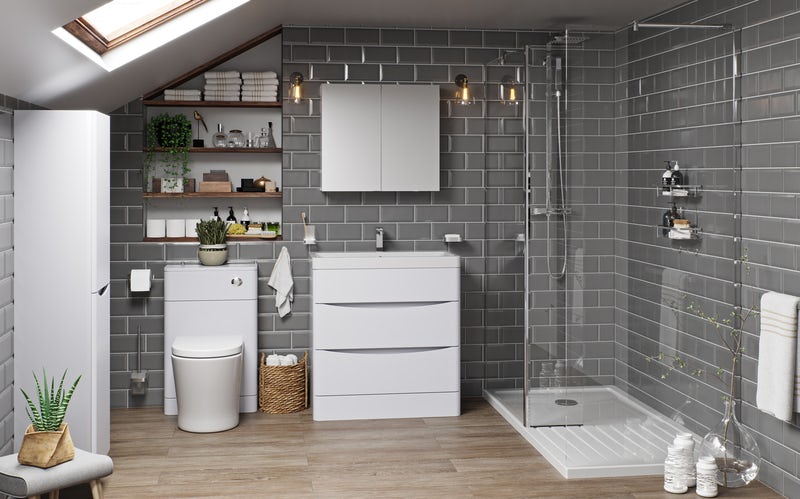
The Derwent bathroom suite from Orchard Bathrooms comes complete with a beautiful, matching vanity unit
6. Secure the cabinet to the wall
Once the cabinet has been aligned, drill ⅛ inch holes through the back of the cabinet until it intersects a stud. Drive through each hole with a wooden screw into the stud. These screws should be big enough to pass through the cabinet, plaster wall, and reach 25mm (1 inch) into the stud.
7. Install the waste, sink and tap
Depending on the type of vanity you have on hand, there are different ways to install these 3 components. Make sure that you’re using enough plumber’s putty—it should ooze out from the sides when you’re tightening the screw with pliers or a pipe wrench.
If your vanity unit comes preset with a top and sink, the tap and waste installation should be done before the setting of the cabinet. If the top and sink come separately, install the cabinet as above then follow the manufacturer’s installation instructions. Most times, the tap and sink waste should be in place before the countertop is installed.
8. Secure everything with the countertop
To make sure everything stays in place as it should, the countertop should be installed last. The securing and fastening instructions usually come with the manufacturer’s installation instructions, but if it does not, most countertops can be secured using silicone sealant.
Apply a generous amount of silicone sealant between the top of the cabinet and the countertop, and keep it in place until it dries up. After which, use the silicone sealant to also seal up the gaps between the countertop and the wall.
9. Connect the tap to the water supply
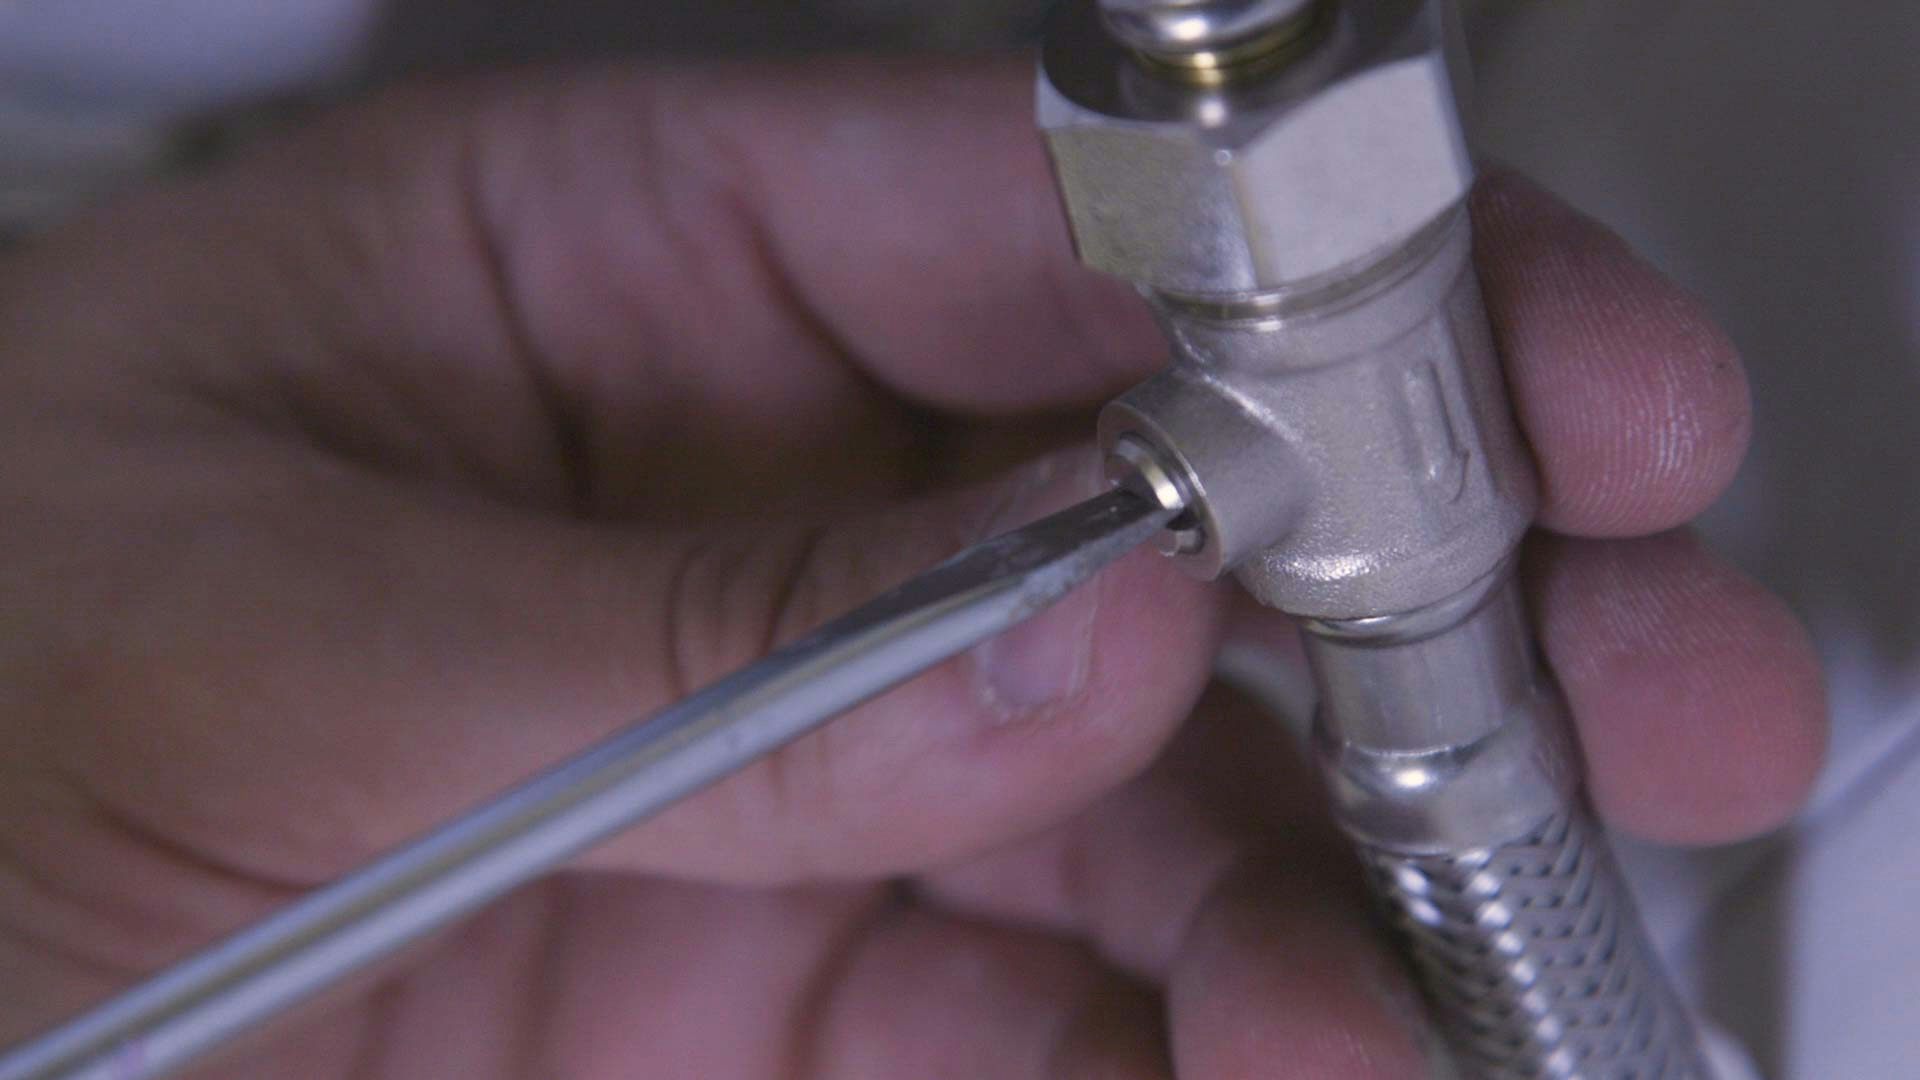
Our recommendation is to use flexible braided supply hoses to connect the tap to the water pipes and shut-off valves. The hose should be just the right size, so not too long nor too short. If you are left without a choice but to use longer hoses, remember to loop them so they do not tangle.
10. Attach the waste to the waste pipe
A tailpiece is a vertical length of pipe. This should be attached from the waste to the strainer located within the sink waste. Insert the other end into a P-trap, which is a curved pipe that collects water to prevent sewer gases from infiltrating into your home. Secure the joint between the tailpiece and the P-trap with a compression screw. After that, connect the other free end of the P-trap to the waste pipe. You will also want to secure the joints between the P-trap and the waste pipe with a similar compression screw.
Enjoy your stunning new bathroom with a vanity unit, like this one from the Adler range
Conclusion
By following the 10 steps above, you should be able to change up your bathroom vanity unit in next to no time!
Before you attempt this, it is advisable to take proper measurements of your bathroom before buying a new vanity unit. Remember that the instruction manual is always there to help and you should refer to it should you ever be in doubt. If you are struggling with the installation, always approach a professional to prevent irreparable damage. We would always highly recommend this whenever any form of plumbing is required.

