Give your bathroom or kitchen tiles a new lease of life by regrouting them. In this expert guide, we’ll show you exactly how to do it with video and step-by-step instructions.
Tiles are a great choice for splash zones in bathrooms and kitchens as they provide a practical yet stylish covering for your walls and floors. However, over time, they can suffer from mould and damage.
If your kitchen tiles or bathroom tiles are looking a little tired and grubby, or you’re simply looking to replace a damaged tile, you’ll need to regrout. To find out how to do this, follow our video and step-by-step instructions below, part of our series of articles on simple quick fixes for your home.
What you’ll need
- Dry cloth
- Grout (ready-mixed or powdered, depending on your choice)
- Small trowel
- Sponge
- Spreader or grout float
- Tile grout finisher (tile finishing tool)
At Victoria Plum, we stock many of these tiling tools.
Time to complete:
- A couple of minutes per tile (applying grout)
- 24 hours (for grout to set)
Regrouting tiles video
Here is how to regrout tiles
-
Remove the old grout from all tiles you wish to regrout.
-
With all of the old grout removed, take a damp sponge and wipe down the area. This will get rid of any remaining debris and dust that you may have missed.
-
Which grout you use will depend on both the colour and the amount you need. If you’re applying grout to a small area, you can purchase ready-mixed tubs. However, the colour range of ready-mixed grout is limited so you may need to choose a powdered grout to mix yourself.
-
Use a small trowel to apply grout along the lines you wish to fill.
-
Using a grout float or spreader, push the grout into the lines. Place your spreader against the tile at an angle and sweep across the tile surface. This will move excess away from the line, leaving you a nice, neat edge.
-
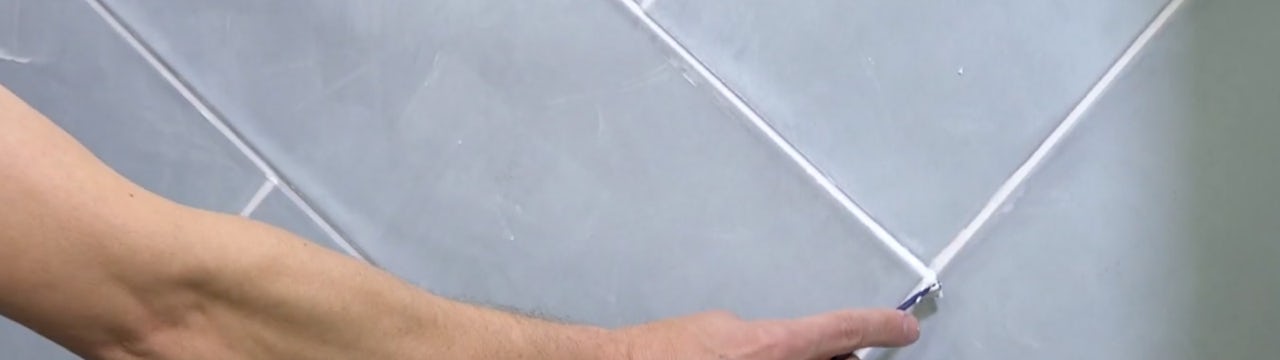
The grout finishing tool will give you a consistent, smooth grout line. Press the ball end into the line and gently run it across.
-
Once the grout has set, a chalky film will appear over the tiled surface. To treat this, simply use the damp sponge once more to lift the residue.
-
Buff the tiles with a dry cloth.
Congratulations, you have now regrouted your tiles.
Step-by-step images
Step 1
Removing old grout.

Step 2
Wiping down surface.

Step 3
Choosing your grout.

Step 4
Applying grout along lines.

Step 5
Using a grout spreader.

Step 6
Using a grout finishing tool.

Step 7
Lifting chalky residue.

Step 8
Buffing with a cloth.

Most of the tiling tools used in the video, can be purchased at Victoria Plum.
If you aren’t comfortable with intermediate DIY tasks like these, it’s always best to consult an experienced professional.
Preparing to regrout bathroom tiles
Of course, when regrouting bathroom tiles, it's a good idea to prepare your bathroom beforehand. Move items like toiletries, bath mats and towels out of the room and put dust sheets over any surfaces, especially baths or shower enclosures. If your bathroom has a window, open it to ventilate your space. You may wish to wipe down your bathroom tiles before beginning the process.
Preparing to regrout kitchen tiles
As a space in which you prepare meals, it's always best to move any food, crockery, glassware or cooking utensils away from your room before regrouting your kitchen tiles. Put dust sheets down to help protect surfaces like worktops, sinks or hobs. Ventilate your kitchen by opening a window. To keep things extra clean, give your kitchen tiles a quick wipe-down beforehand.
More DIY and tiling advice
For more easy DIY tips and advice, head to our quick fixes and easy switches hub for more step-by-step guides with accompanying videos.
If you’d like to learn more about tiling, check out the following articles:


