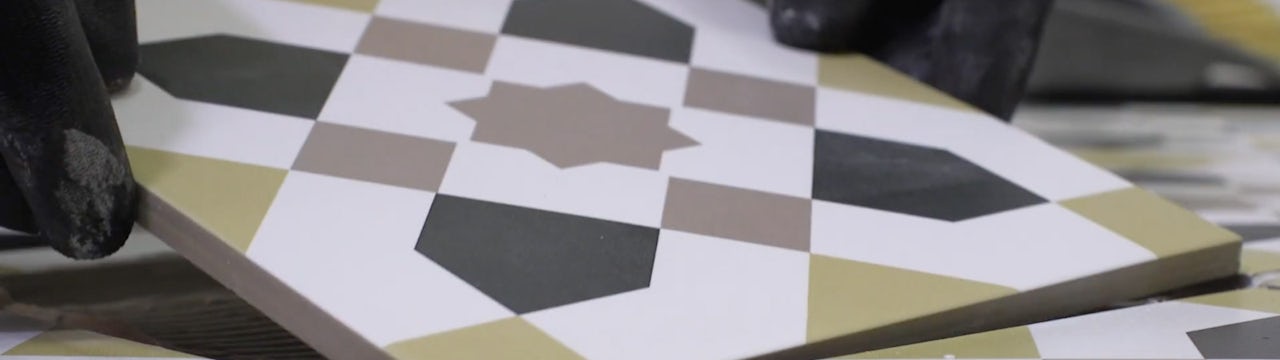
A cracked or chipped tile can ruin the overall look of your bathroom or kitchen. As part of our series of Quick Fixes, we’ll show you just how simple it is to replace a damaged tile yourself.
Tiles offer a wonderfully hardwearing, watertight surface, especially in splash zones like shower enclosures and kitchen worktops.
Occasionally, a tile may suffer a chip or crack, which doesn’t look great. Replacing a single damaged tile is a simple task and can save you from retiling an entire wall or floor.
Removing tiles is messy and some may shatter during removal. So, make sure you use protective eyewear and gloves, as well as a dust mask to prevent injury.
What you’ll need
- Chisel
- Dust mask
- Electric drill
- Grout rake or Multitool with grout tool
- Notched adhesive trowel
- Pencil chisel
- Protective gloves
- Protective eyewear
- Ready mixed tile adhesive
- Ready mixed grout
- Spare tile (which matches your existing tiles)
- Sponge
- Spreader or grout float
- Tape
- Tile grout finisher (tile finishing tool)
You can find many of these tiling tools at Victoria Plum.
Time to complete:
- 30 minutes to remove and replace the tile
- A further 48 hours to allow for adhesive and grout drying times
Replacing a damaged tile video
Here is how to replace a damaged tile
-
Remove all of the grout from around the damaged tile. Use a grout rake or a multi-tool with grout attachment.
-
Depending on how the tile is damaged, you may need a drill a hole to get started. If so, use tape to prevent the drill from slipping.
-
Use a pencil chisel to get under the tile. Use light but firm taps to start and then gradually increase the force until the tile finally comes away.
-
With the damaged tile removed, clean off the old tile adhesive underneath. The surface needs to be as flat as possible so that the new tile sits flush against the surrounding tiles.
-
Remove any debris and clean the area with a damp sponge.
-
Once the area is dry, apply some tile adhesive. Using a notched trowel or spreader, spread the adhesive creating channels.
-
Press the new tile firmly into position, lining the corners up with the surrounding tiles.
-
Remove any adhesive that has filled the grout lines before it sets.
-
Wipe down the whole tile with a damp sponge.
-
Refer to the adhesive manufacturer’s instructions for drying times.
-
Once the adhesive has set, apply the grout (ready mixed grout is ideal). Simply press the grout into the joint using a spreader or grout float, then wipe away excess with the flat edge of your tool (a grout finishing tool will give you a smooth, consistent grout line).
-
Using a damp sponge, wipe away any leftover grout.
-
Once the grout has set, a chalky film will appear over the tiled surface. To treat this, simply use the damp sponge once more to lift the residue.
-
Buff the tiles with a dry cloth.
Congratulations, you have now replaced a damaged tile.
Step-by-step images
Step 1
Removing grout.

Step 2
Drilling a hole.

Step 3
Using a pencil chisel to prise the tile away.

Step 4
Cleaning off old tile adhesive.

Step 5
Removing debris and cleaning the area.

Step 6
Applying tile adhesive.

Step 7
Pressing new tile into position.

Step 8
Removing adhesive from grout lines.

Step 9
Wiping down tile with a sponge.

Step 10
Waiting for adhesive to set.

Step 11
Applying grout.

Step 12
Wiping away leftover grout.

Step 13
Lifting chalky residue.

Step 14
Buffing with a cloth.

You can find most of the tiling tools used in this video on our website. The hardest part of this fix can be finding a matching tile. So, try to keep any leftover tiles when completing a room, just in case you need to replace one in the future.
Remember to always consult a professional if you aren’t comfortable with intermediate DIY tasks.
More DIY and tiling advice
If you’re one of those people who never seems to find time to fix those minor snags around the home? Well, you’ve come to the right place.
Check out our quick fixes and easy switches hub for plenty of simple, expert advice on kitchen and bathroom DIY.
Searching for more advice on tiling? Click on any of the links below to read one of our comprehensive guides.


