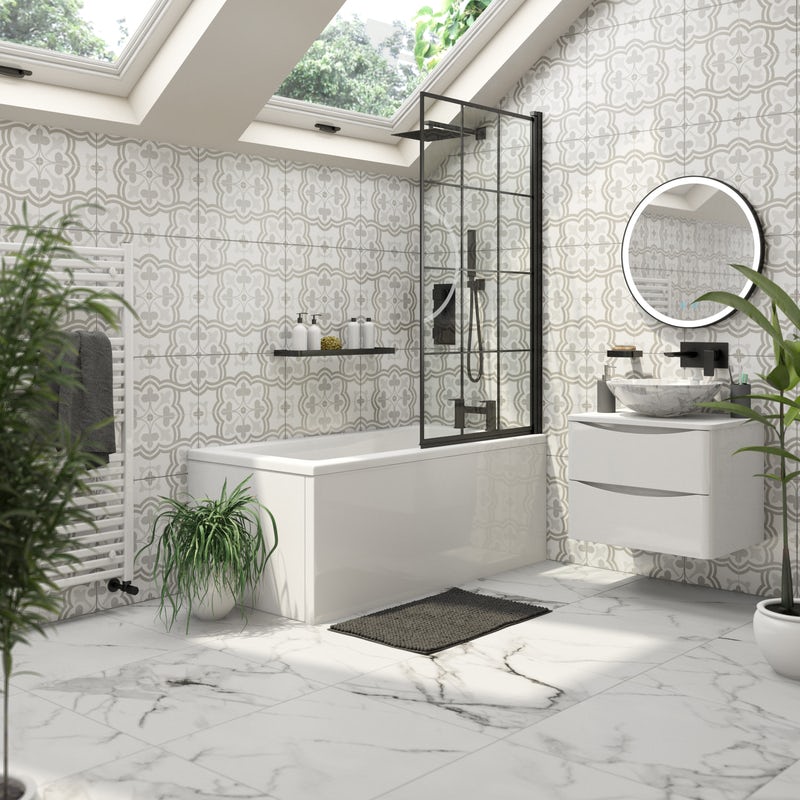
Tiles are one of the most popular wall and floor coverings for bathrooms, so how do you keep them in tip-top condition?
Hi, I’m Adam, and I’ve been bringing Victoria Plum customers the very best in bathroom hacks and advice for over 10 years. In the latest of our series of “Quick Fixes”, I’ve called on all our experience and expertise to bring you some simple, easy-to-follow tips. In this article, we’ll show you how to clean tiles in your bathroom, to bring back sparkle and help remove dirt and mould from grout lines.
The best way to prevent grime build-up on your floor tiles is to regularly mop with everyday floor cleaner and wipe down wall tiles regularly. Regular tile cleaning is a great way to keep old bathroom tiles looking new.
As wall tiles and floor tiles can be cleaned in slightly different ways, we’ve split this “how to” guide into 2 separate sections, each with its own step-by-step video. You can jump straight to the section you wish to read by clicking the links below:
- 1. Things you’ll need
- 2. How to clean floor tiles step-by-step video
- 3. How to clean floor tiles step-by-step instructions and images
- 4. How to clean wall tiles step-by-step video
- 5. How to clean wall tiles step-by-step instructions and images
- 6. How to clean grout
- 7. Cleaning different types of tiles
- 8. More Quick Fixes for your bathroom
1. Things you’ll need:
- Cleaning sponge, cloth or old towel
- Mop and bucket (for floor tiles only)
- Standard household cleaner (suitable for use on your specific tiles)
- Toothbrush
- Water
If you’d like to make a natural cleaner, you will require:
- Baking soda
- Lemon juice
- Spray bottle
- White vinegar
Top tip: Try different types of bathroom or kitchen tile cleaner and find out which is the best tile cleaner for your bathroom.
2. How to clean floor tiles step-by-step video
3. Here’s how to clean floor tiles
By following these simple steps, we'll show you how to clean tile floors to bring back their sparkle.
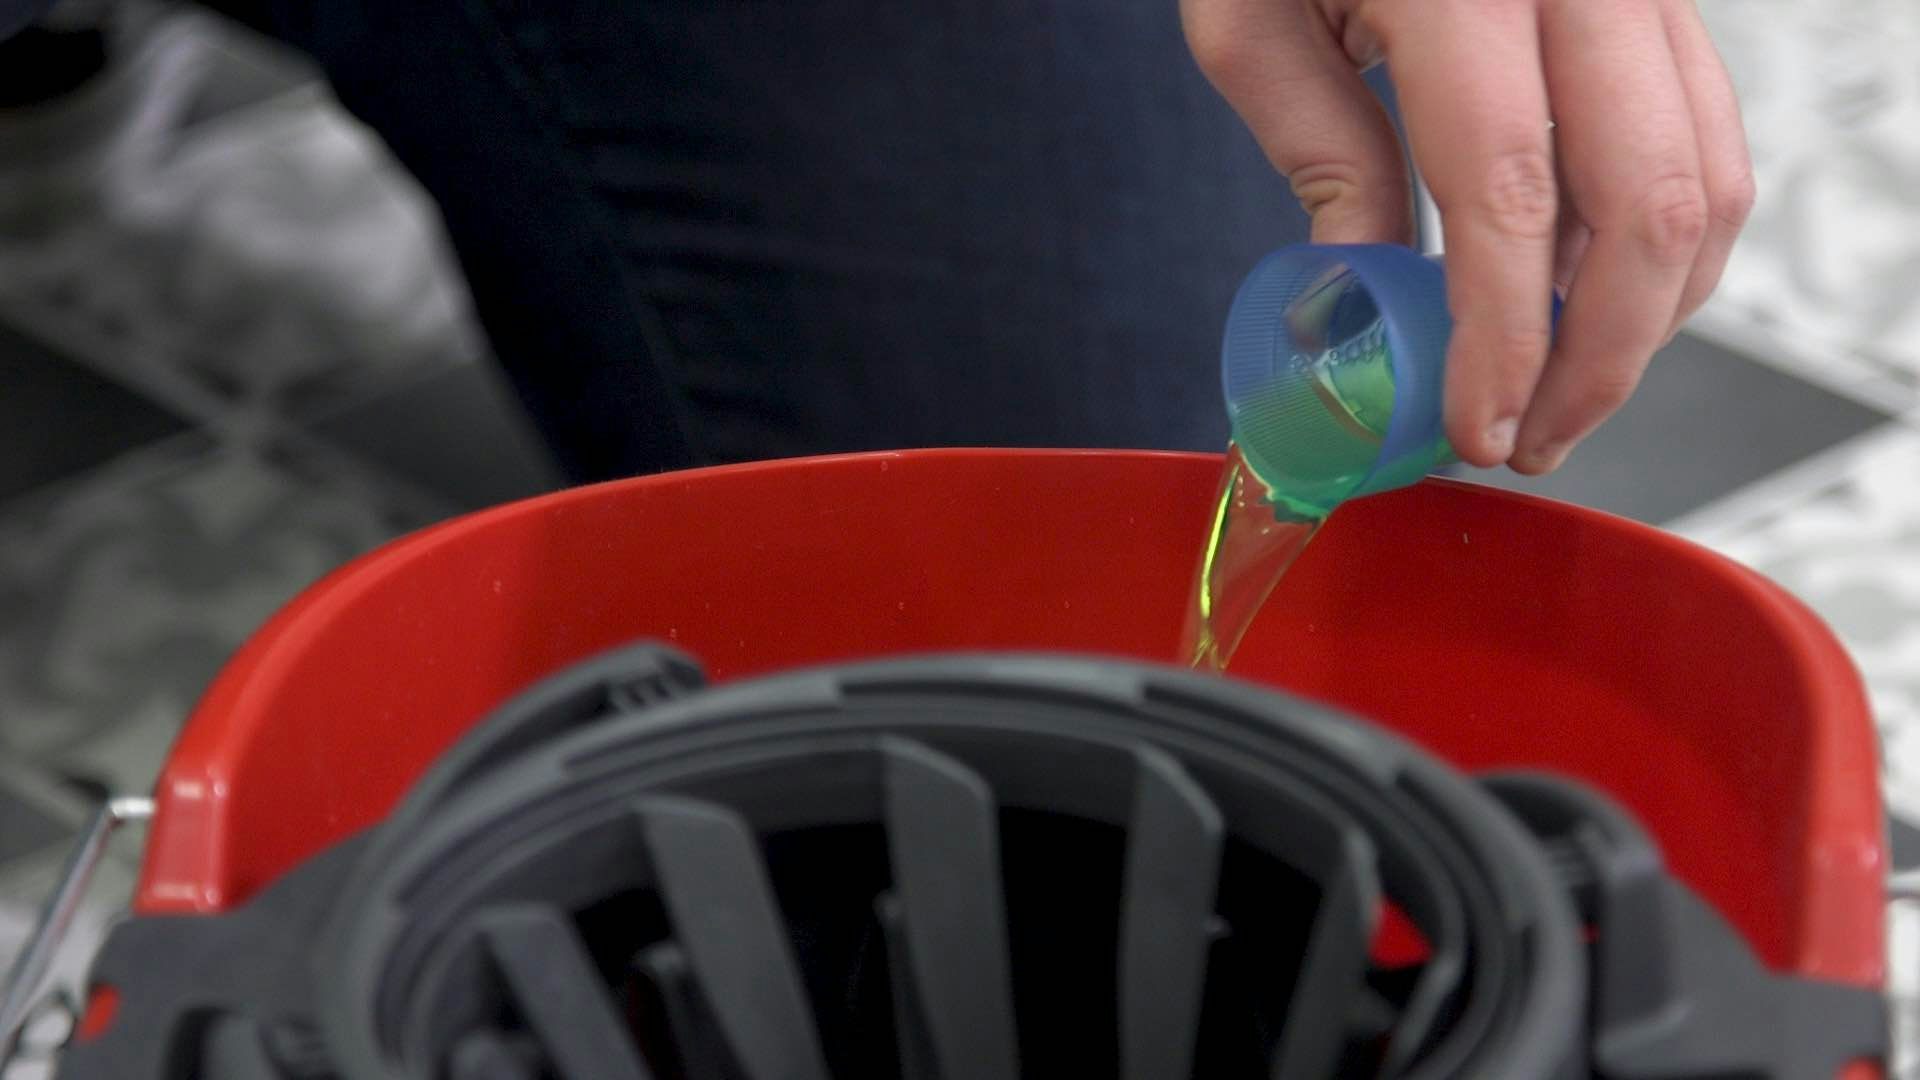
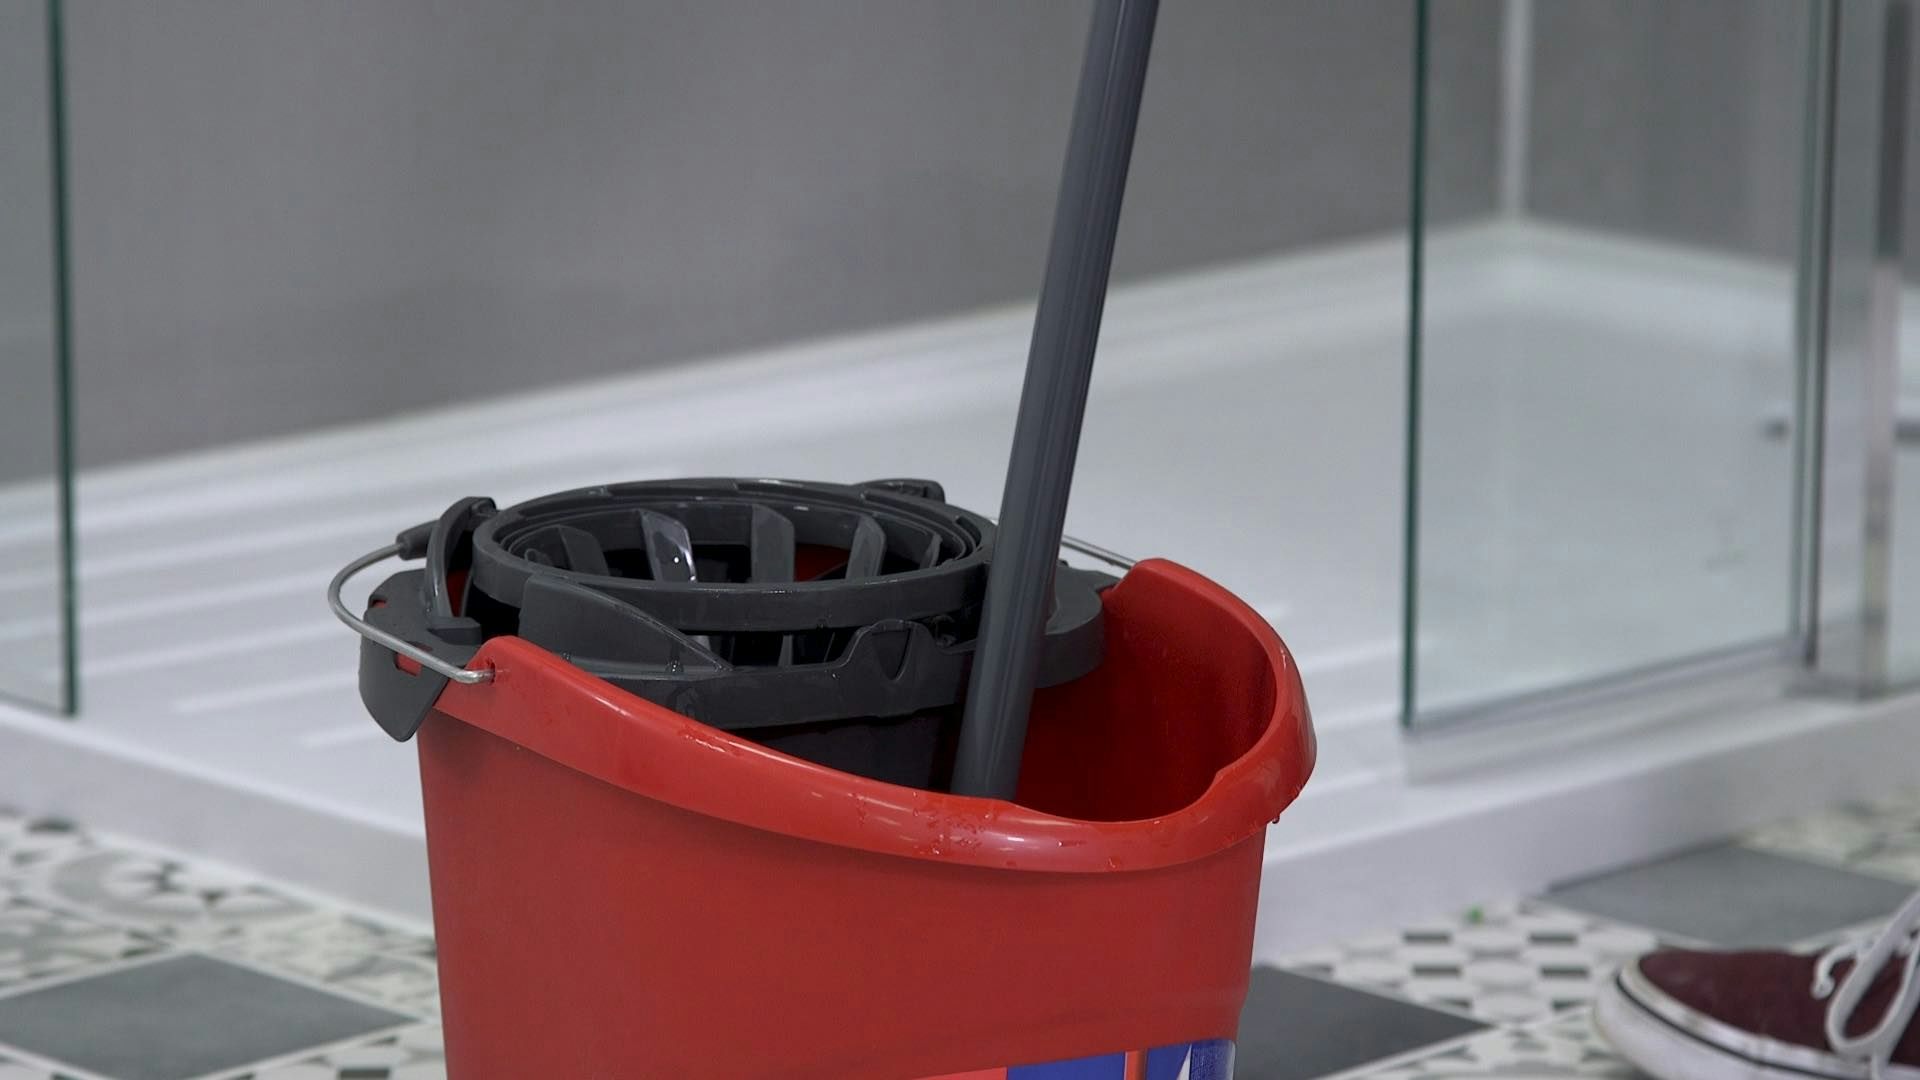
Step 1—Fill your bucket with cleaner
Fill your mop bucket with warm water and use about half the recommended amount of cleaner. This will prevent sticky and slippery floors once dry.
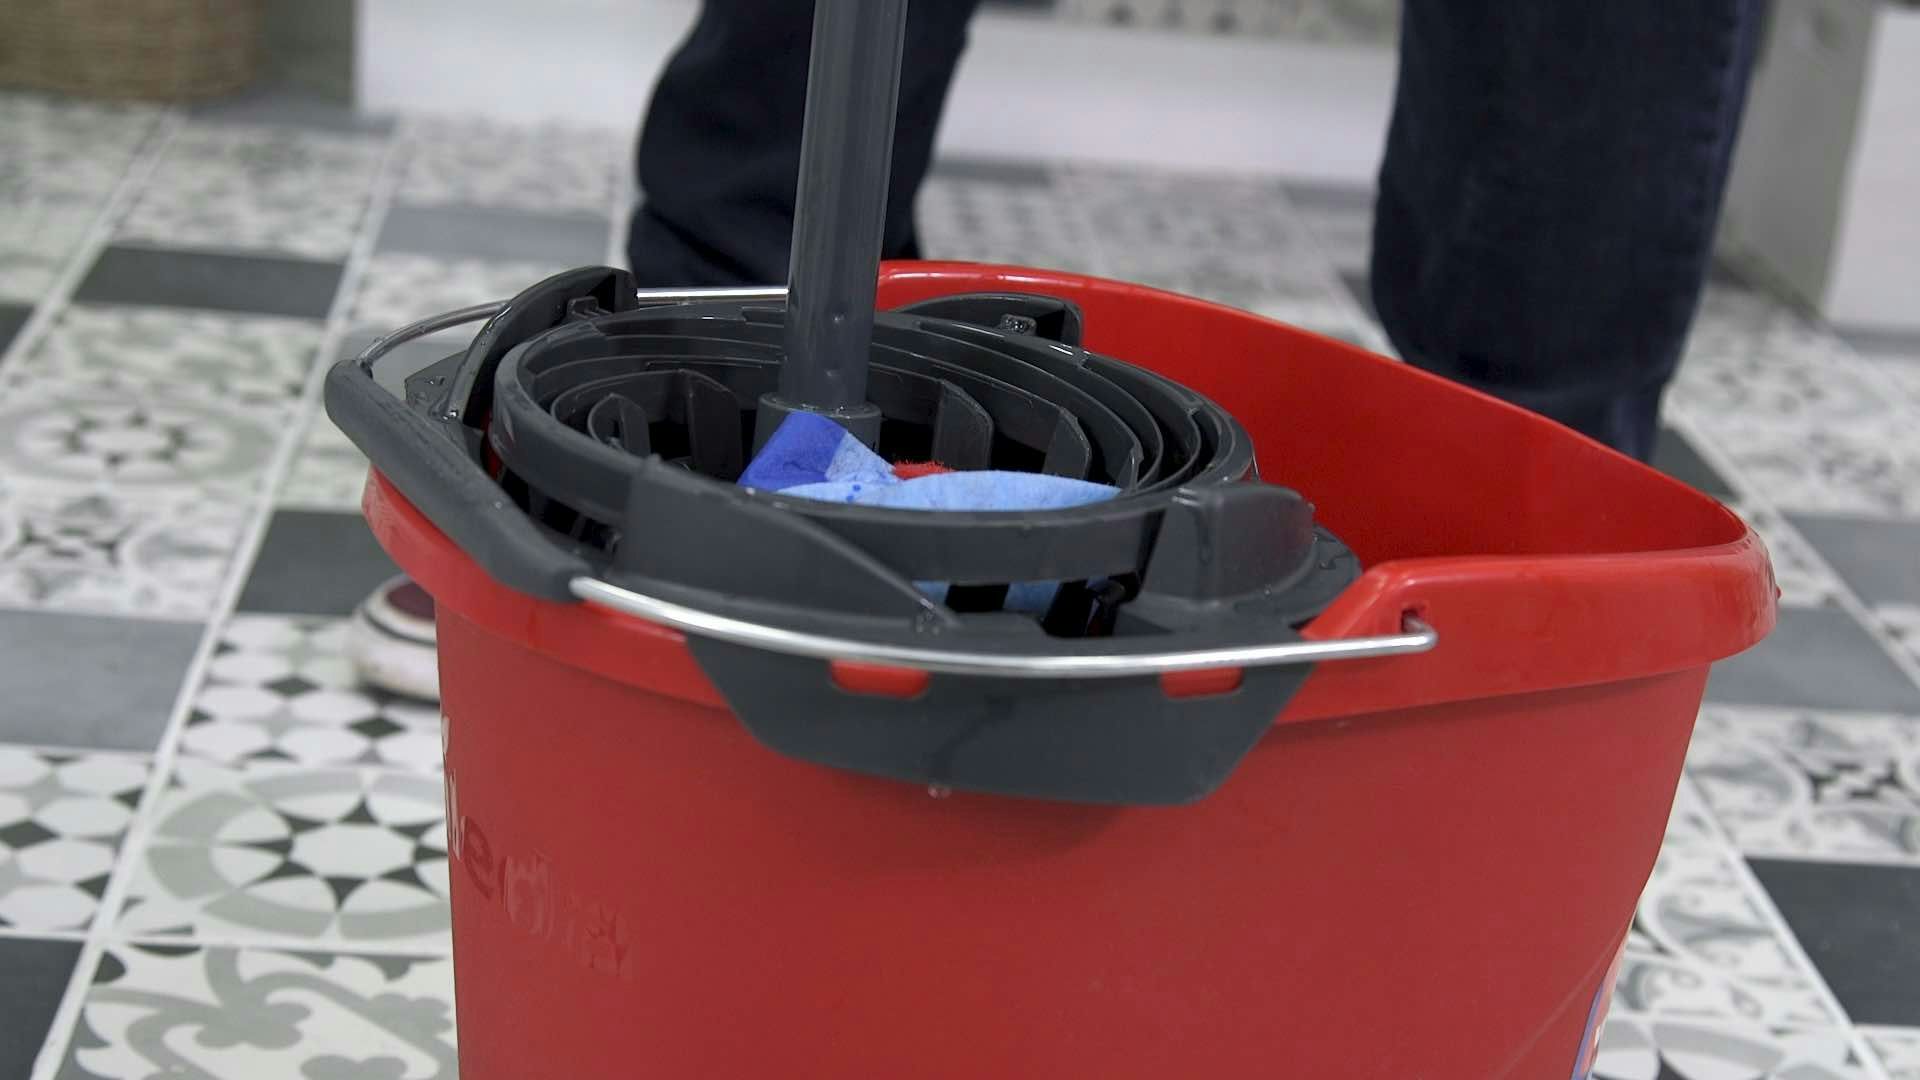
Step 2—Soak then wring out your mop
Soak your mop with the solution and wring out until most of the water has drained.
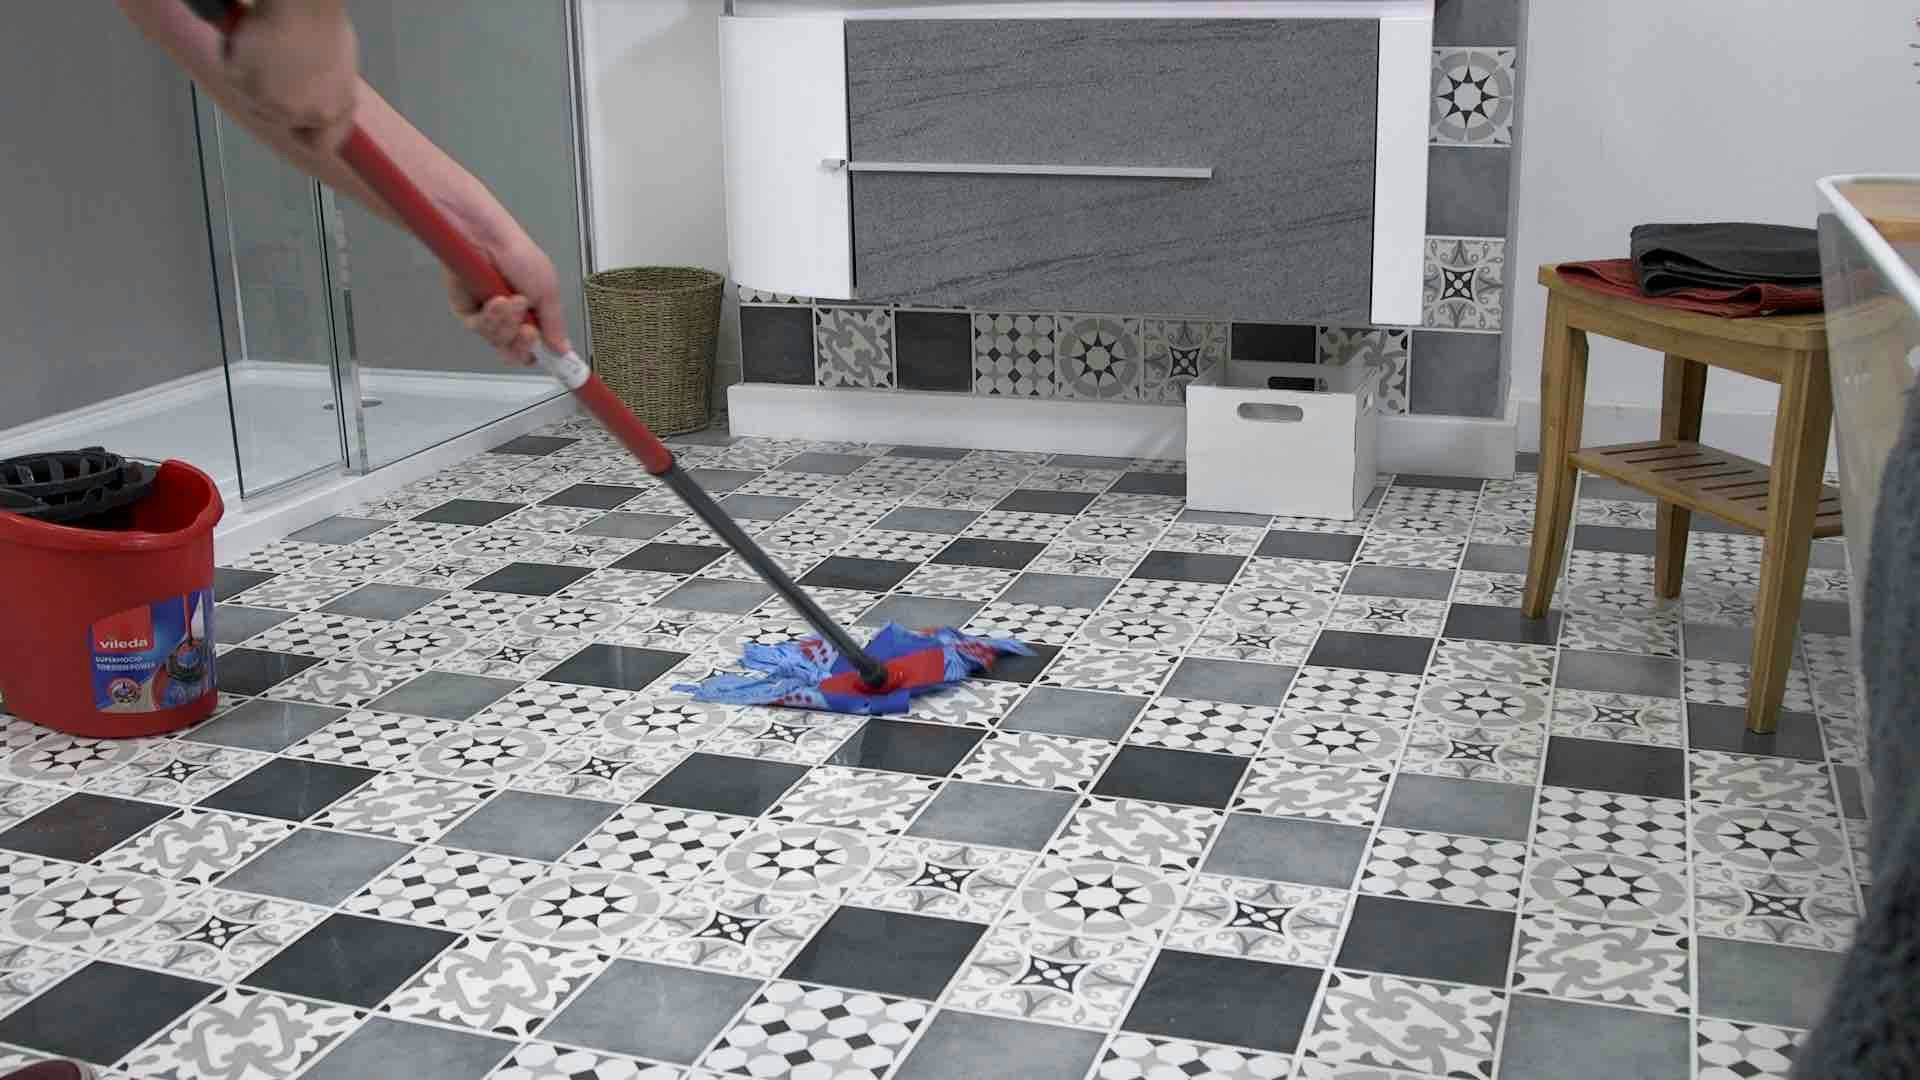
Step 3—Begin mopping
Mop your floor tiles using a figure of eight pattern. This will trap dust and debris.
Step 4—Rinse mop regularly
Rinse the mop throughout this process, working back towards the doorway.
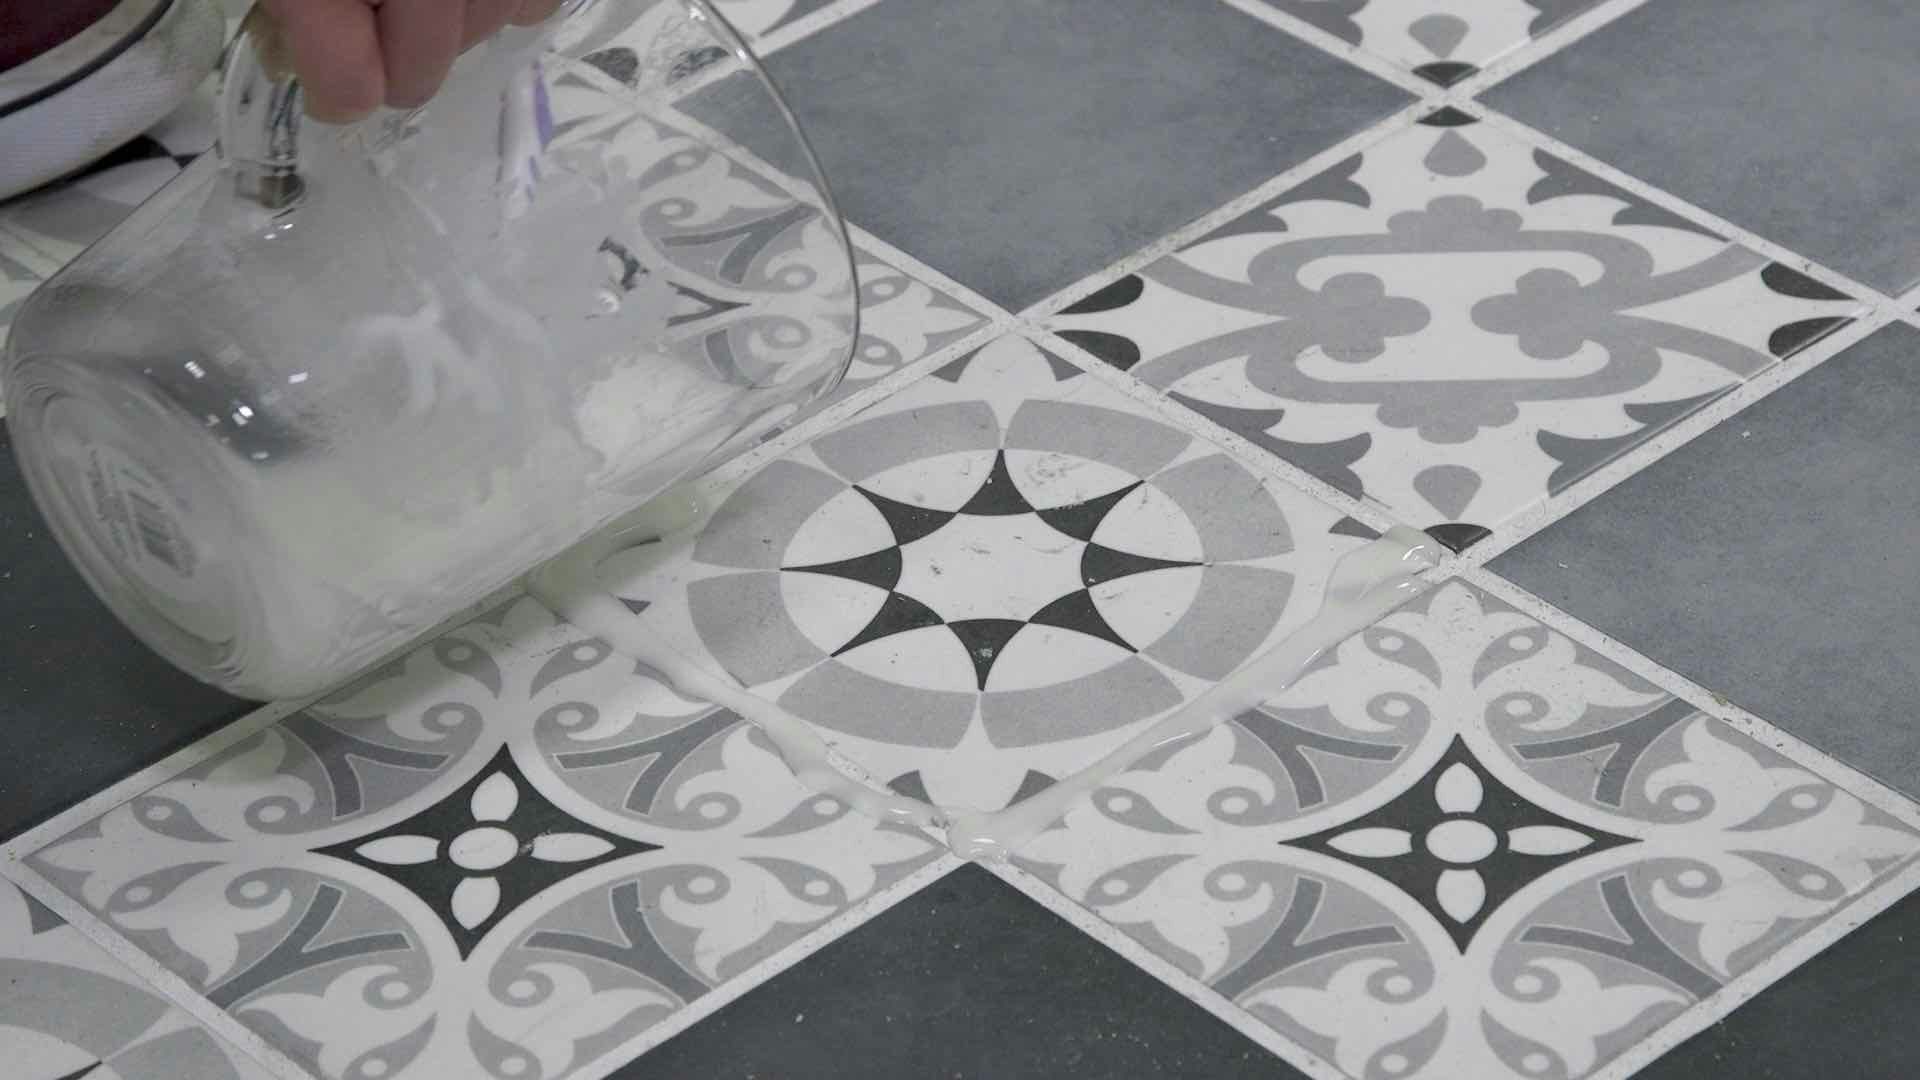
Step 5—Apply paste to grout
For dirt in grout lines, mix water, lemon juice and baking soda into a paste and apply to the grout.
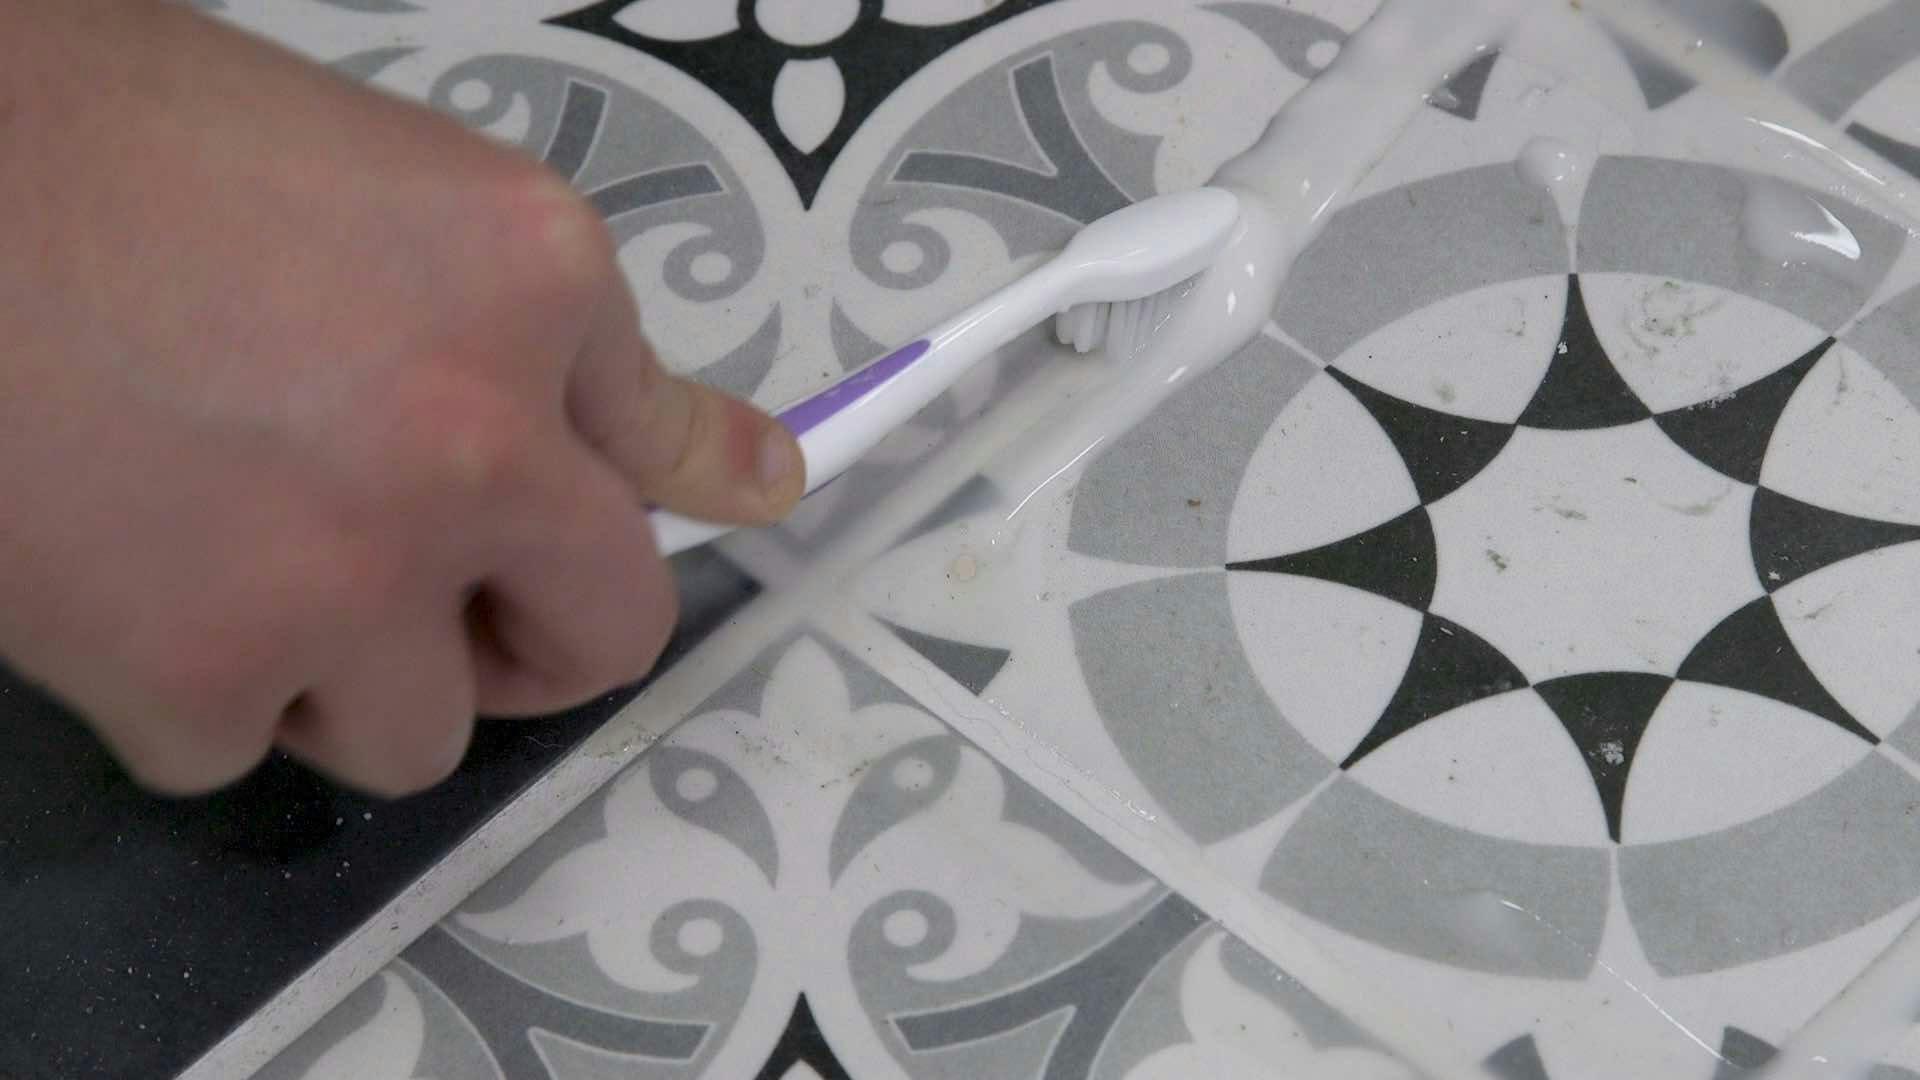
Step 6—Allow to work
Leave for 10 to 15 minutes, then scrub the grout lines with a toothbrush (making sure it’s not one that’s currently used for teeth!). For more stubborn stains, mix in a little extra lemon juice. This acts as a natural whitener.
Step 7—Wipe clean
Wipe away the cleaned area with sponge, cloth or old towel to reveal a sparkling, fresh grout line.
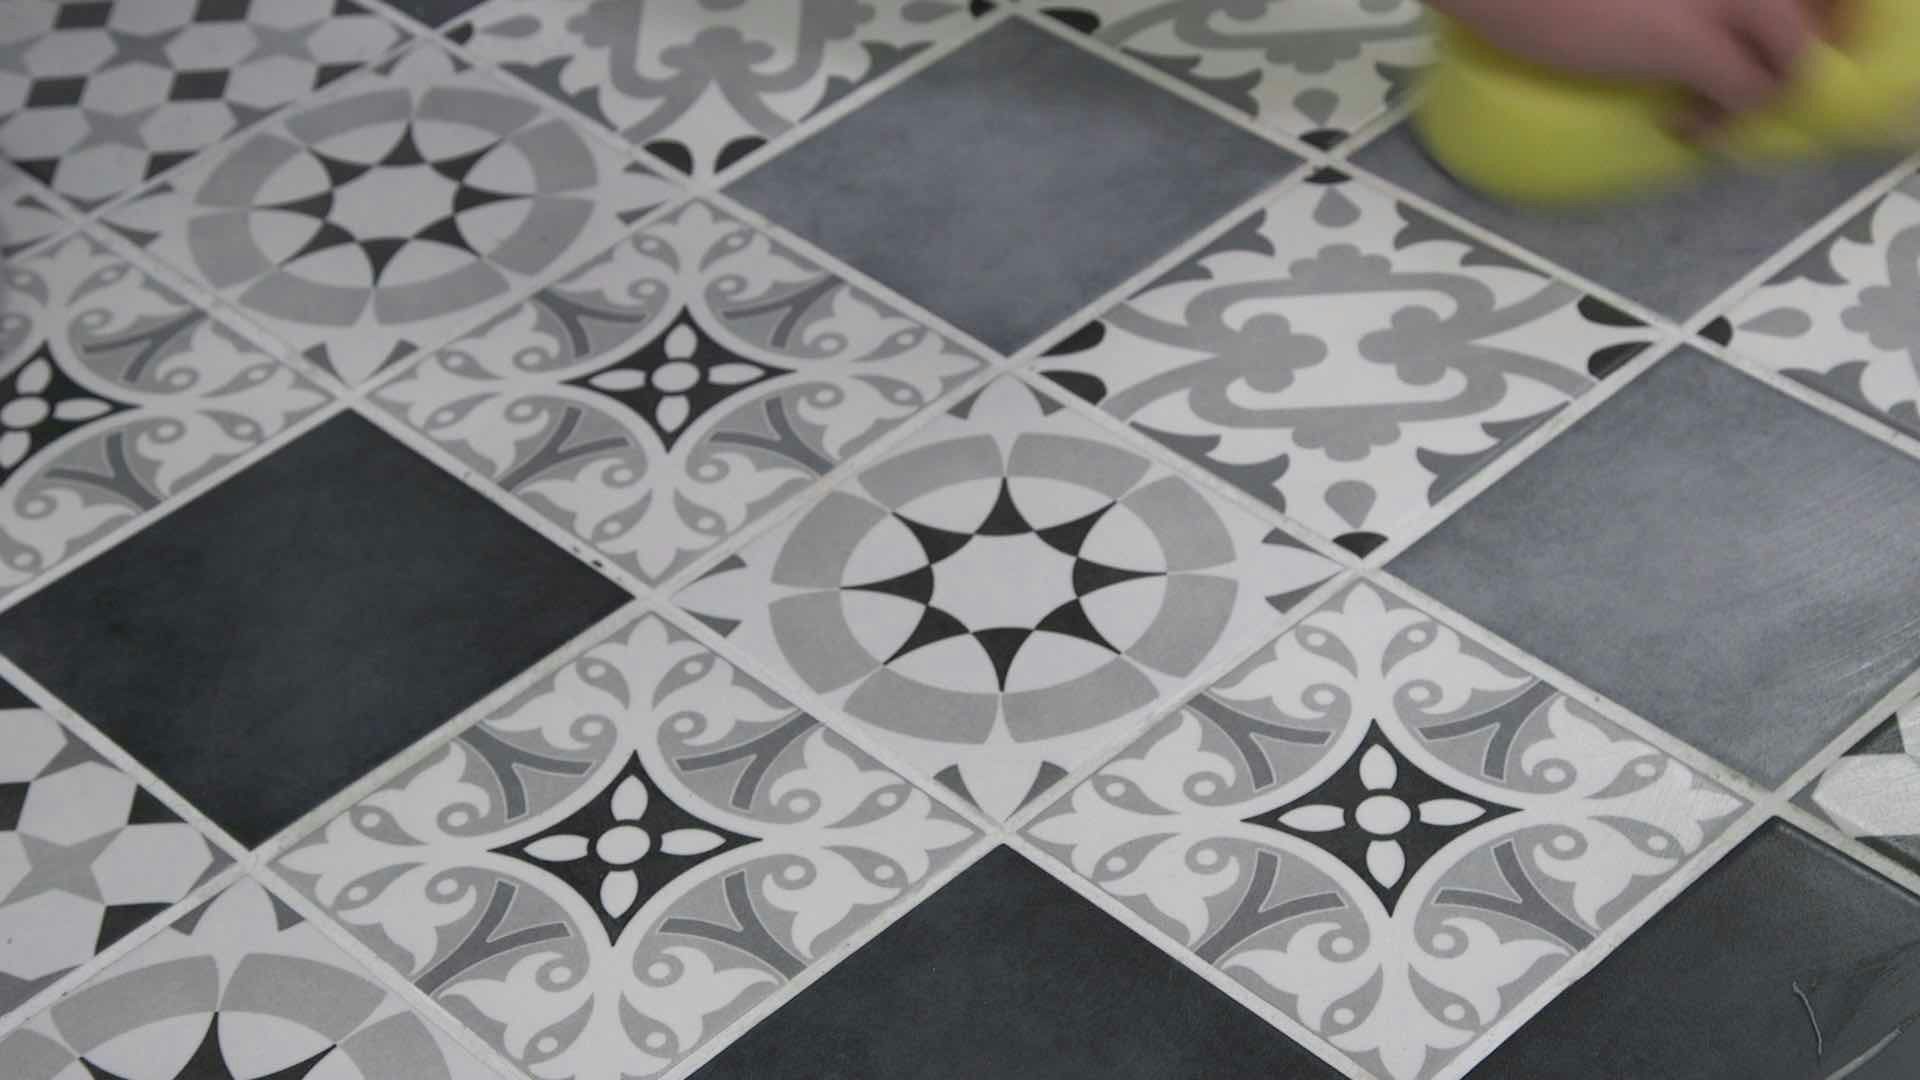
Congratulations, you have now cleaned your floor tiles.
This is the best way to clean tile floors, however, if you wish to give your floor tiles a really deep clean, you could use a steam cleaner. If you don’t own one, they are widely available to hire and are especially great for large, tiled areas.
4. How to clean wall tiles step-by-step video
Watch this short video to see how to clean old tiles and bring back that shine.
5. Here’s how to clean wall tiles
Follow these simple steps which show you how to clean old tiles, bringing a fresh new look to your bathroom.
Step 1—Prepare your cleaner
Whilst you can simply use household cleaner (first making sure it is suitable to use on your specific tiles), you may want to make a natural cleaner. To do this, you will need some baking soda, lemon juice and white vinegar. Mix 2 spoons of baking soda with 500ml of water.
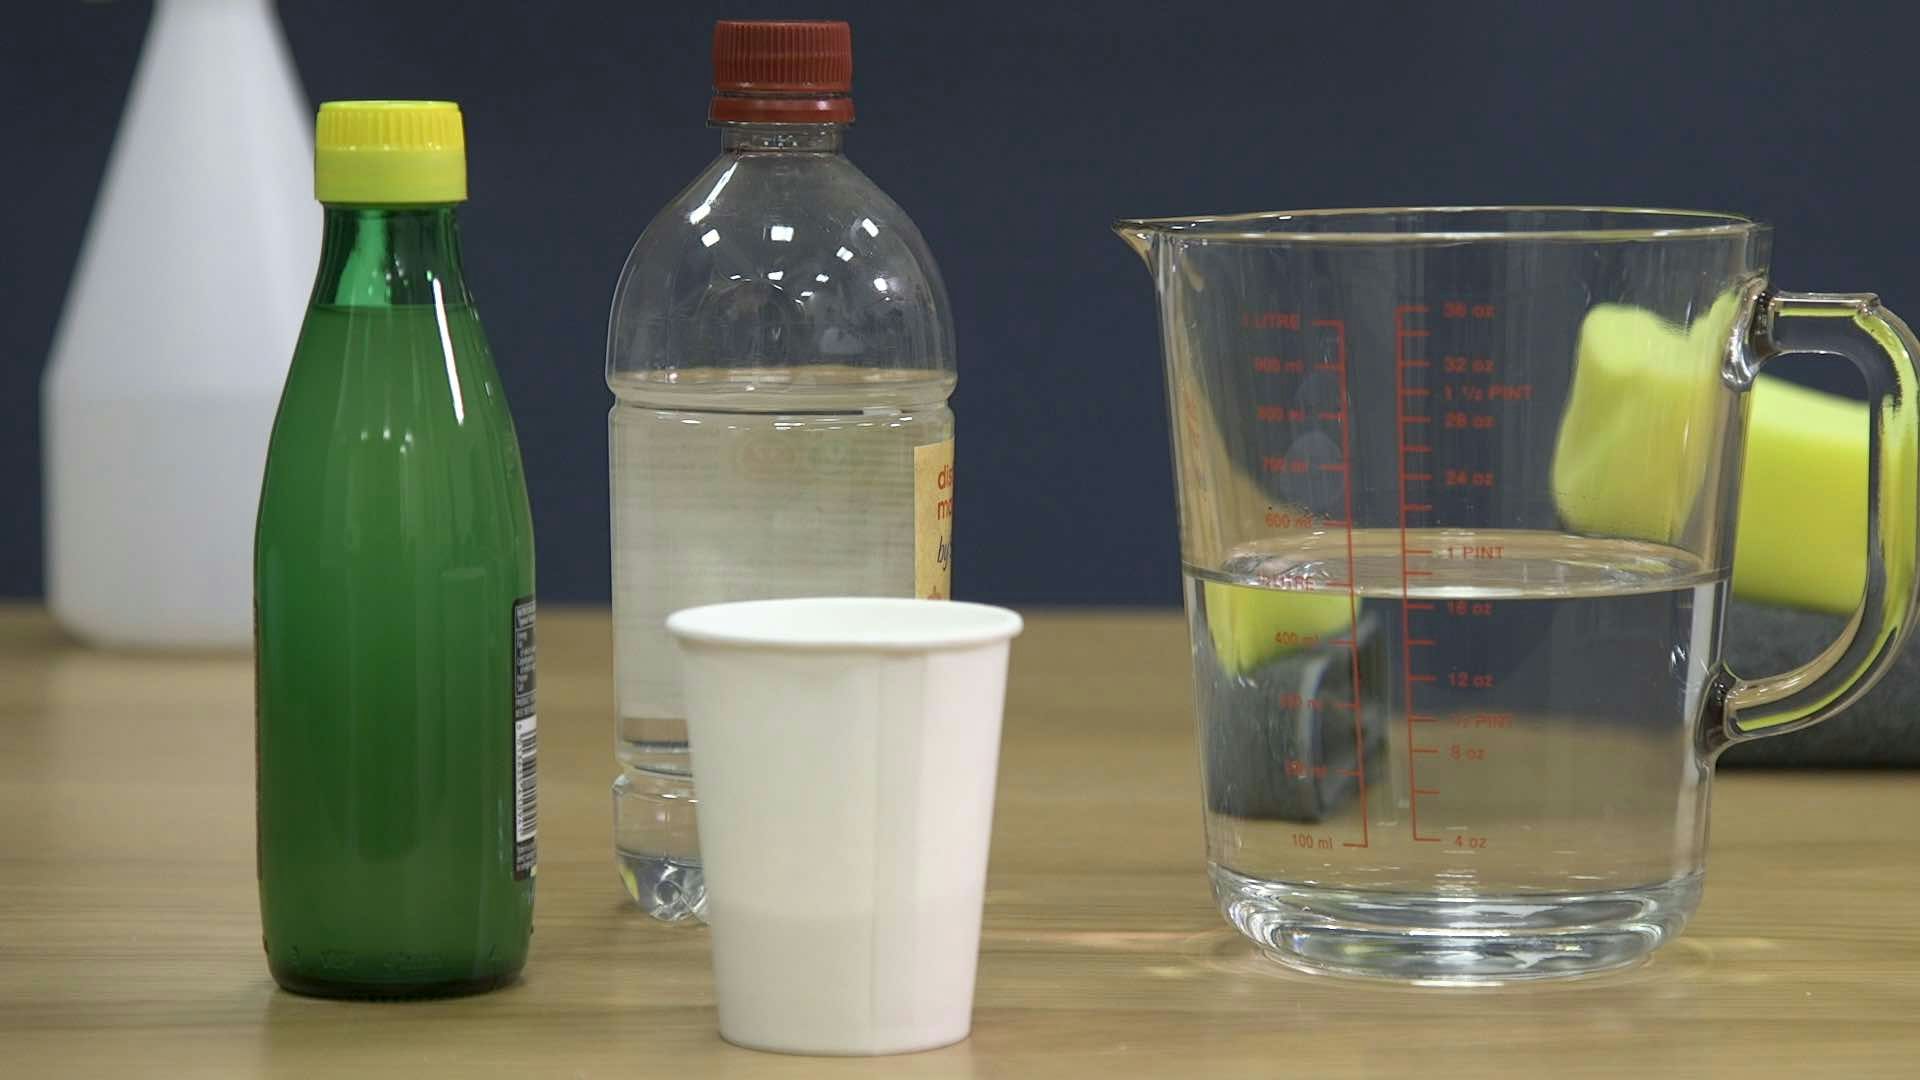
Step 2—Add white vinegar and lemon juice
Once dissolved, add a splash of white vinegar to the mixture, then some lemon juice and stir thoroughly.
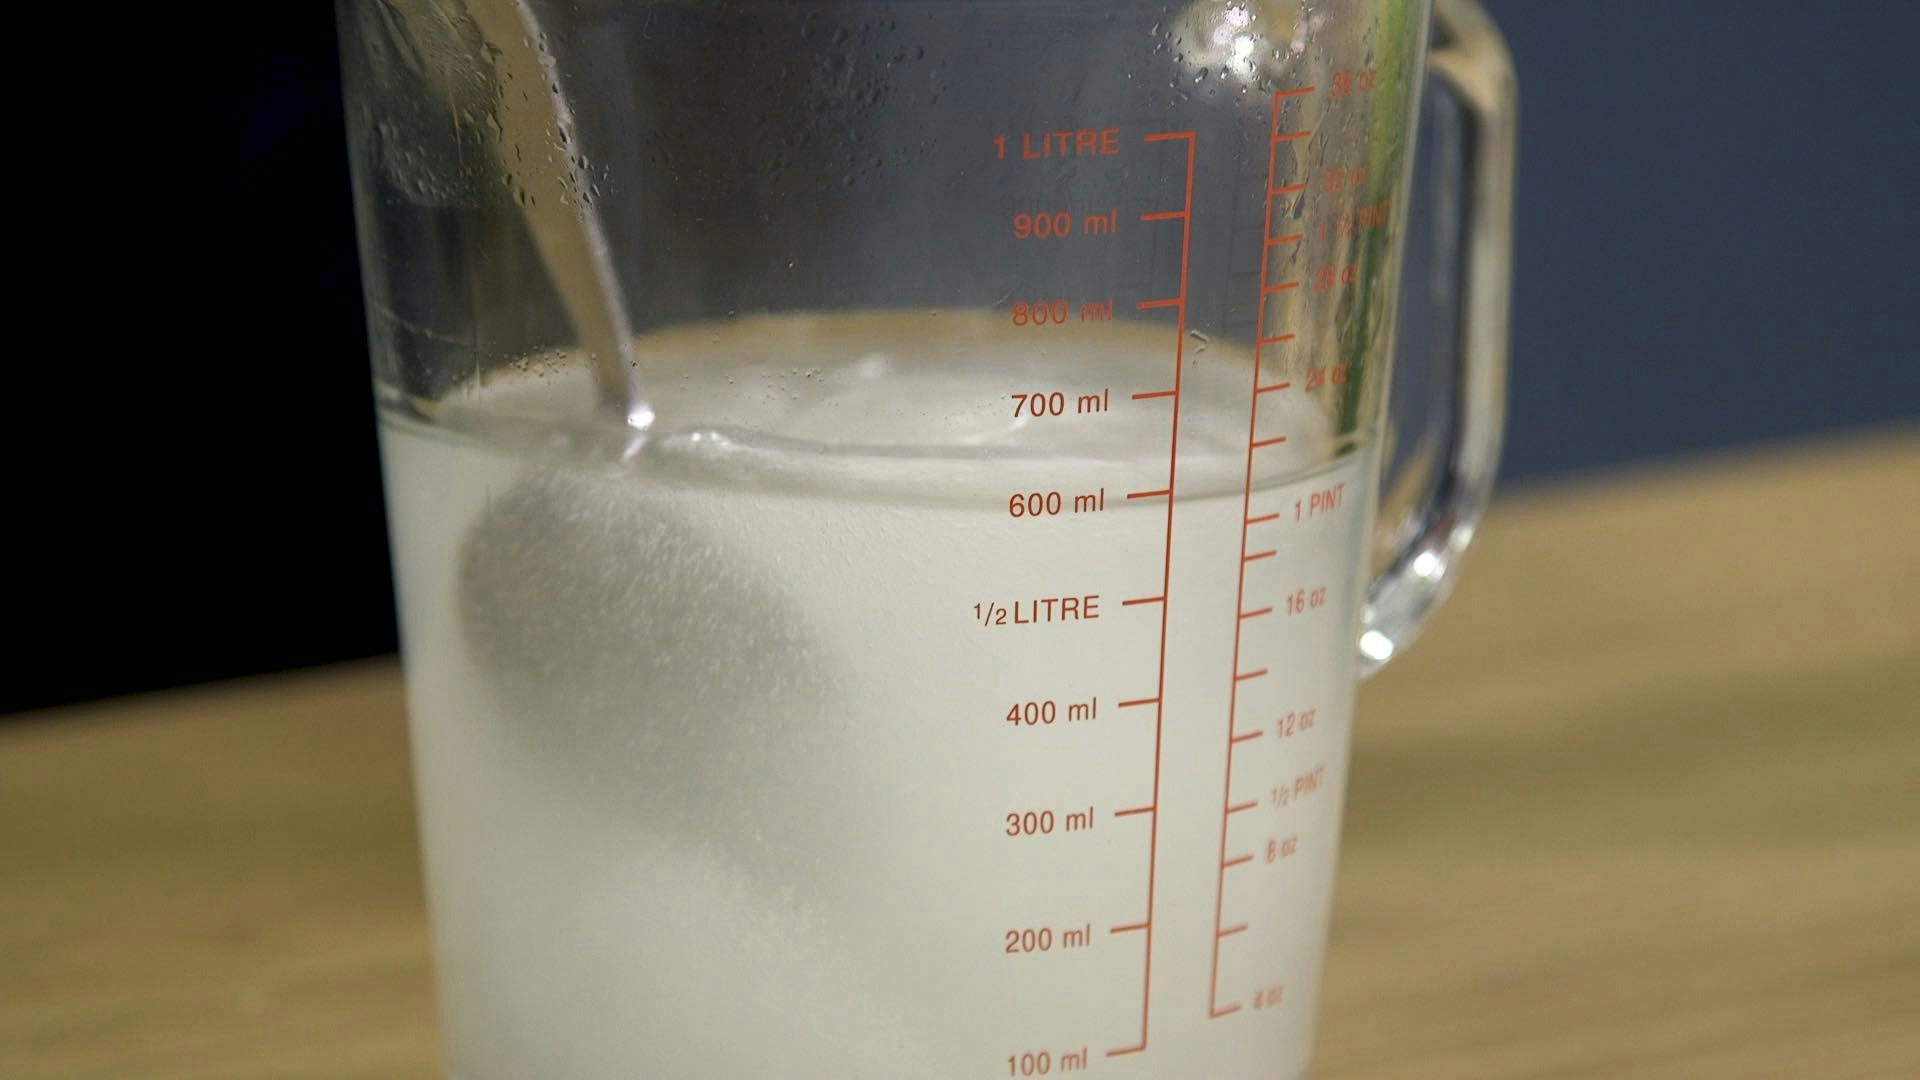
Step 3—Spray on to tiles
Pour this mixture into a spray bottle and apply to the tiles.
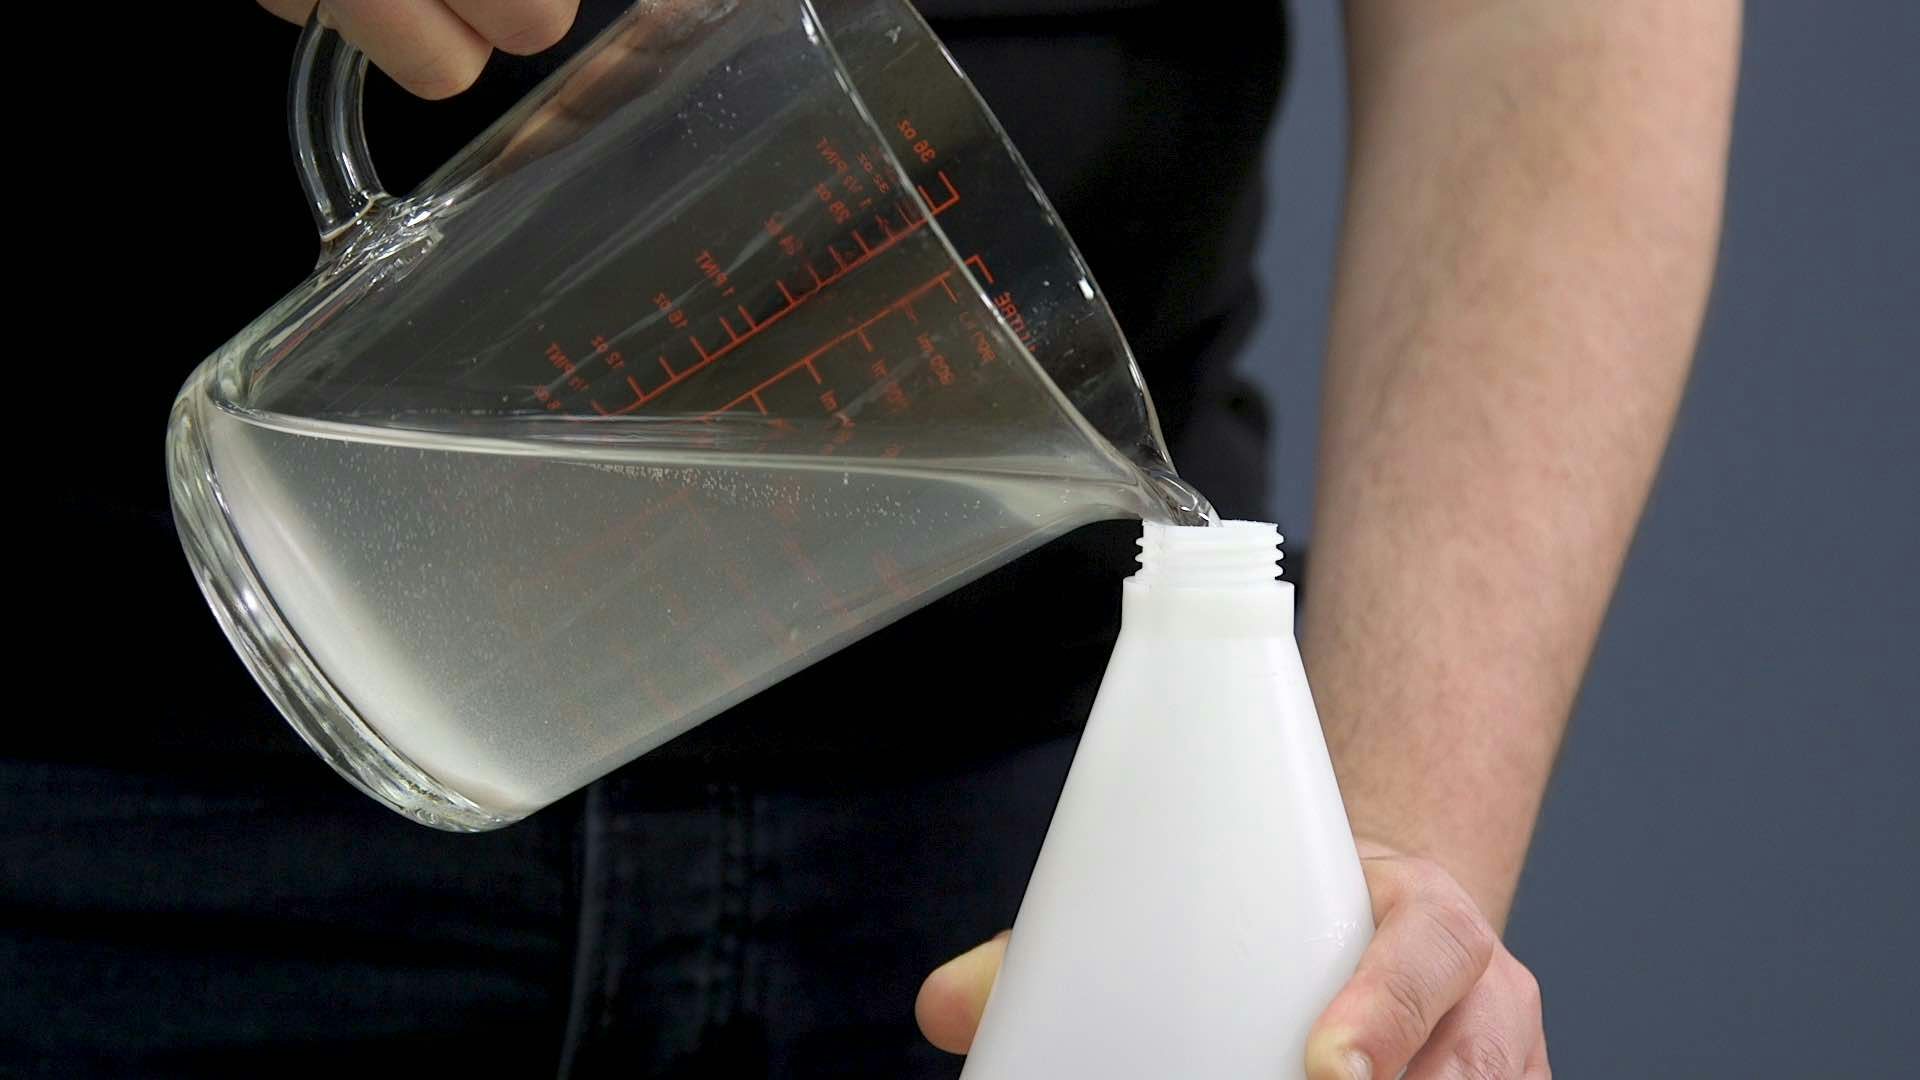
Step 4—Allow to stand, then scrub
Let the mixture stand for 30 minutes then scrub the surface with a sponge or old towel (make sure it’s clean).
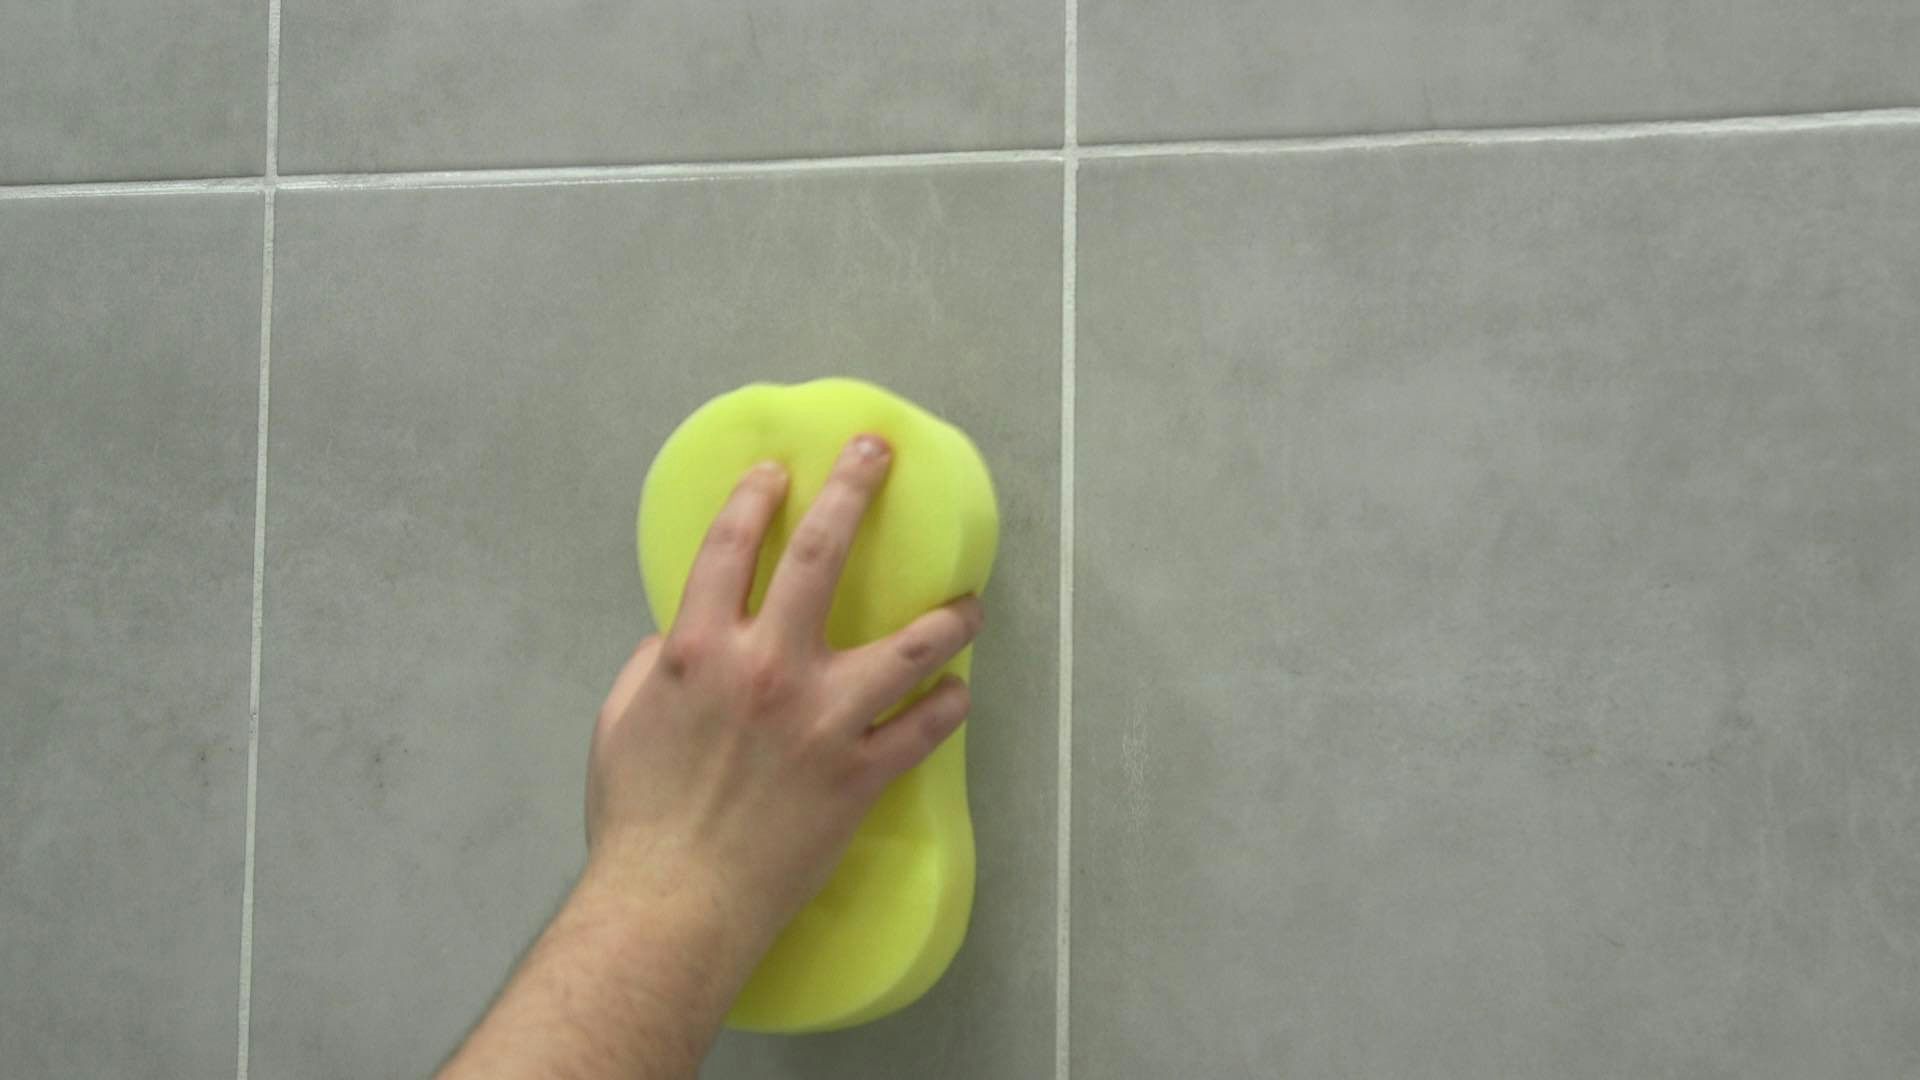
Step 5—Apply paste to grout
For dirt in grout lines, mix water, lemon juice and baking soda into a paste and apply to the grout. The lemon juice acts as a natural whitener.
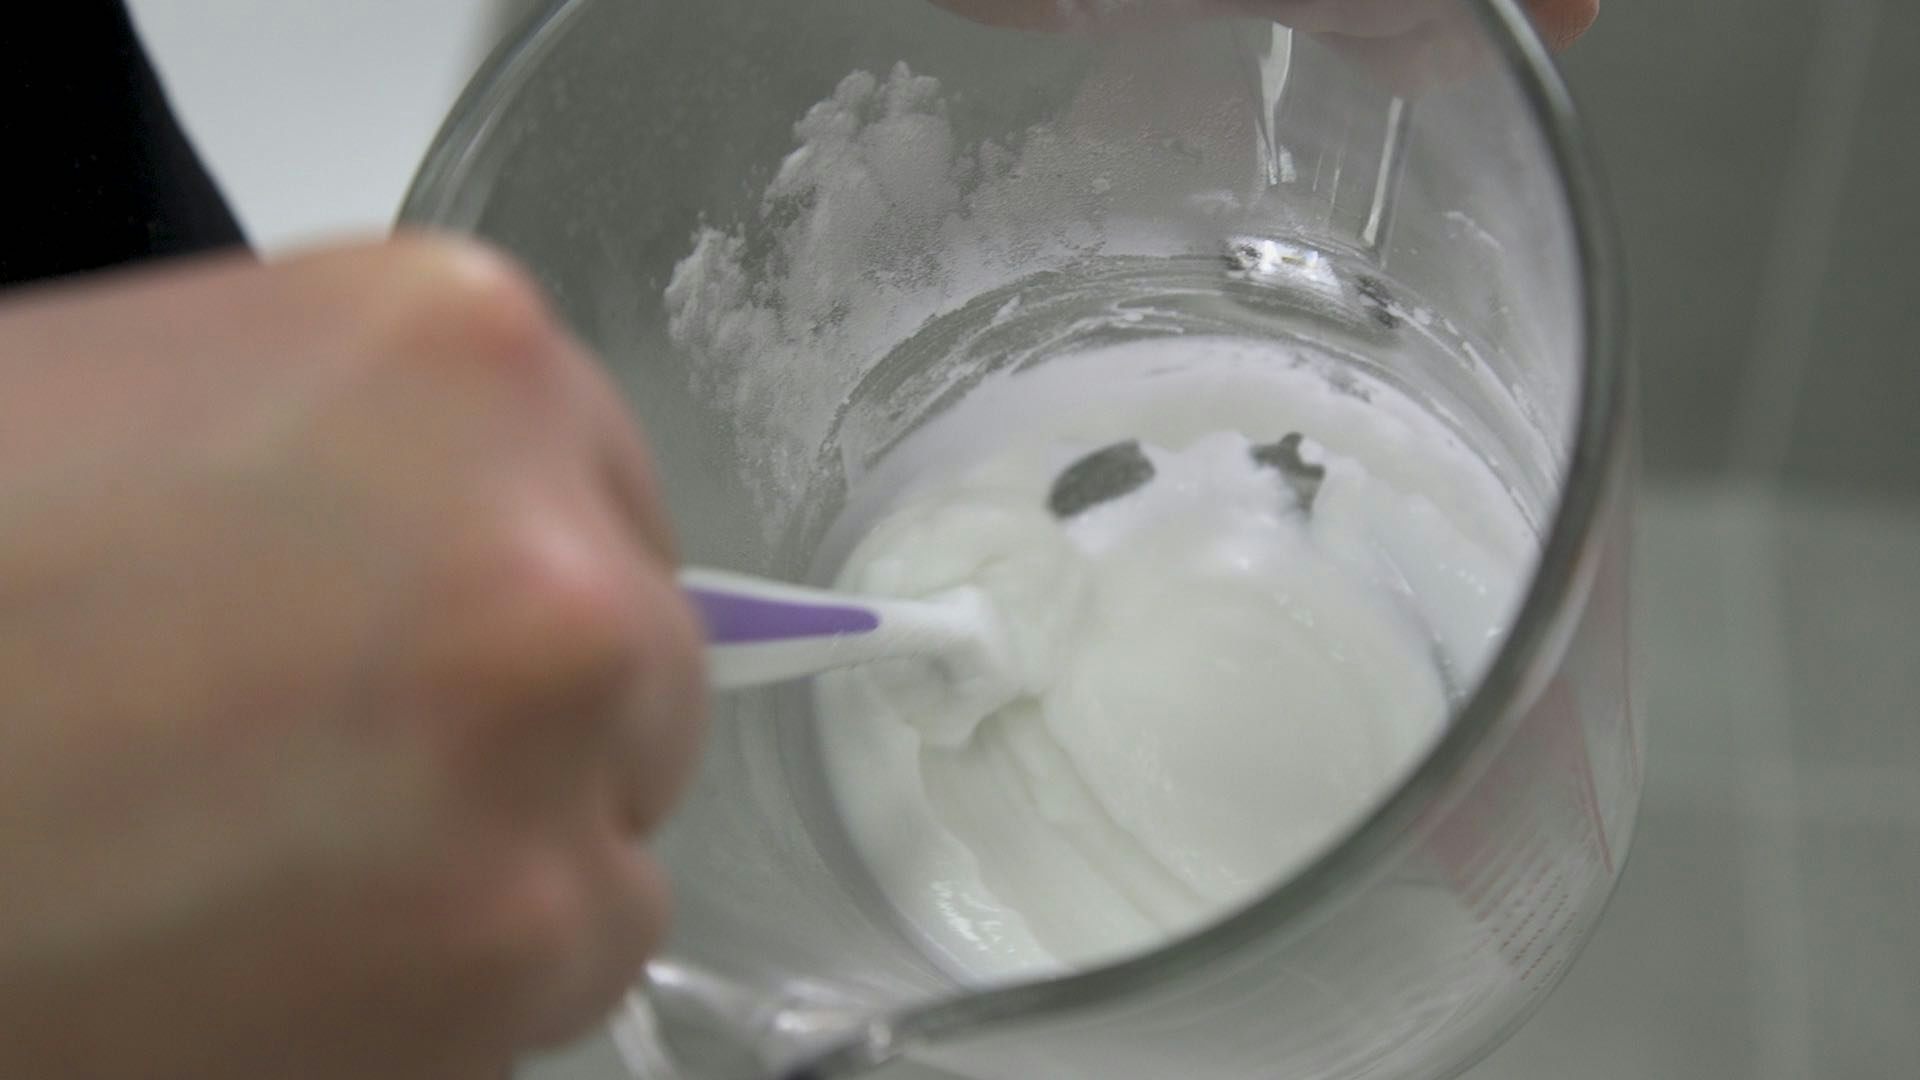
Step 6—Leave to work, then scrub
Leave for 10 to 15 minutes, then scrub the grout lines with a toothbrush.
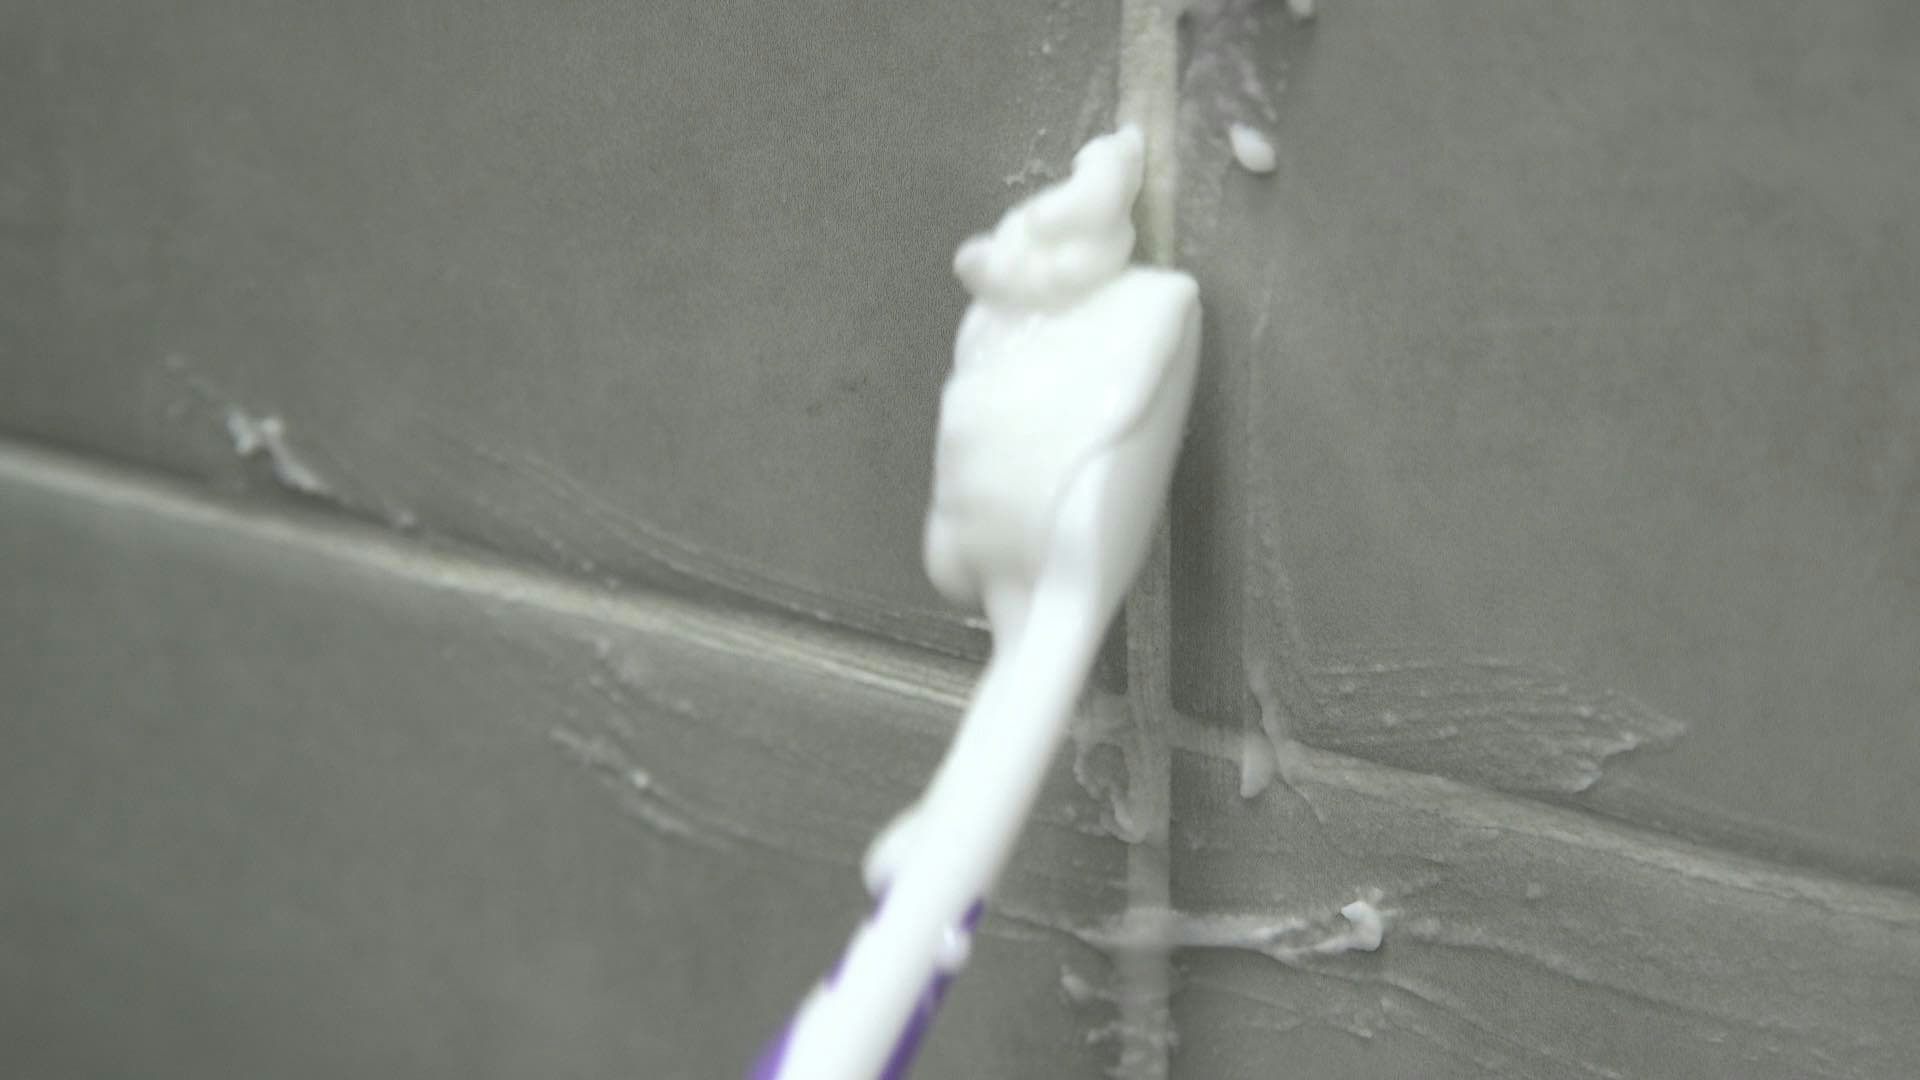
Step 7—Wipe clean
Wipe away the cleaned area to reveal a sparkling, fresh grout line.
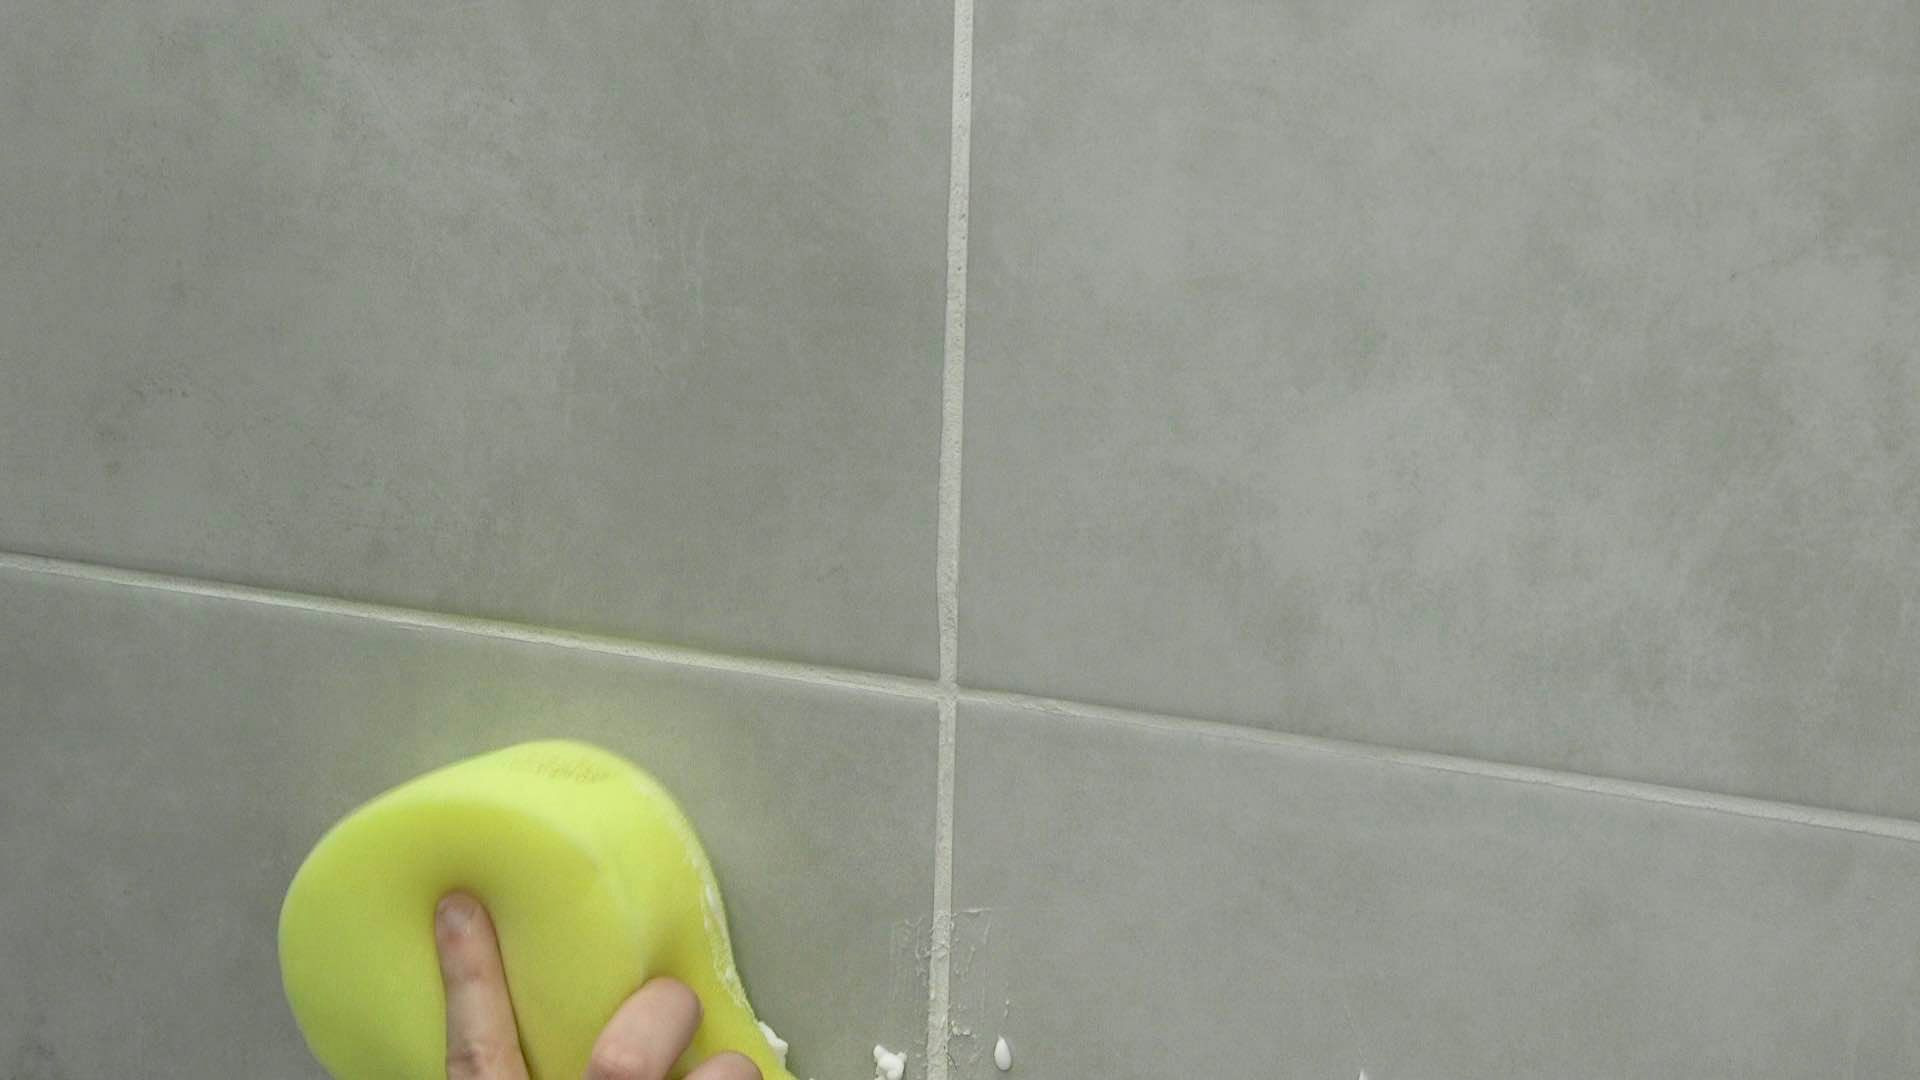
Congratulations, you have now cleaned your wall tiles.
Your wall tiles should now look great. However, if they still don’t look perfect, it may be worth repeating the steps above.
If, after this, you’re still not satisfied with the cleanliness of your tiles, you could touch up the grout using a grout pen (available in lots of different colours, you’ll find these in any good DIY store) or even use a steam cleaner.
6. How to clean grout
One of the most common complaints we hear about from homeowners is the dirt and mould which can accumulate in the grout lines between your tiles. While it may be a little time-consuming, it is certainly worth paying a little extra attention to your grout.
Whilst we have added steps into the instructions above on how to deal with dirty or mouldy grout, you may simply want to focus all your efforts on this specific area.
Here’s how to clean grout
Step 1—Create a paste
Mix water, lemon juice and baking soda into a paste. Lemon juice acts as a natural whitener.

Step 2—Apply the paste to grout
Using a toothbrush (make sure it’s an old one!), apply the paste to all grout lines.
Step 3—Leave to work
Allow the paste to do its work by leaving it for 10 to 15 minutes.
Step 4—Scrub the grout lines
Scrub the paste and grout lines with the toothbrush.

Step 5—Wipe clean
Wipe away the cleaned area to reveal a sparkling, fresh grout line.

If all else fails, and you simply cannot remove dirt or mould, you may wish to regrout your tiles, following our easy, step-by-step guide. You could also use a grout pen to touch it up.
7. Cleaning different types of tiles
The instructions above are suitable to follow for most common types of bathroom tiles and kitchen tiles, including both ceramic and porcelain. In this instance, a sponge, mop, soft cloth and household cleaner/water or white vinegar solution should be fine. However, if you have genuine marble or natural stone tiles, it may be worth considering a gentler cleaning routine. For example, we wouldn’t recommend using white vinegar or any rough sponges on genuine marble, as this may damage it.
Always check any care instructions that come with your chosen bathroom tiles or kitchen tiles
You may also notice a difference between gloss and matt tiles. With gloss tiles, which reflect light and bring added depth to a bathroom space, dirt may be more noticeable. Therefore, you may wish to clean gloss tiles more frequently than you would matt tiles.
8. More Quick Fixes for your bathroom
For more easy ways to maintain a beautiful-looking bathroom, why not check out our Switches and Fixes hub? Or, click on any of the links below, and discover more “how to” video guides.
- How to clean shower wall panels
- How to clean a shower screen
- How to clean a toilet
- How to clean a tap cartridge
And, if you’re specifically looking for more tips on bathroom tiles and tiling in general, check out some of these articles from the bathroom experts at Victoria Plum:

