Do you need to replace your existing bathroom? Need to rip it out before you can start? Read on for a few useful tips...
Introduction
Picture this. You've decided that your current bathroom needs replacing. You excitedly look through ideas, inspiration and designs. You've chosen what you want, but now your existing bathroom needs removing. Can you do it yourself? It's time to rip it out.
Taking out the rubbish
When you’re looking to do any demolition work or bathroom renovation, you should first think about whether there are any rubbish or useless items that need to be thrown away. Using waste bags or boxes, take away any pieces to hand and move them out of the way.
What order to remove?
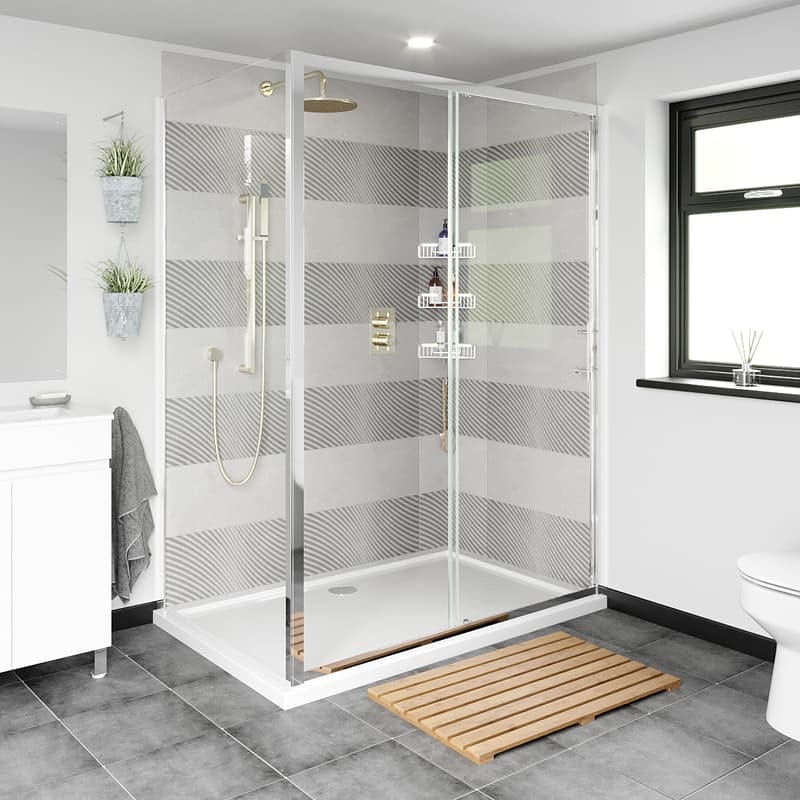
Most of the time the toilet goes first (since there are usually other toilets in the house you can use). The last to go is usually the shower. This is because the entire process takes time, and so the rule of thumb is to remove what you need most last. This means that since the bedroom with the shower usually is the only bathroom with the shower, you will plan to remove that last so you can shower off all the sweat from the rest of the demolishing job.
Alternatively, the toilet is one of the easier ones to remove. You could save it until the end when contractors are coming in to do the tiling, panelling and shift around the waste pipe and electrical lines.
Turning the utilities off
You will want to make sure all the utilities are not running before you do any work. If you need to, prefill buckets of water to keep around, using smaller bowls to help you wash your hands and your body since you will be turning off the water supply. You will still have water and electricity in the rest of the entire house, so it’s important to completely turn off all utilities. This is to prevent any electric shock, plumbing disaster and water spillage. Plumbing can also be damaged if in use while dismantling.
This also means plugging up your toilet, bath and sink and emptying the water before removing the appliance. If you’re unsure of how to do this, always refrain from doing it yourself and contact a licensed plumbing professional. You can find the list of local plumbers by simply googling for it.
Taking out the toilet
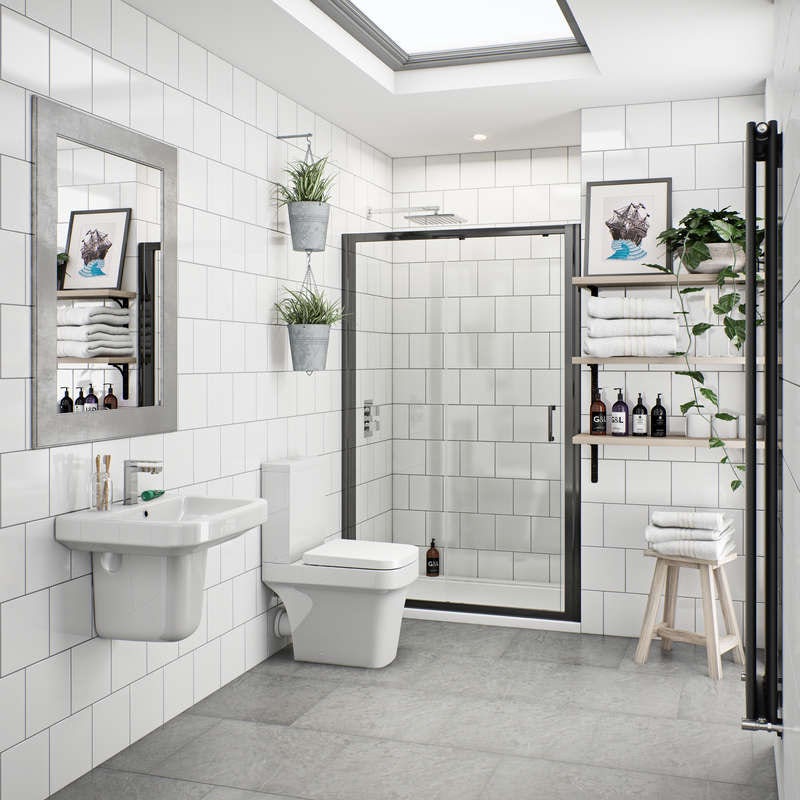
Make sure to remove the water and waste connection. Then, you need to drain out the water from the cistern water pipes as we said earlier. This is usually done with assistance from a licensed plumber using a bucket, in the sink. Then, the bowl of the toilet, or the base of the toilet, should also be drained of any water before proceeding with any removal.
If the waste and water cannot be disconnected in their original position, you can try regrouting it to shift, or reaching behind the toilet to shift those out. Once these steps are complete then you can proceed to take out the cistern as well as all the fittings like the toilet seat. The cistern is usually bolted to the seat from under the base of the toilet unit. If you have no trouble removing this then you can unscrew the bowl and finish the job.
If the toilet is grouted into the floor, then you will have to use a mixture of cutting and chemical solutions to melt away at the base of the floor before carefully lifting the toilet. At this stage, it’s best to make sure you have a good grip on it and strength since the toilet unit can be very heavy.
Taking out the sink or basin
Sinks usually come in two parts. If you’ve had your sink or any of your other appliances custom-built, then, of course, a lot of the things in this article might not apply. Generally speaking, however, you will probably observe that your sink is built into your vanity unit. If your sink is anchored to the wall and in general is very much heavily balanced on the pedestal or the vanity unit they’re sitting on.
The sink, for its small size, is usually surprisingly heavy for most, and because of its balance, once you remove or regrout it from the wall you will have to find a way to prop it and slowly let it down.
Once you’ve drained off all the water from the sink, you should remove the whole unit, taking note to unscrew both water and waste pipes. This is usually the most impossible part since the shower plate is usually quite delicately built with several layers of waterproofing. If you have a wet floor, however, then this step can be very straightforward.

Taking out the bath
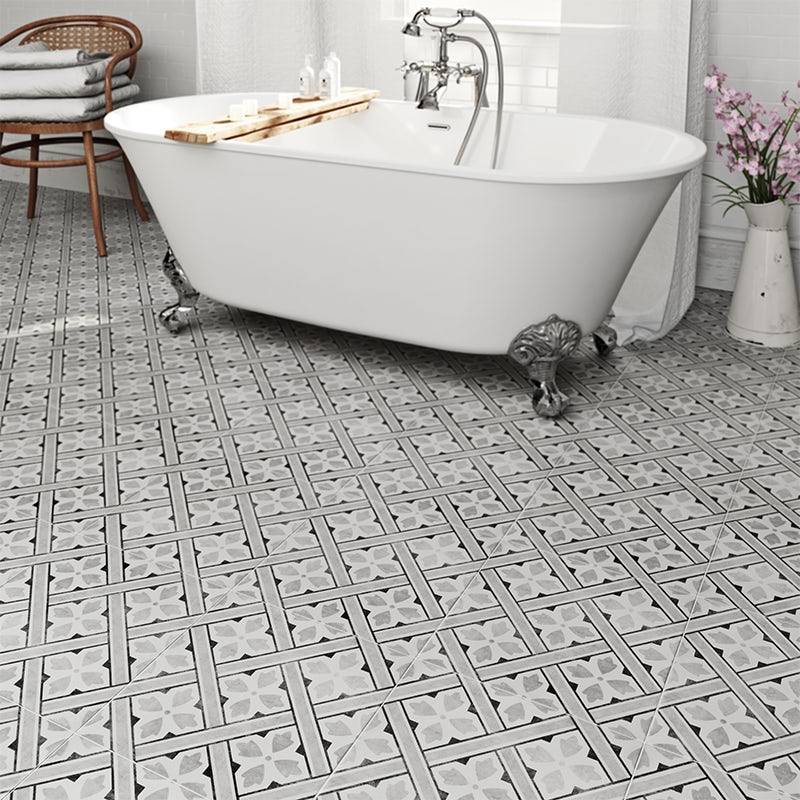
When it comes to removing the bath, it’s usually pretty clear-cut. If it’s a freestanding steel bath or cast iron bath, then it’s very straightforward and you can usually do it with the help of two or three people to do the heavy lifting. If your bath is built into the wall and a built-in bath panel, then it will be so hard that it’s not worth doing it without professional help since you’ll spend a lot of time hammering away at nothing.
Removing the tiles
Once the old bath and everything else is out, take a break. Taking out the old tiles is the famously time-consuming last step, the last stretch of any bathroom demo project. It’s very uncomplicated, except that you should tape off vents, registers, and the door, and wear protective clothing and masks where you can while working away at this.
Conclusion
It is important to do a thorough and safe job, not to wreck everything or injure yourself. You want to be thinking of the remodel and setting things up for the professionals to do the installing work as best you can.
Start planning your bathroom today
Planning your bathroom is now much easier, in no small thanks to the bathroom planner tool at Victoria Plum. Designed to be quick and easy for anyone to use, you'll be able to create a stunning 3D design in next to no time. Add in your room size, drag and drop products and see what different tiles and colour schemes look like. It really is that simple and you'll even find a step-by-step guide and instructional video, if you really need it.
More bathroom design tips
Check out our room planning guides for more bathroom design tips and advice.


