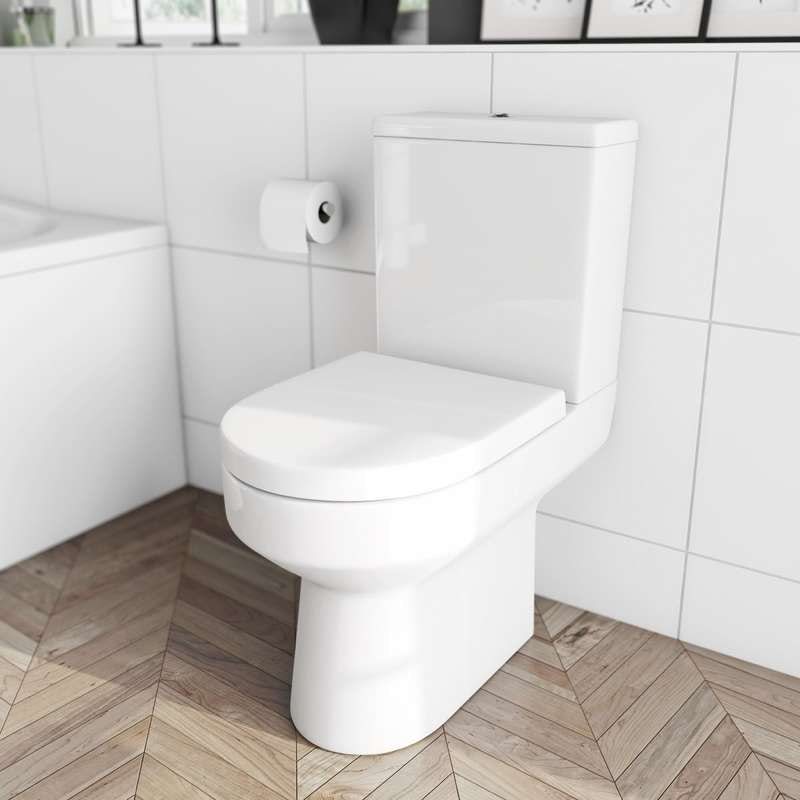
With easy to follow instructions and a handy video, find out how to save money by fitting your own toilet.
If you're looking to save money on your bathroom installation cost, and are confident and competent when it comes to DIY, you could, potentially, install a toilet yourself.
Our step-by-step instructions below will guide you through the installation of a close coupled toilet, which is the most common design used in the UK. If you are unsure what type of toilet you have, watch the following short video:
You can find fitting instructions for other bathroom products by clicking the links below:
What is a close coupled toilet?
A close coupled toilet is one of the most common designs you’ll find in bathrooms up and down the UK. The cistern is situated directly above the pan and is “closely coupled” together—hence the name. Some of the best bathrooms tend to have a toilet that is designed to match the rest of the suite. Some even have smaller toilet dimensions, to make optimum use of space.
The Wharfe is a great example of a close coupled toilet
Before you do anything
Always unpack your toilet immediately after delivery. Check for any damage or faults as it’s better to find them now, rather than during installation.
Always turn off your water at the mains before attempting any DIY in the bathroom.
Tools you’ll need:
- Electric drill
- Spanner set
- Standard screwdrivers
Check you have the following:
Usually supplied with toilet:
- Flush mechanism
- Long fixing bolts
- Rubber gasket (ring-shaped)
- Toilet pan
- Toilet cistern
May need to buy separately:
- Toilet seat and fixings
Will need to buy separately:
- Toilet fitting pack (included floor fixing kit, flexi pan connector and shut off valve)
Typical time to complete:
2–3 hours
How much will a Tradesperson typically charge?
£150–£180 (price may vary—find out more about bathroom fitting costs)
Fitting a toilet step-by-step video
In this video, we show you how fitting a toilet is something you could do yourself. Always remember to consult a professional fitter if you aren’t comfortable with more complicated DIY tasks.
Here is how to fit a close coupled toilet
Step 1
If you’re replacing an old toilet, you’ll already have access to the waste pipe and the water inlet. Start by fitting the cistern parts using the instructions provided.
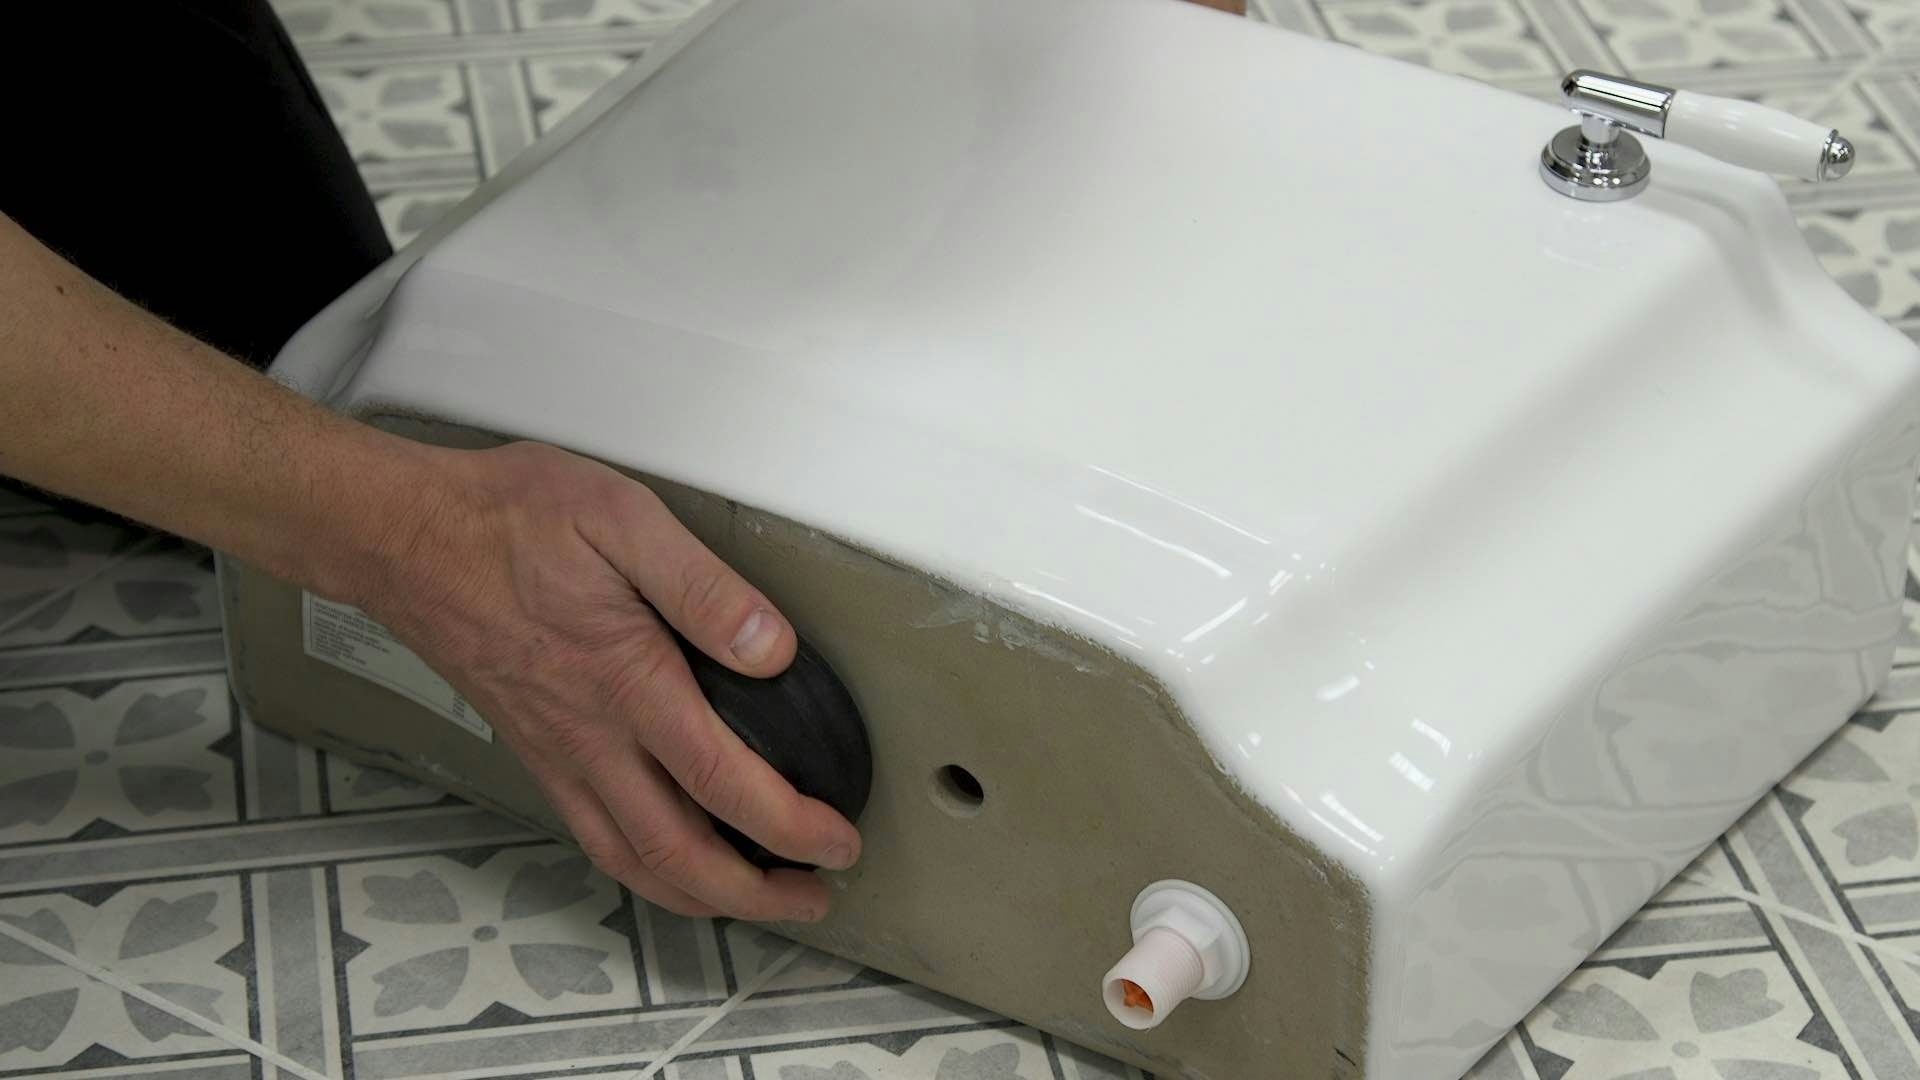
Step 2
Connect the cistern to the pan.
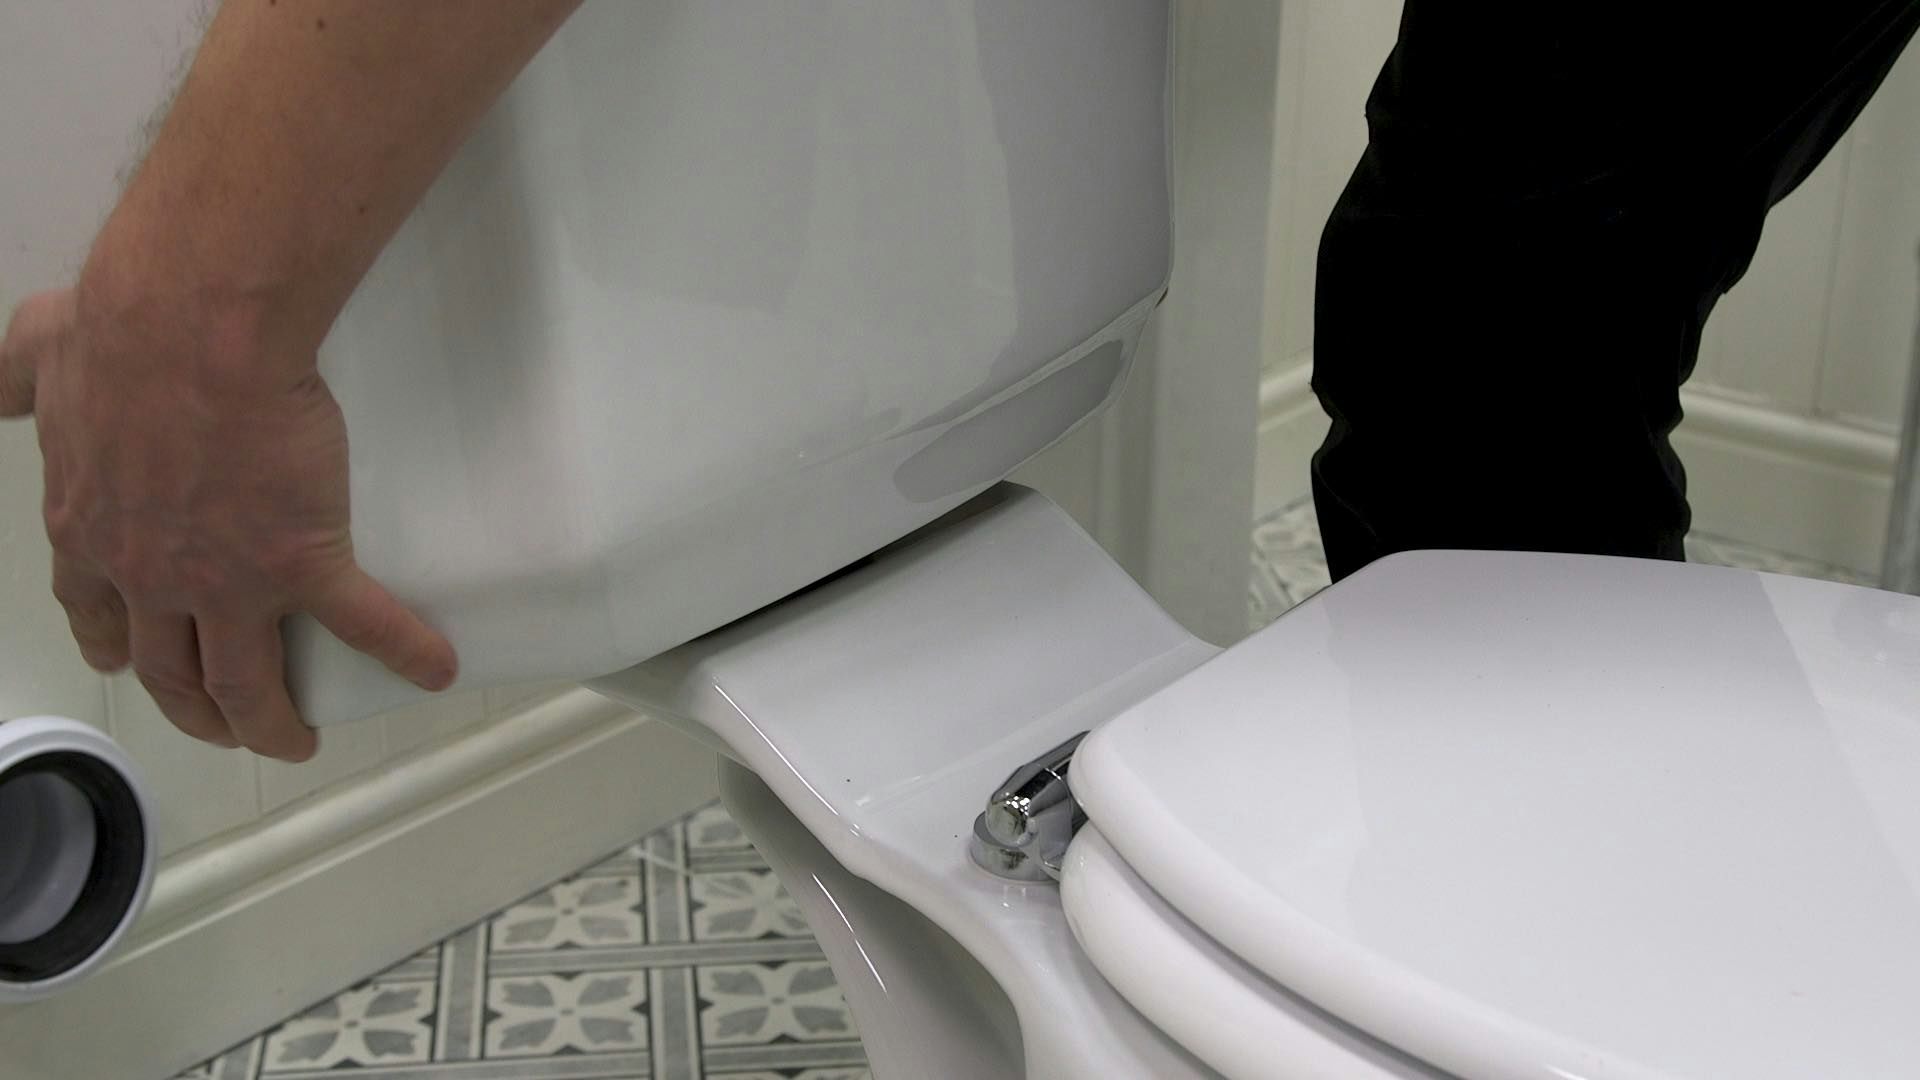
Step 3
Place the toilet in position, then mark the wall fixing holes for the cistern as well as the base of the pan.
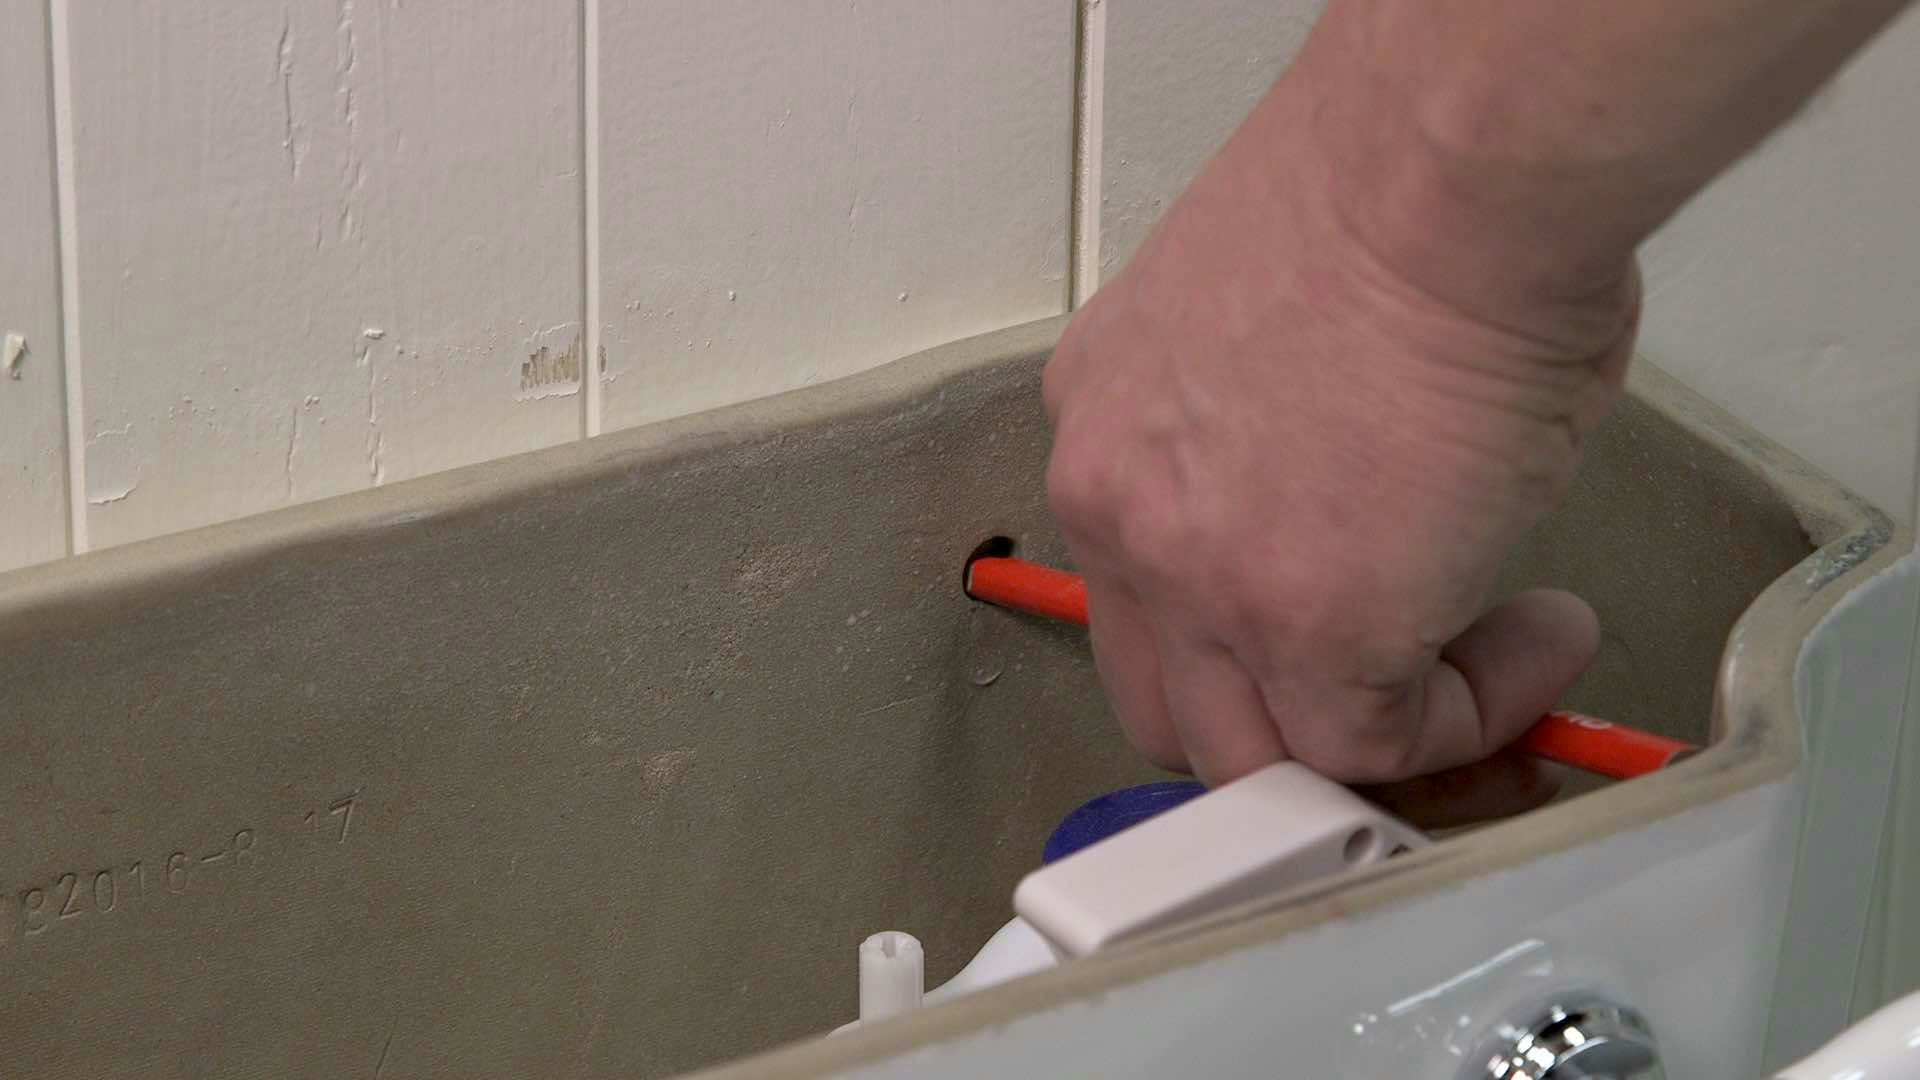
Step 4
Set the toilet aside, then check for wires and pipes before drilling the holes into the floor. Always take care when drilling into tiles, using the necessary safety equipment.
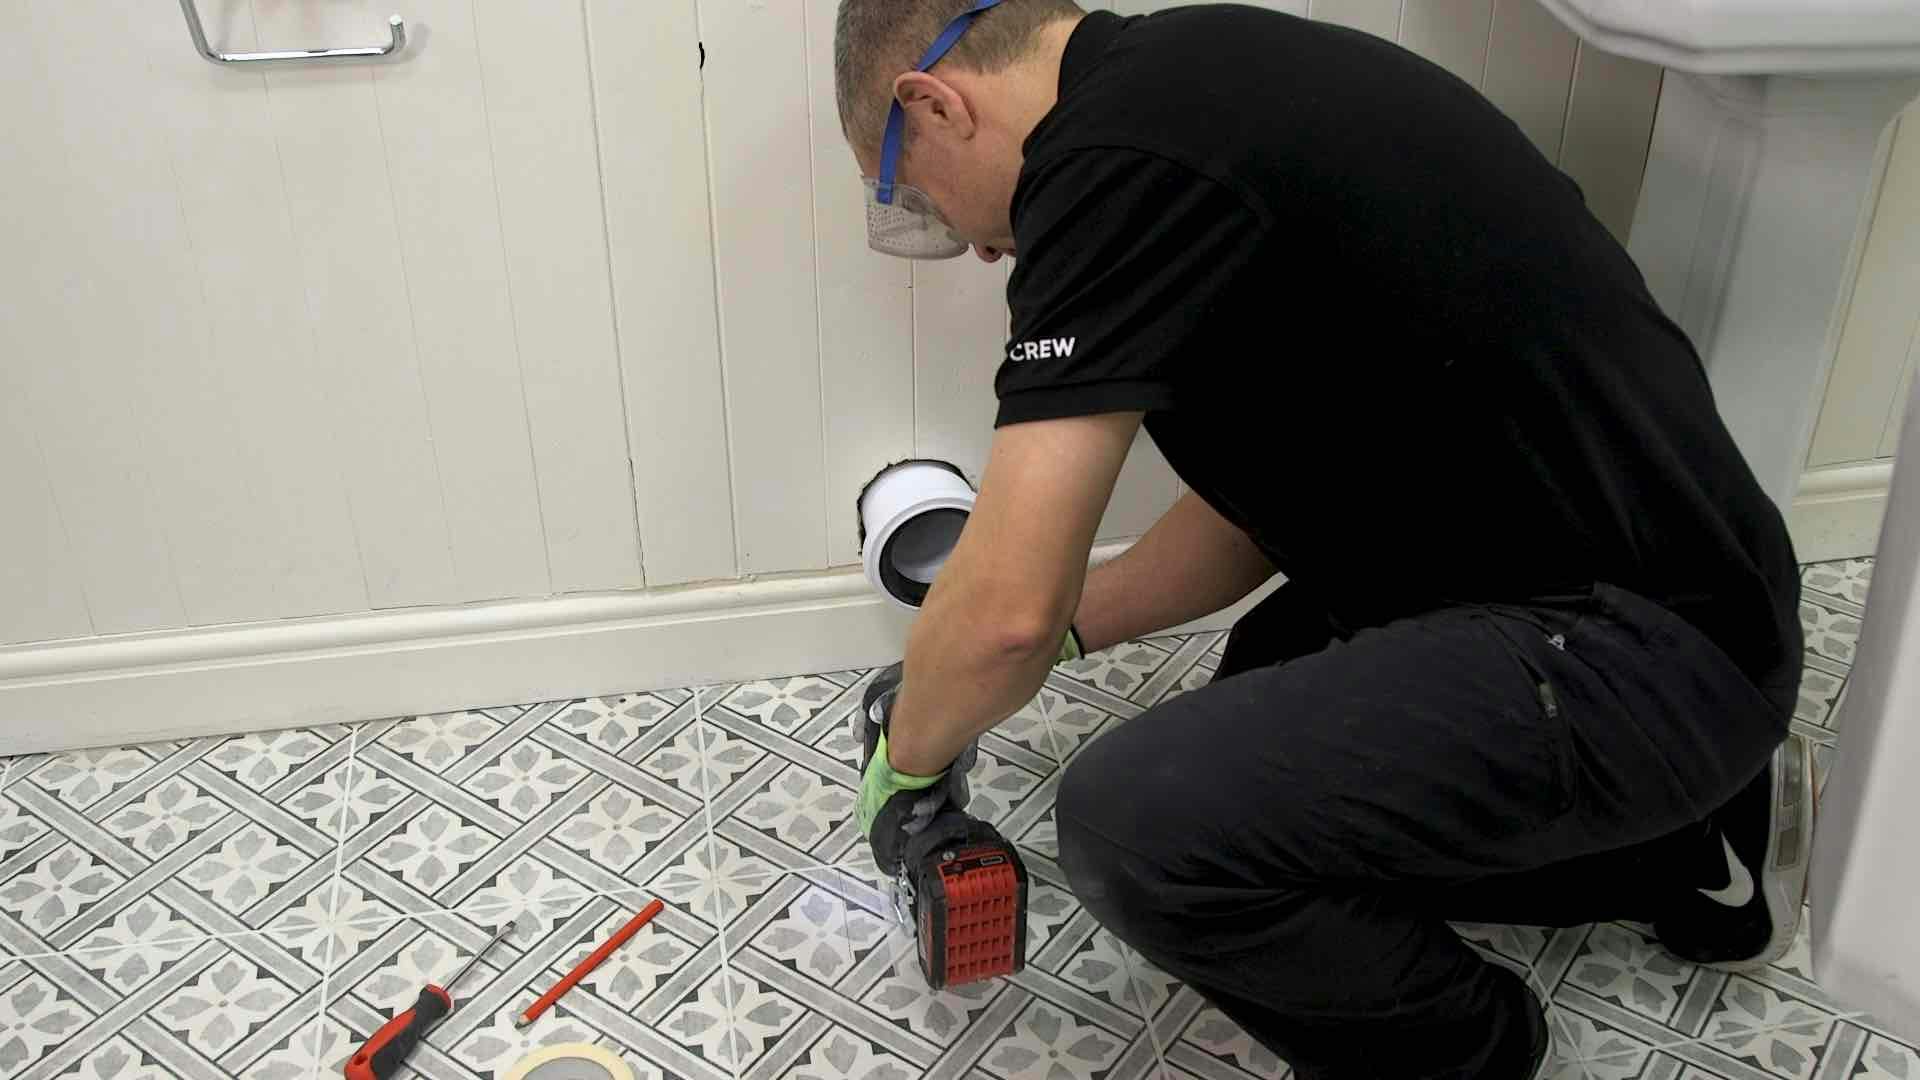
Should you fit your toilet before or after fitting your tiles? We asked the experts.
Step 5
Now screw the pan to the floor and the cistern to the wall.
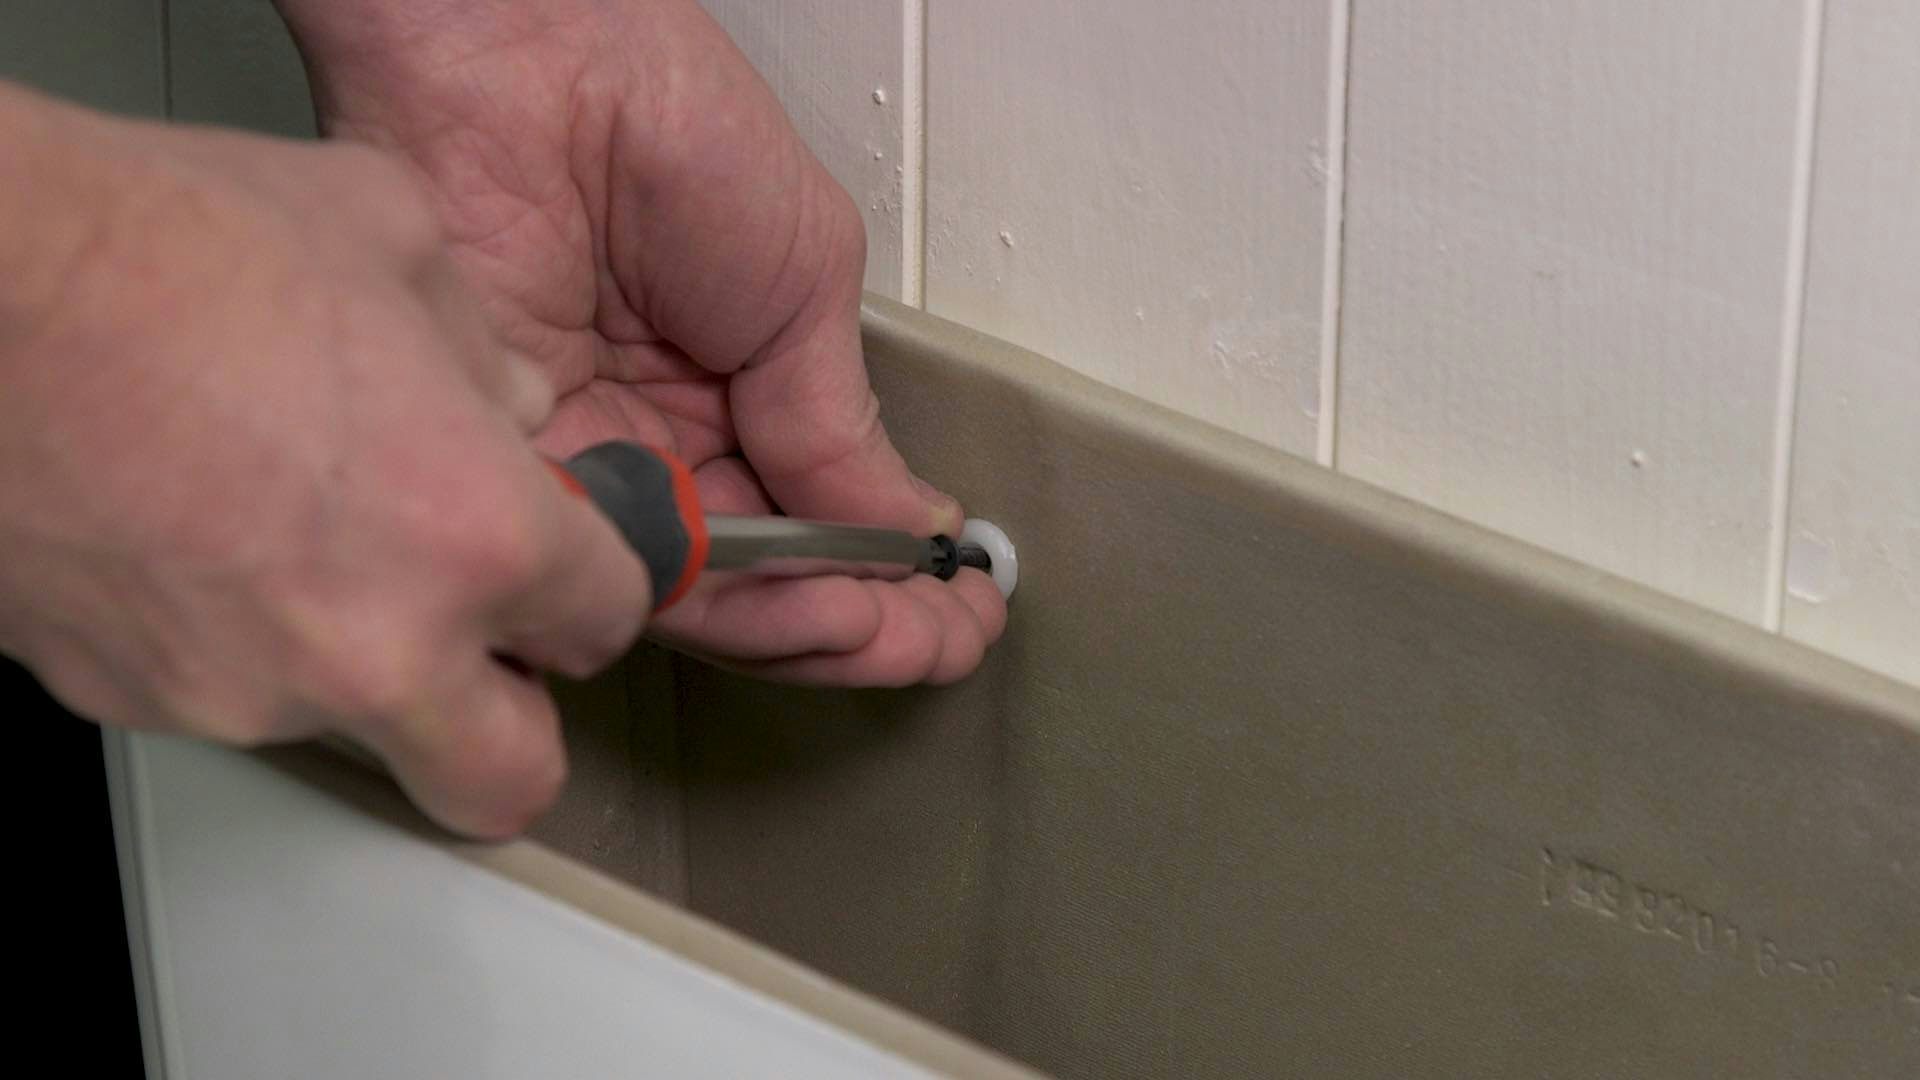
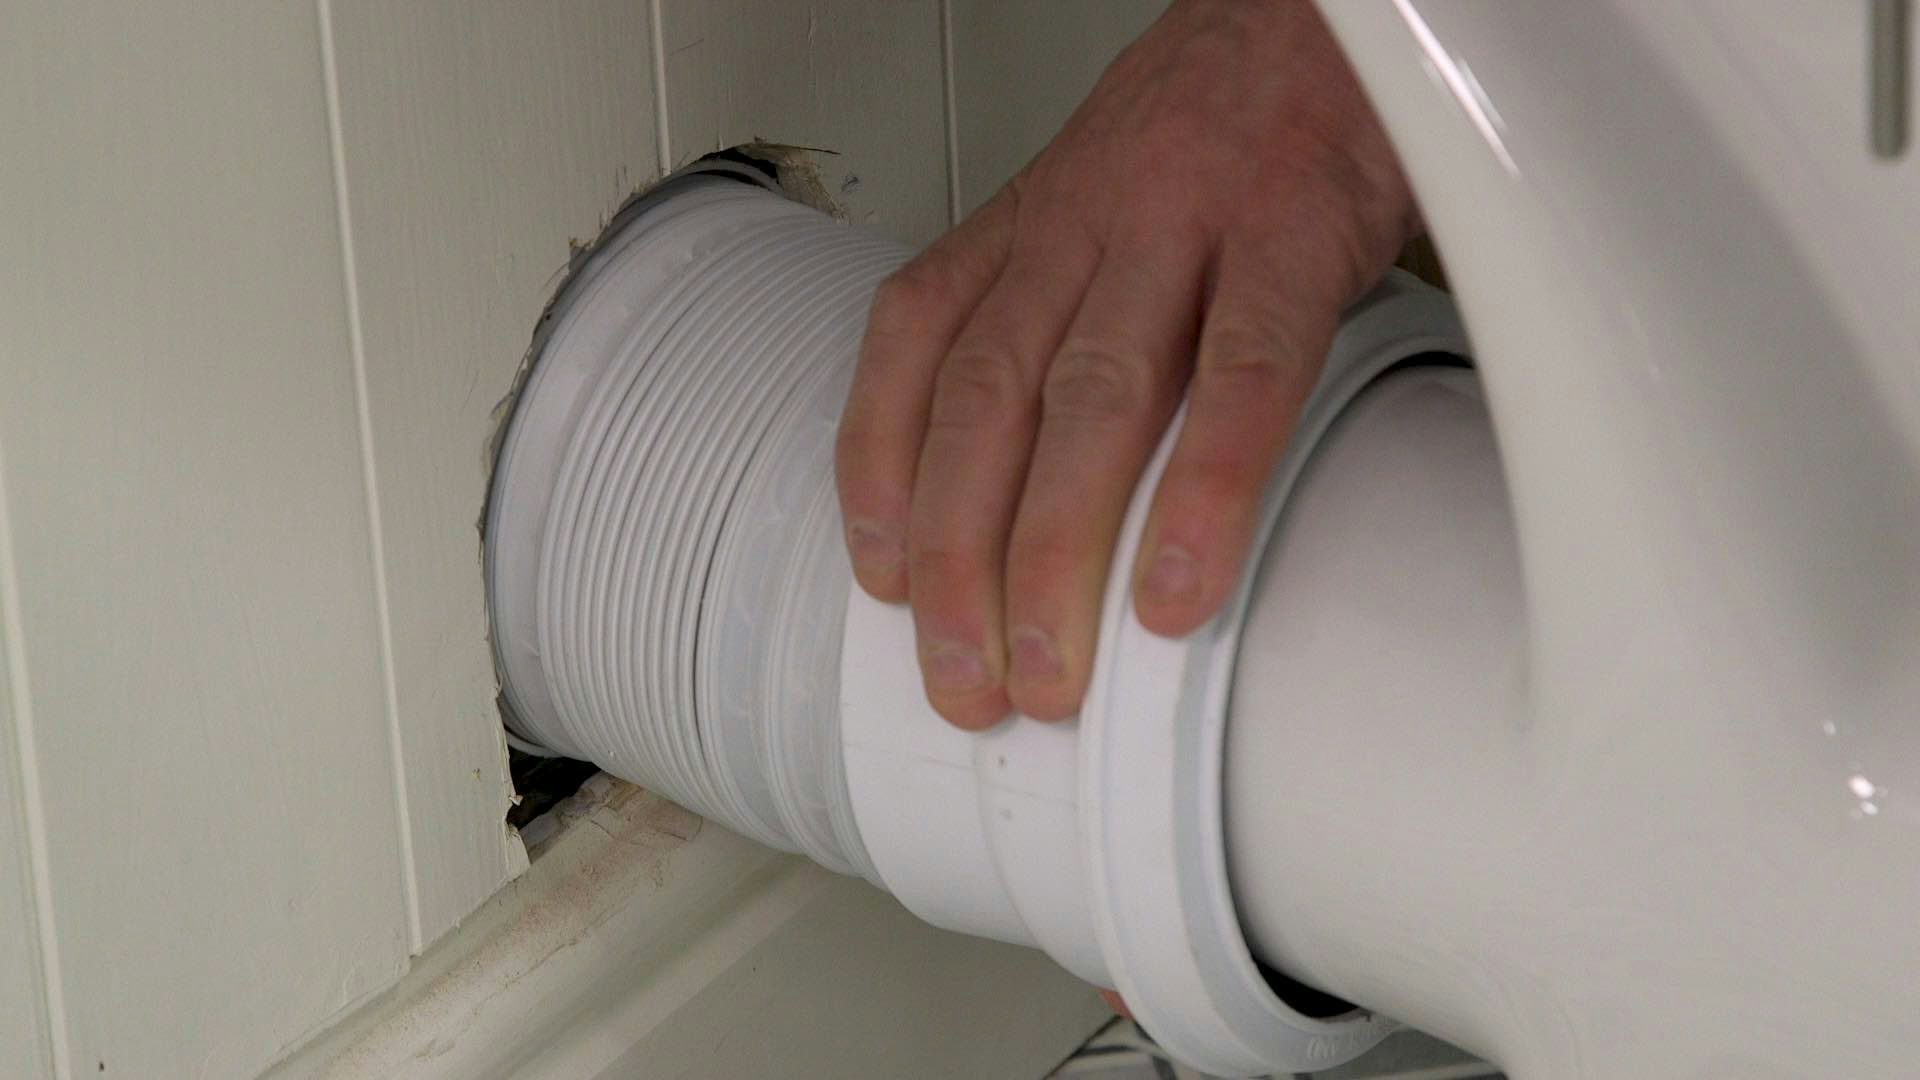
Step 6
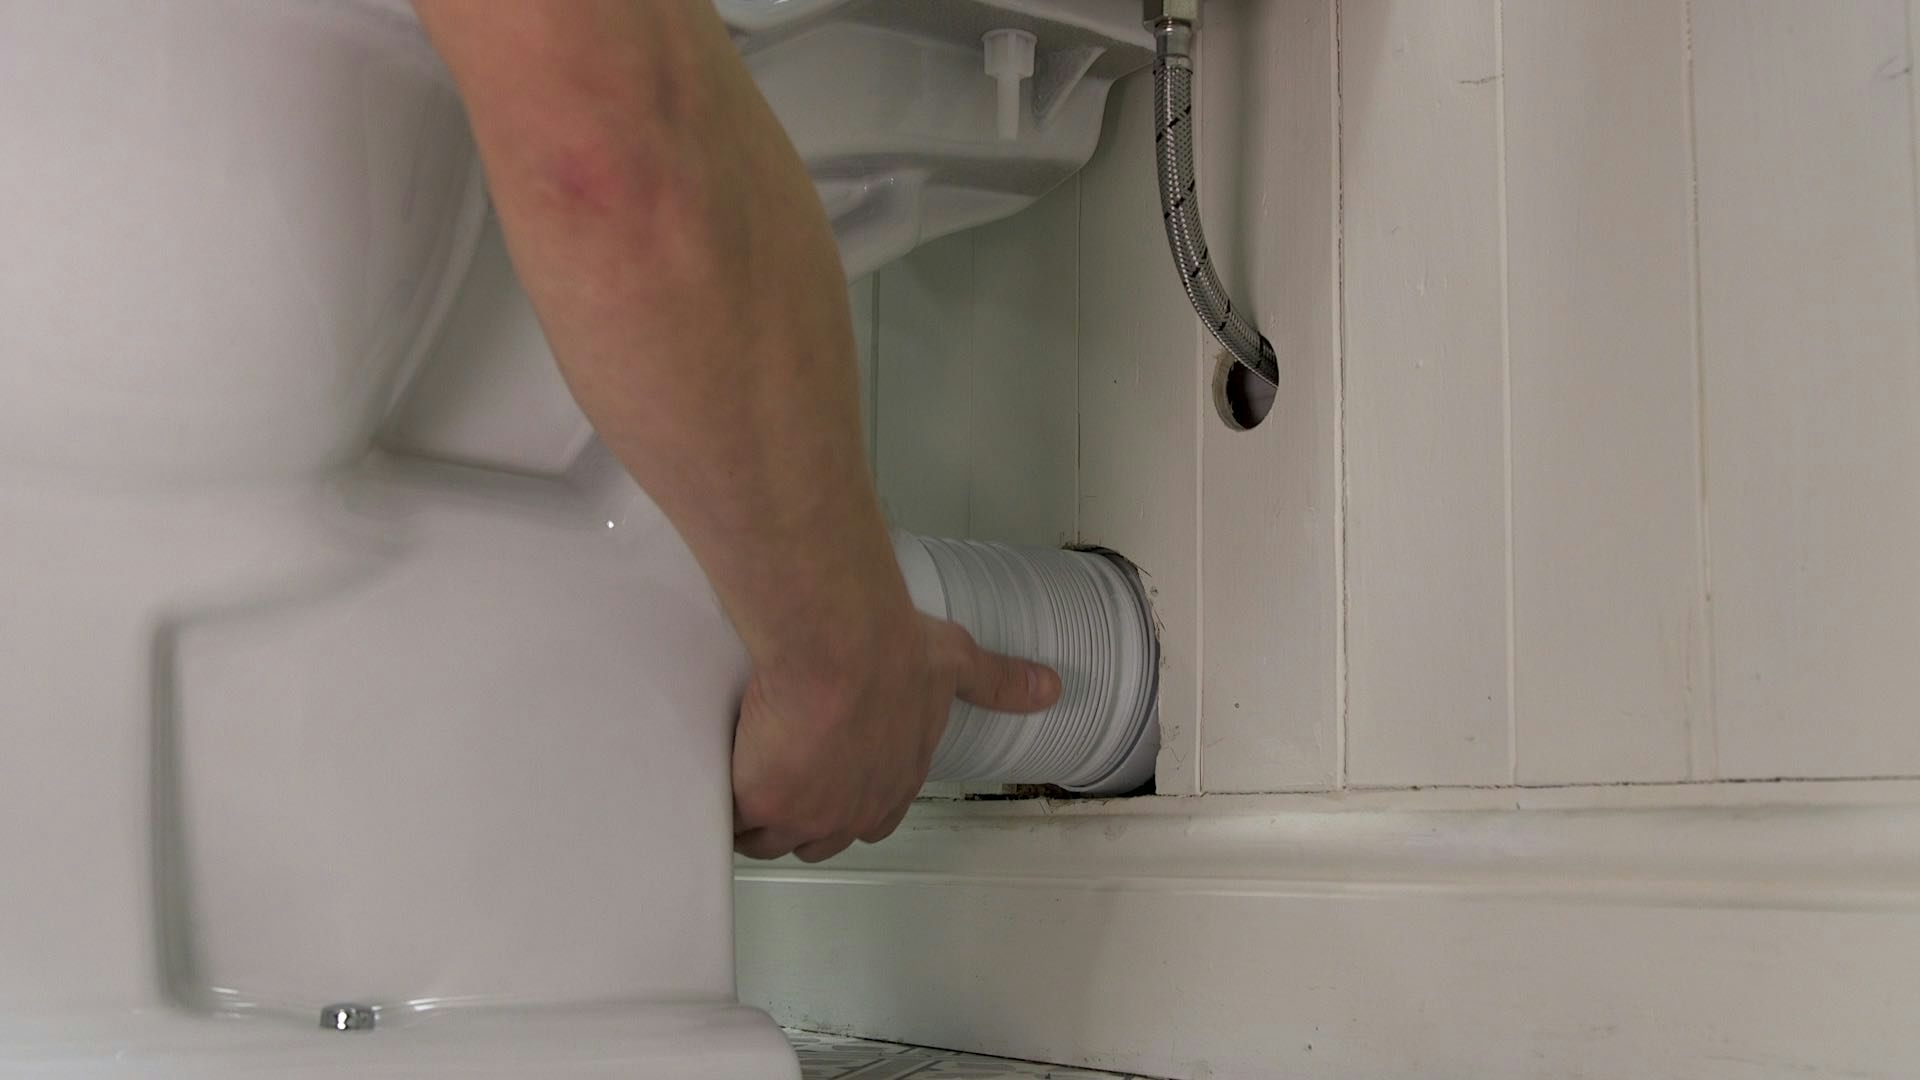
Connect the pan to the waste pipe using the pan connector.
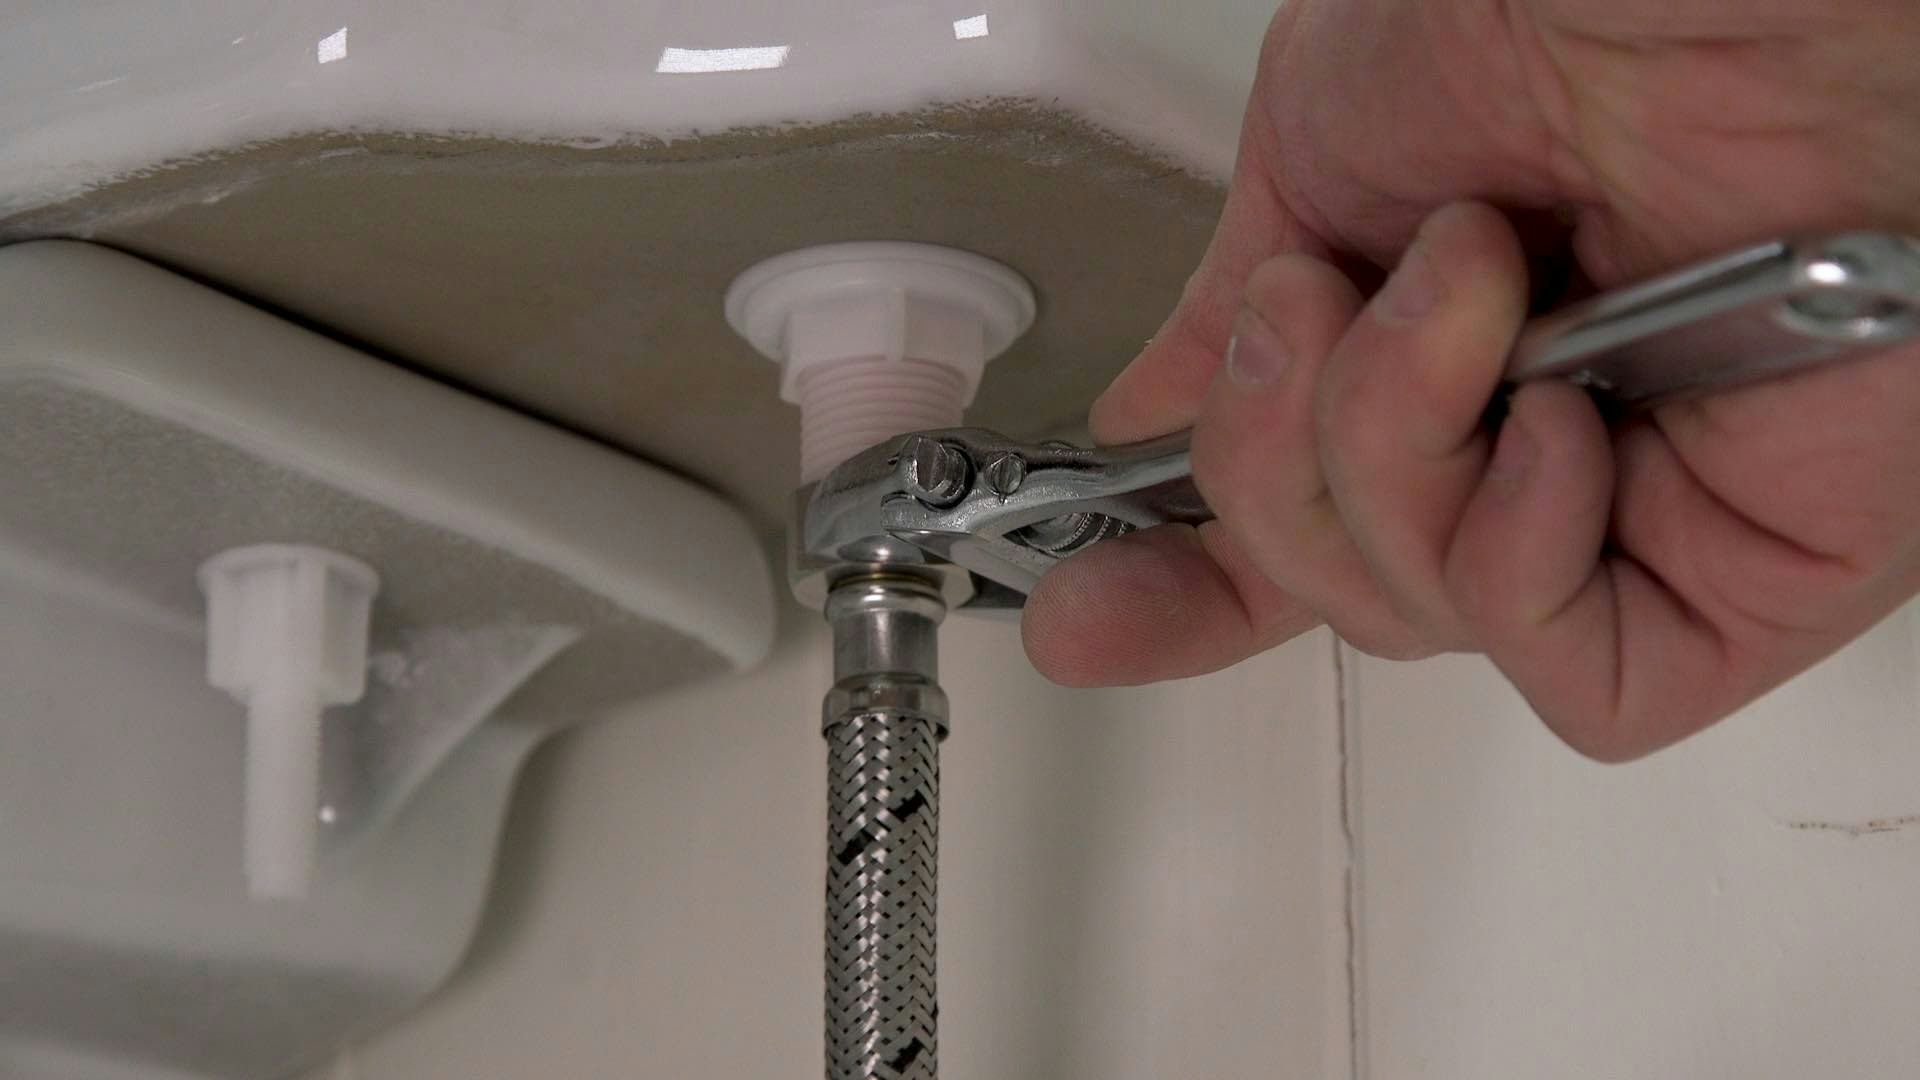
Step 7
Attach the water inlet pipe, taking care not to overtighten.
Step 8
Turn on the water and check for leaks.
Step 9
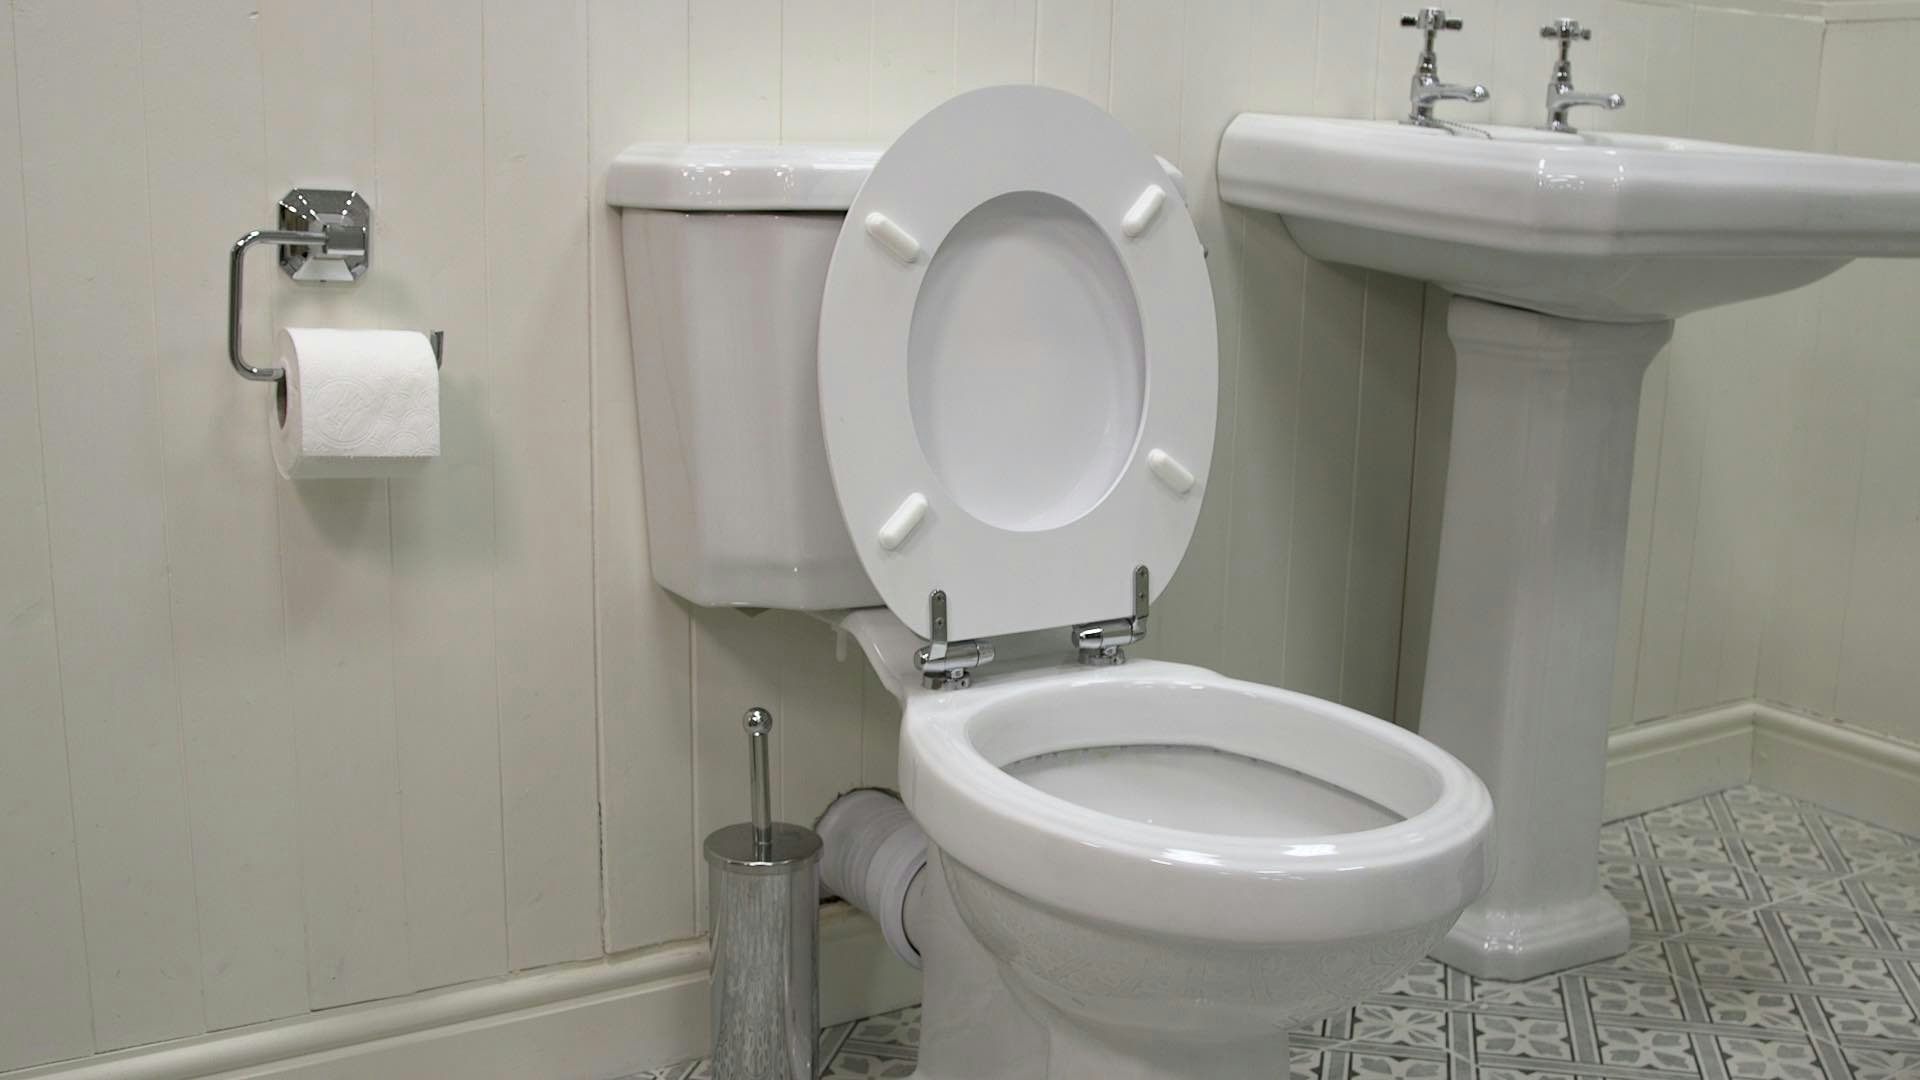
To fit the toilet seat, check out our toilet seat fitting guide.
Handy hint: Make sure the seat can remain in an upright position. If not, adjust.
Step 10
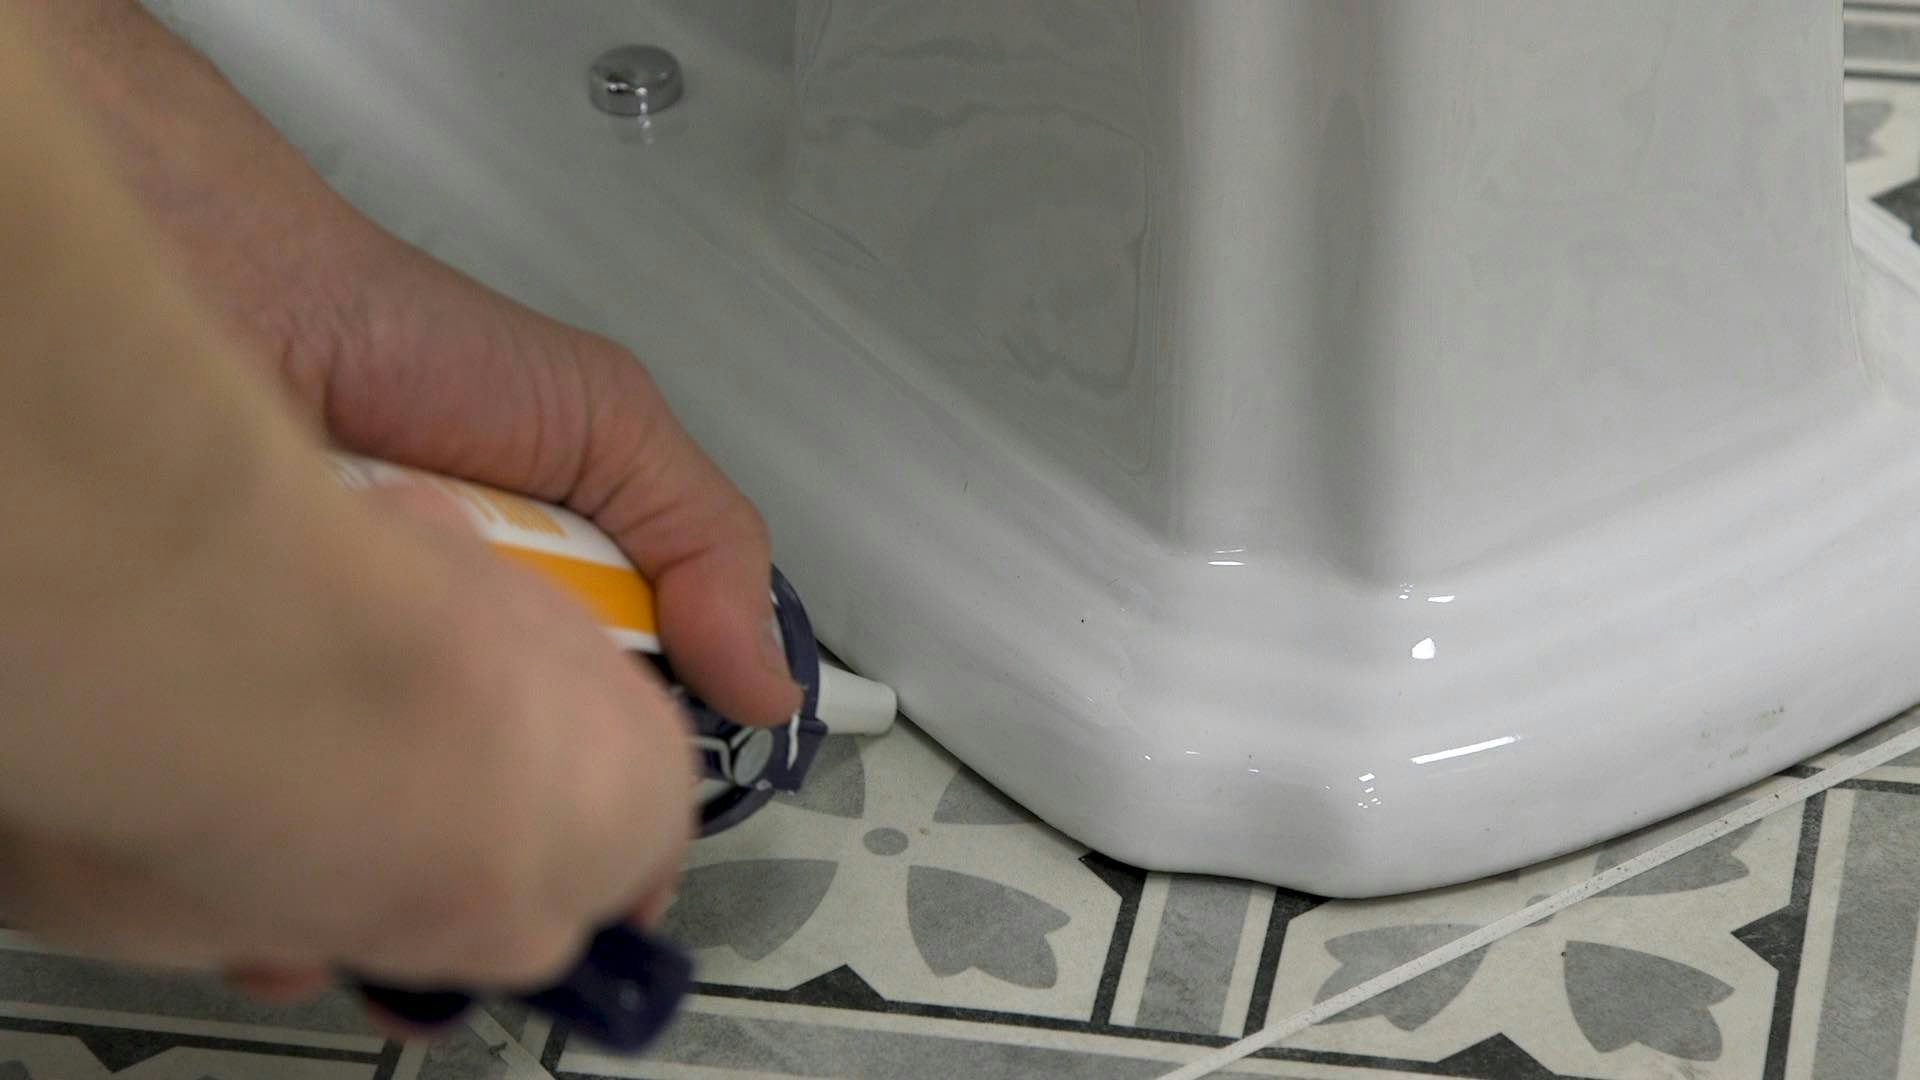
Finish the job by sealing the base with silicone.
Congratulations, you’ve now fitted your toilet.
Final words
Whilst DIY can be a good way to save time and money, you should always hire a qualified professional to plumb and install your products. The instructions above are simply a guide to fitting your new toilet and shouldn’t be used to cover full plumbing and installation.
Find out more about how easy it is to fit a bathroom suite.
Bathroom DIY videos and advice
If you’re considering bathroom DIY, check out our handy bathroom advice section for how to guides and expert tips, or click on any of the links below.

