If you’re comfortable with intermediate DIY tasks, you could save time and money by fitting your own wall hung cabinet or unit. In this expert guide, we’ll show you how, with step-by-step instructions and video.
Fitting a stylish mirror cabinet is a great way to add storage to your bathroom, especially if you’re lacking in floor space. As it doesn’t involve any plumbing or electrical work, it is something you can do yourself. However, if you really aren’t comfortable with DIY jobs such as this, it’s always best to consult a professional.
Bathroom cabinets are available in a huge selection of shapes, sizes and designs, from small mirror cabinets to tall storage units. However, the same principles apply when attempting installation.
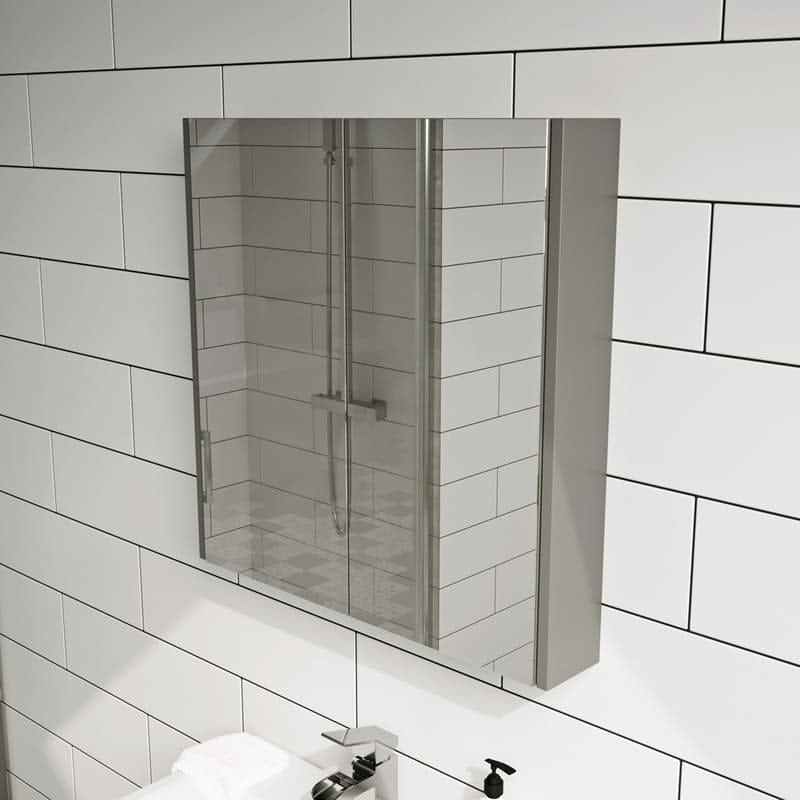
The Clarity satin grey mirror cabinet is a stylish way to increase your storage space
Before you do anything
Make sure you unpack and inspect your wall cabinet as soon as it is delivered. In the rare event that your product arrives damaged or with parts missing, it’s better to discover this now than at a later stage.
Always turn off your water at the mains before attempting any DIY in the bathroom and check the wall you wish to hang your cabinet on is suitable for installation. If in doubt, consult with a certified professional.
Tools you’ll need:
- Electric drill
- Hammer
- Pencil
- Safety equipment
- Spirit level
- Standard screwdrivers
- Stud detector
- Tape measure
Check you have the following:
Usually supplied with the cabinet:
- Screws
Time to complete:
- 30 mins
How much will a Tradesperson typically charge?
£40–£55 per cabinet (price may vary—find out more about bathroom fitting costs)
Step-by-step video
For instructional purposes, in this video, we show you how to fit the Reeves Wharfe white mirror cabinet 650 x 600mm.
Here is how to fit a wall hung cabinet or unit
-
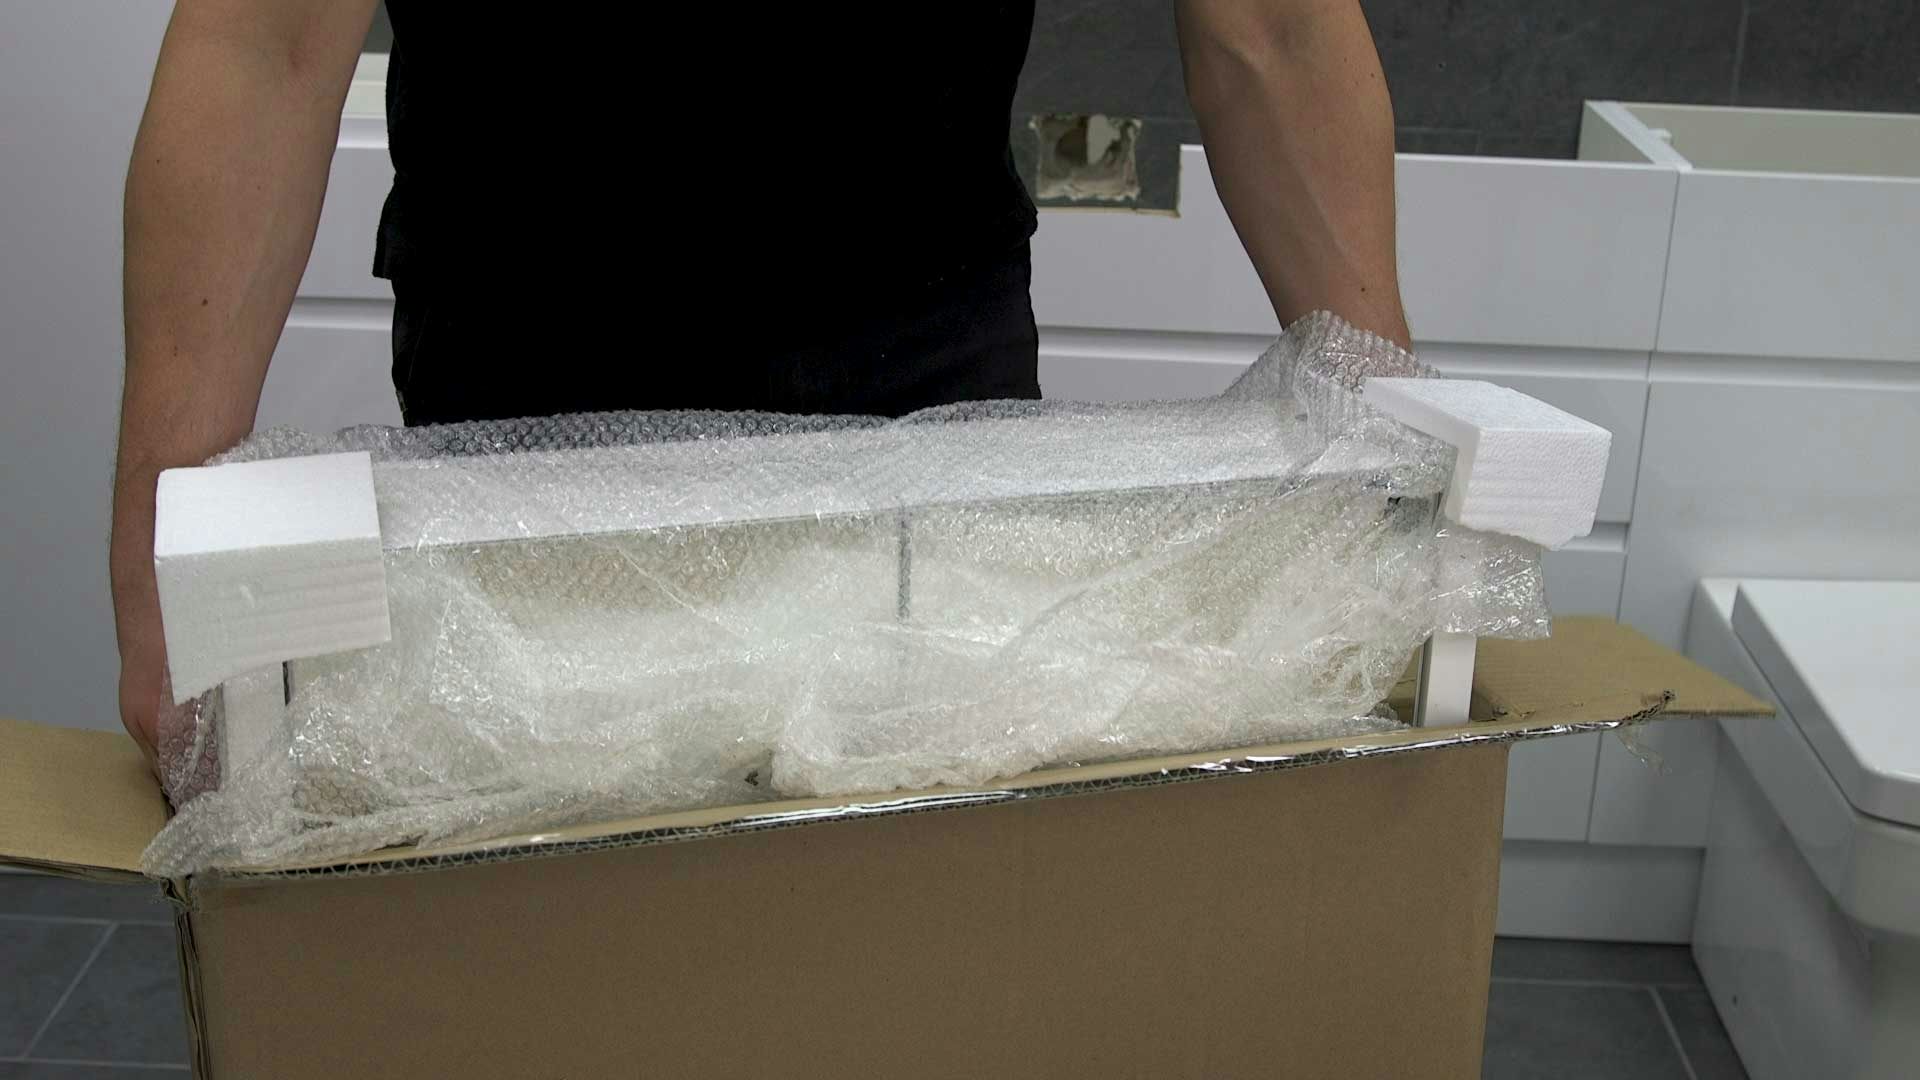
To start, unpack your unit and give it a once over, checking for any damage or missing parts.
-
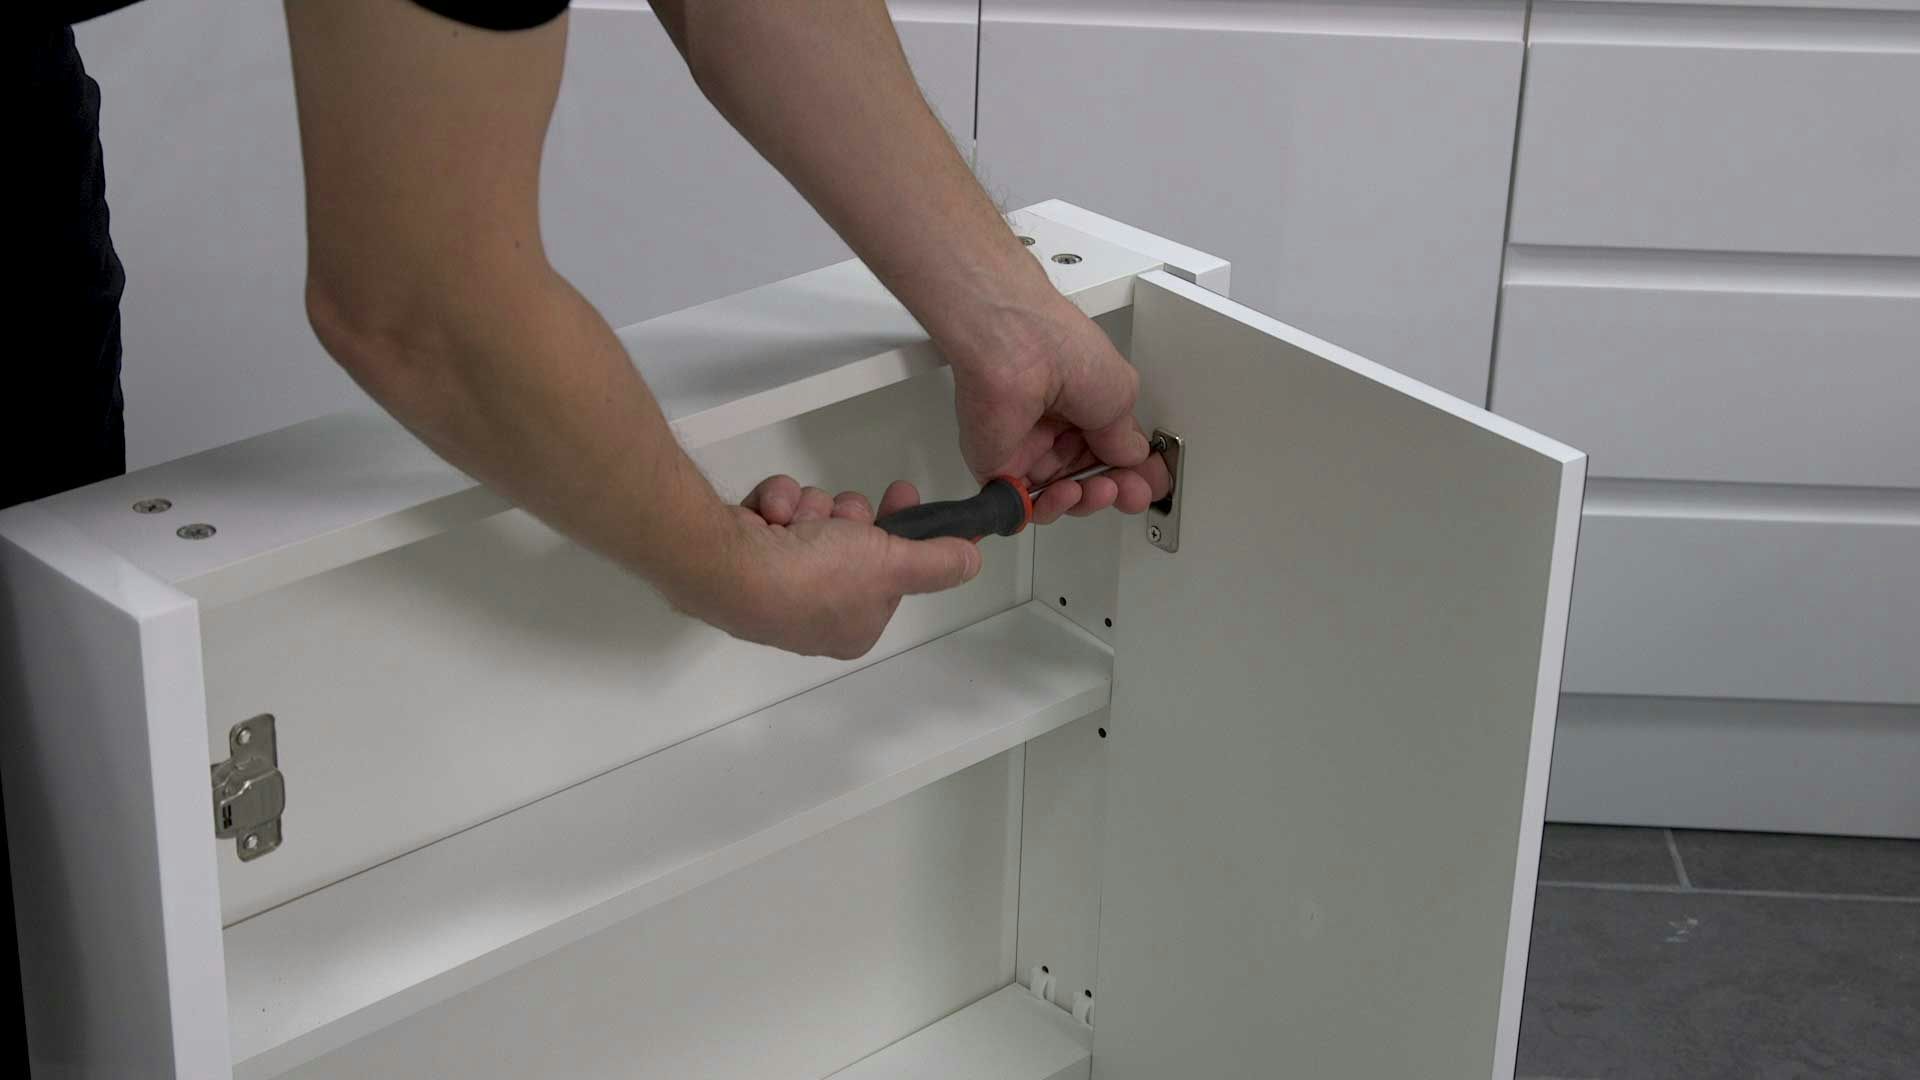
You can remove any doors at this point, to make handling the unit easier.
-
Measure the distance from the top of the unit to the fixing bracket. Use any existing furniture as a guide when positioning your unit.
-
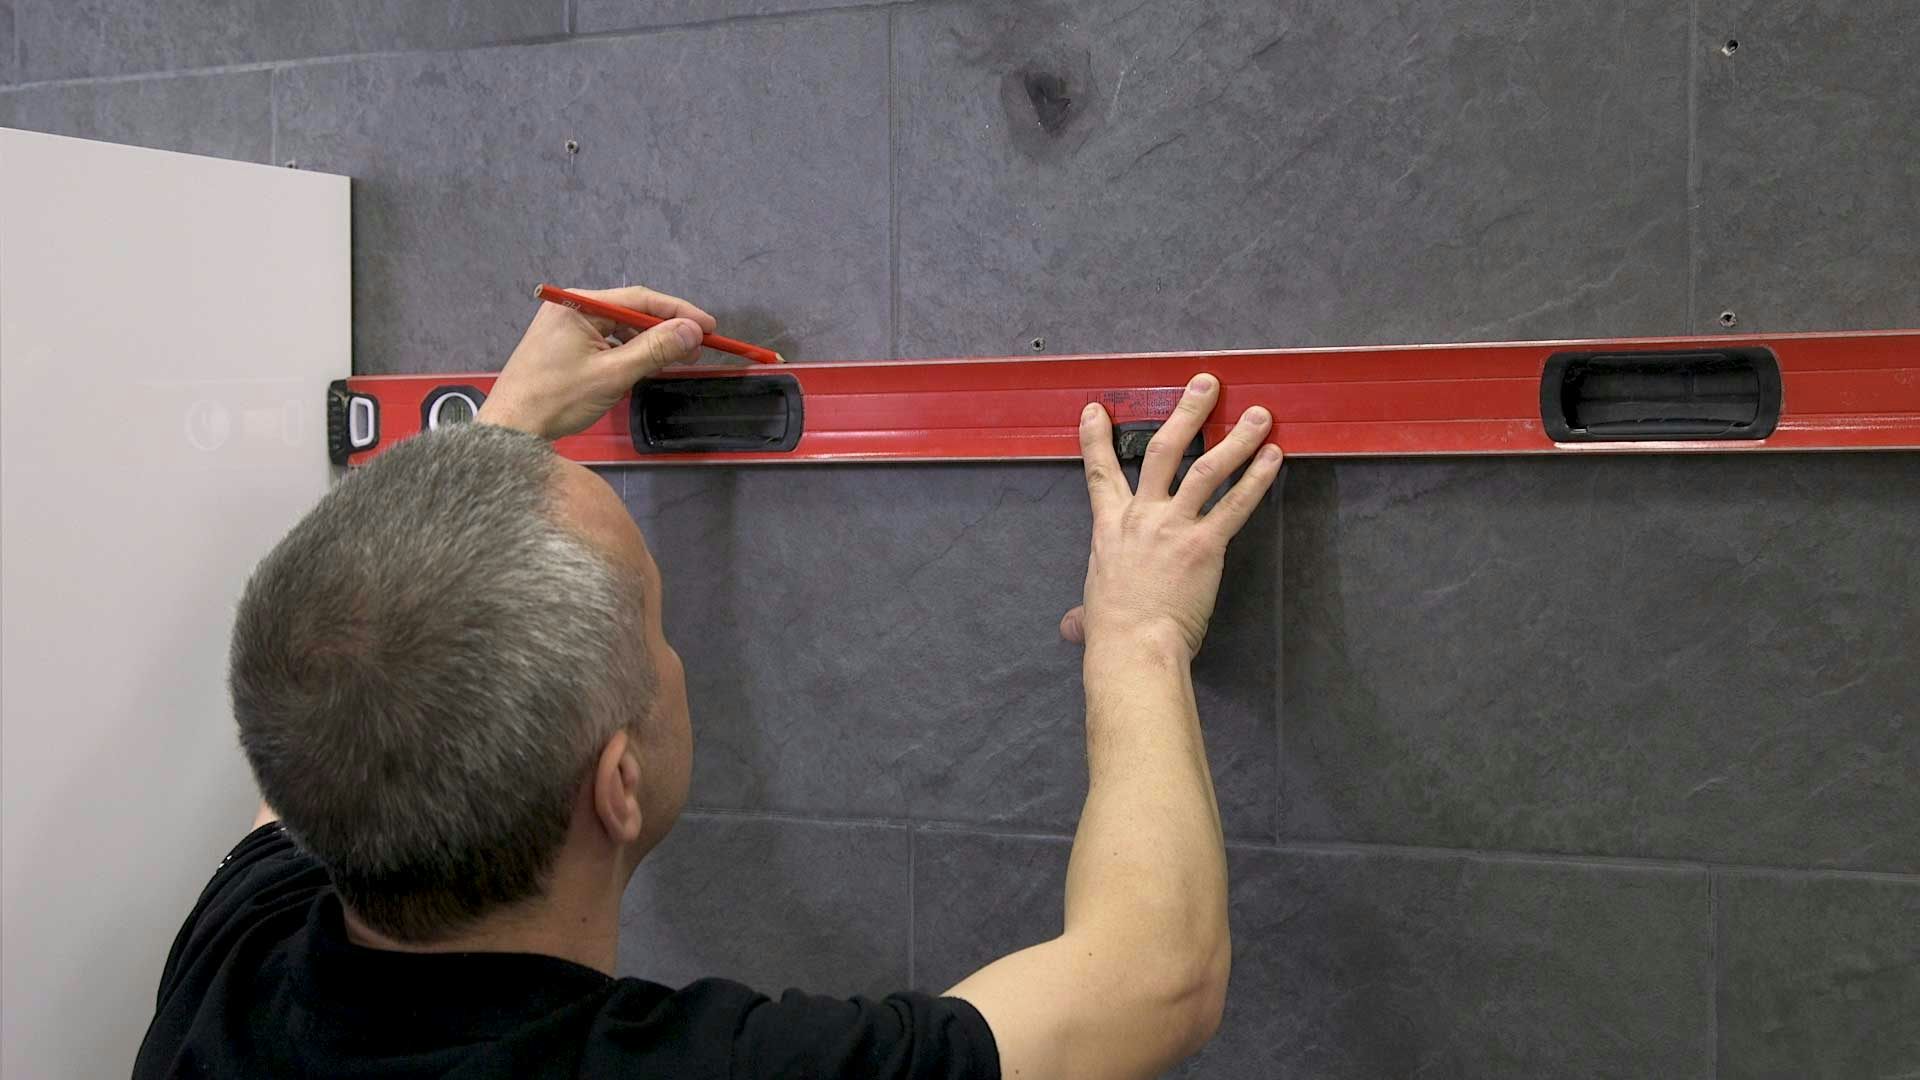
Mark the location for the fixing bracket on the wall.
-
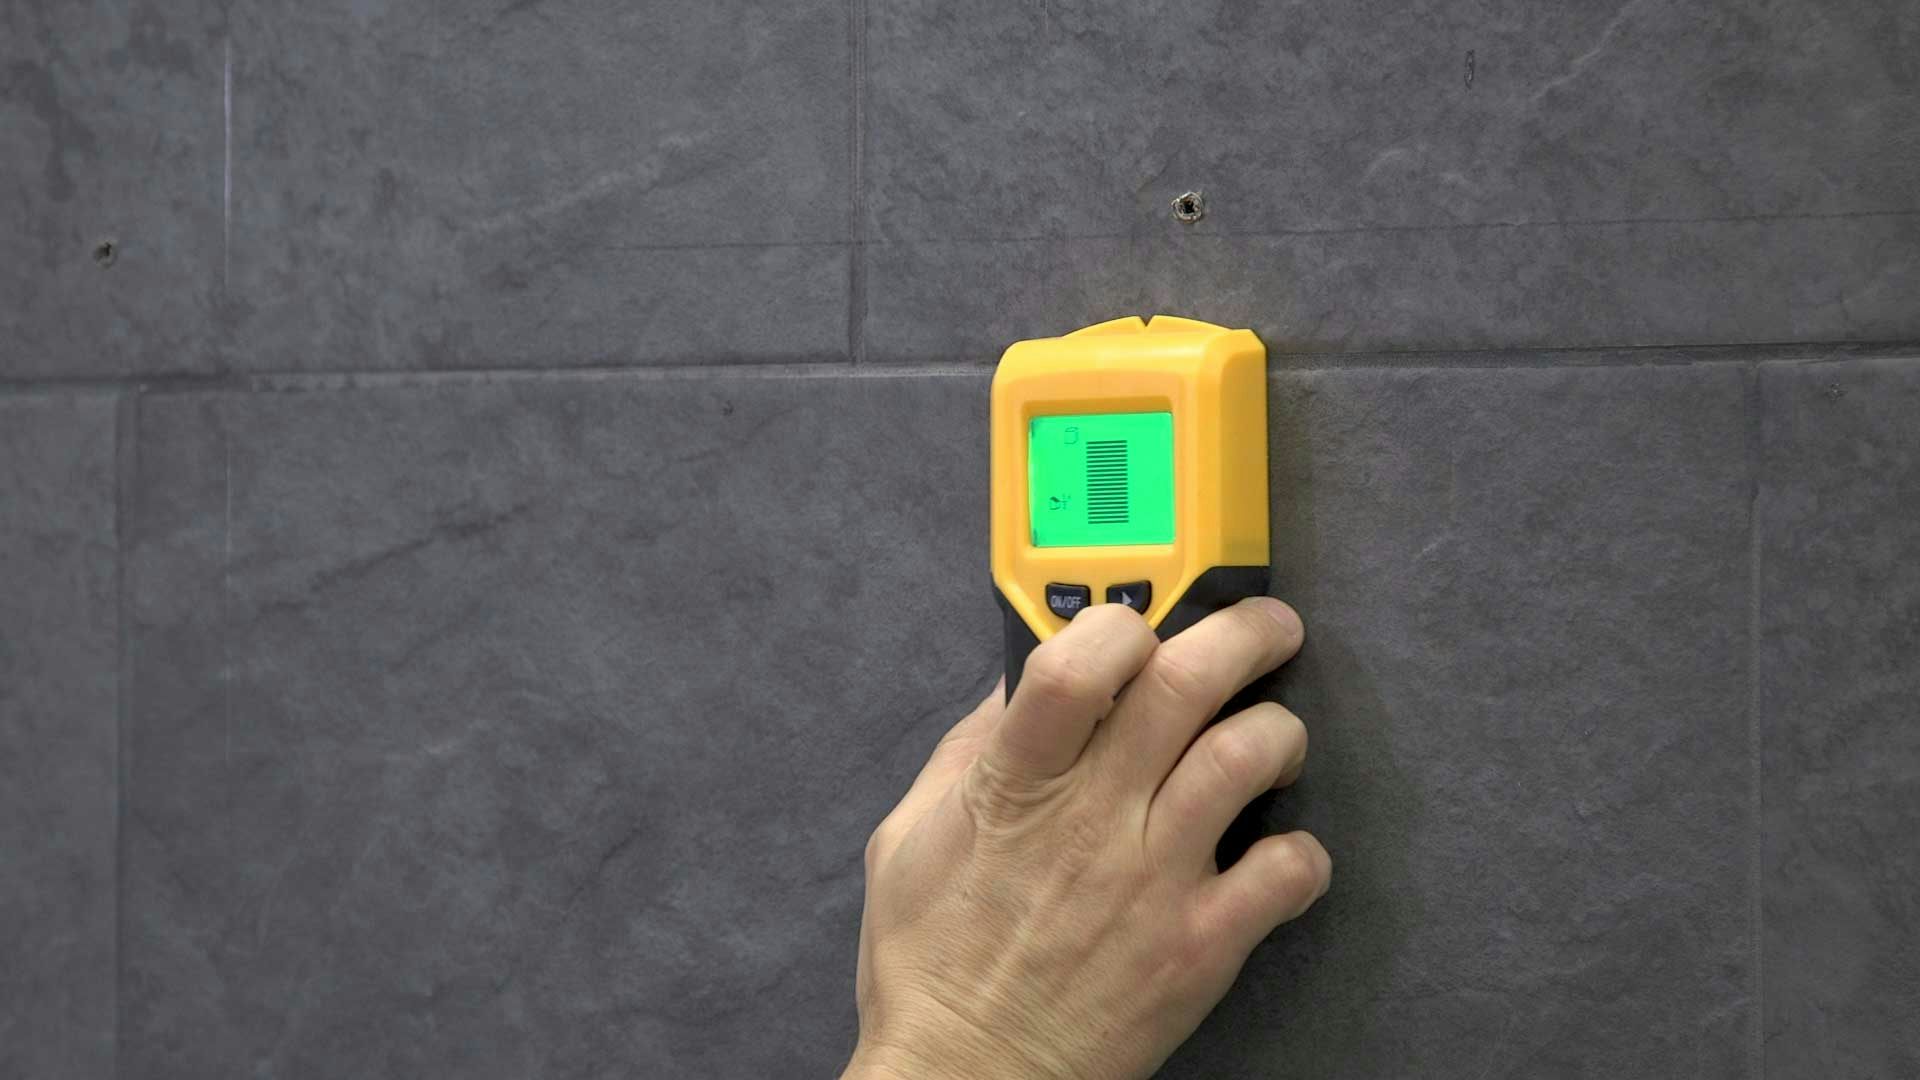
Check the area for pipes and wires with a detector.
-
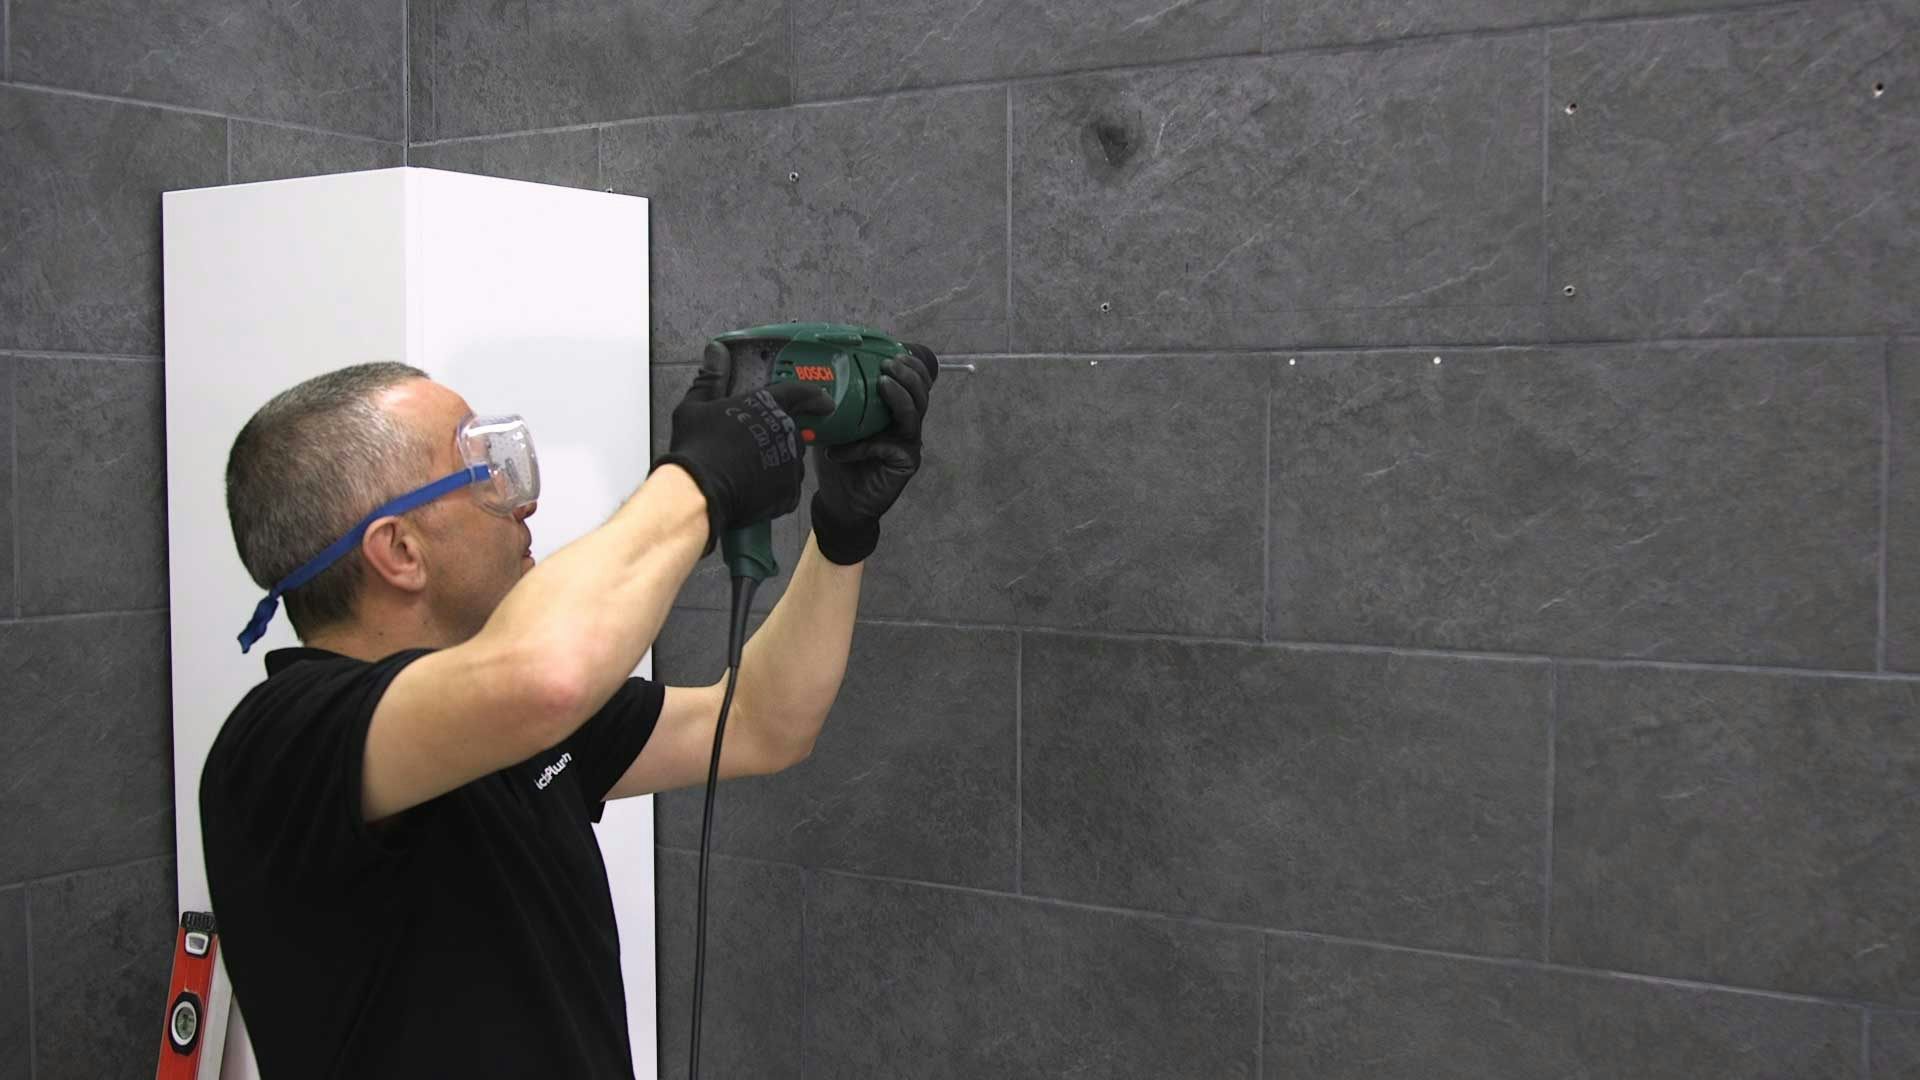
Drill the holes for your screws. Remember to use the necessary safety equipment and to also use the correct drill and bit for the surface type. If your unit comes with extra fixing screws, remember to drill the holes for these too.
-
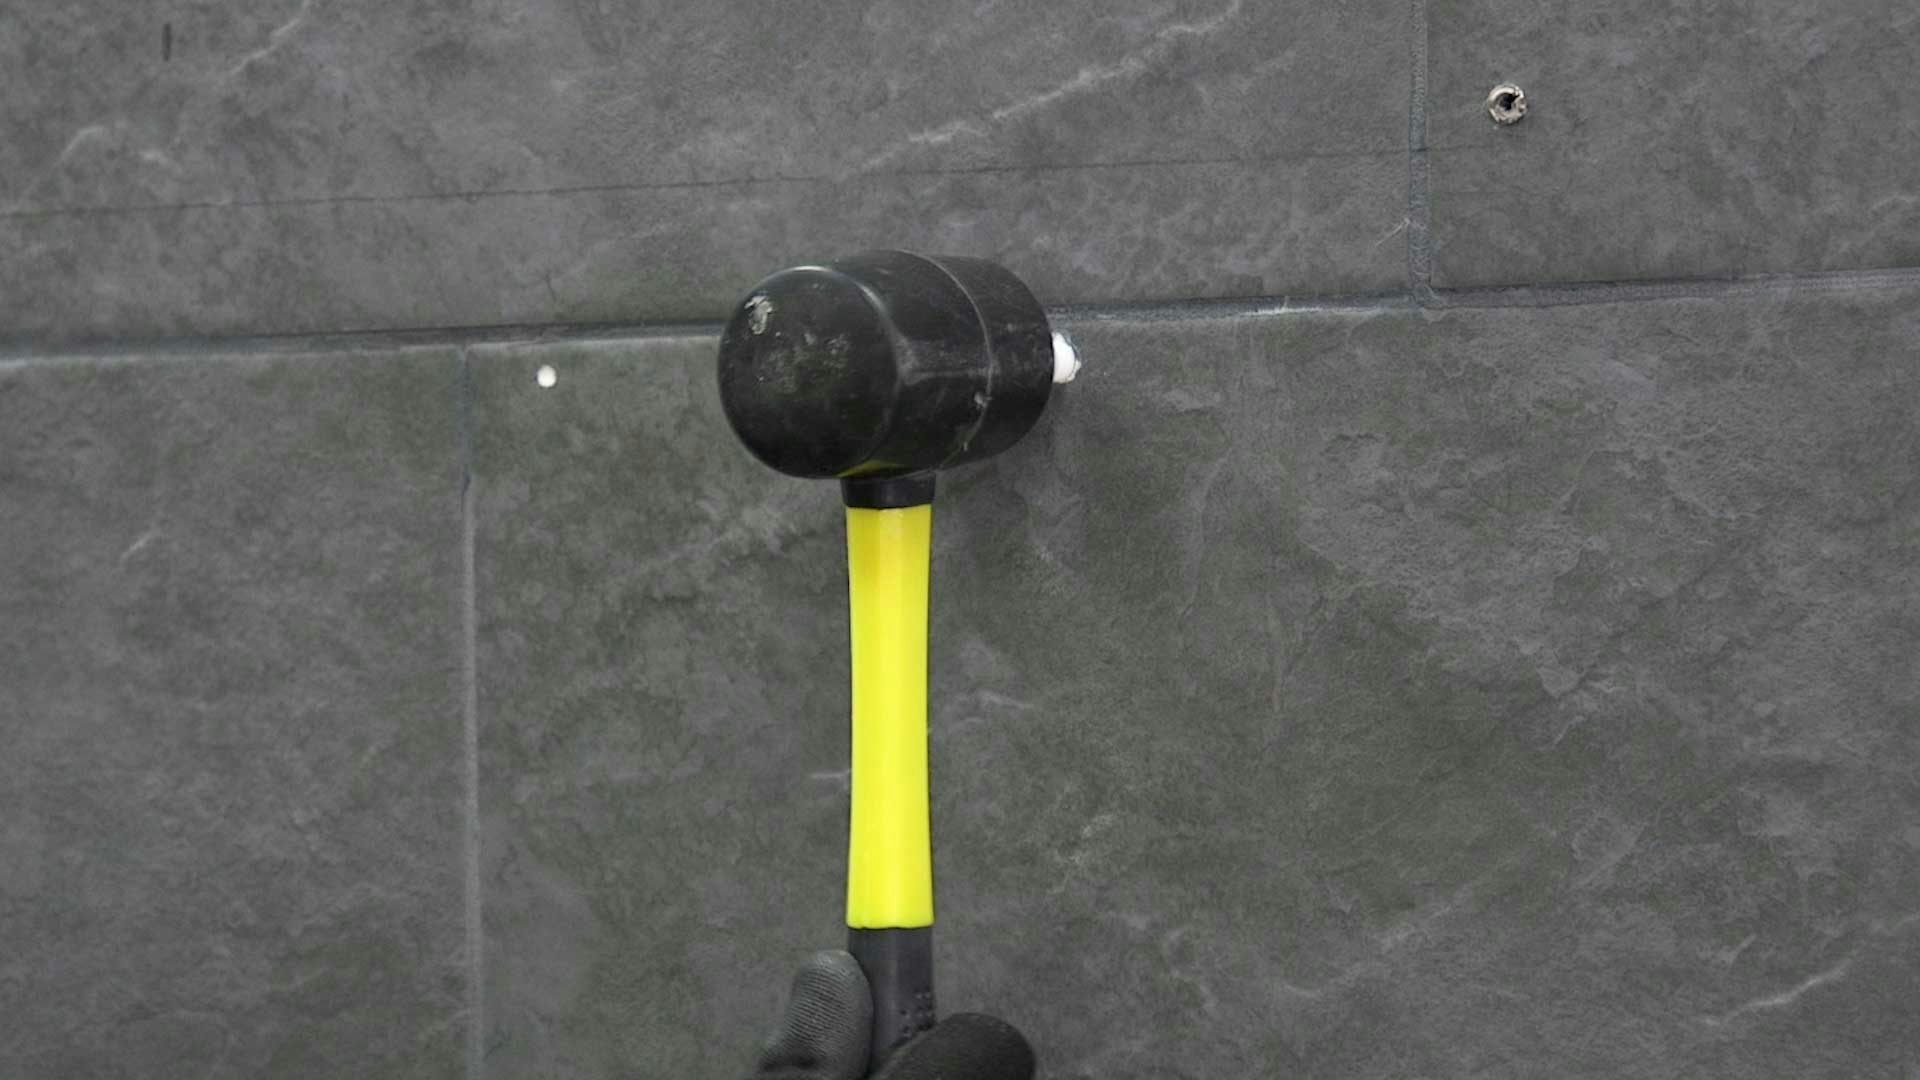
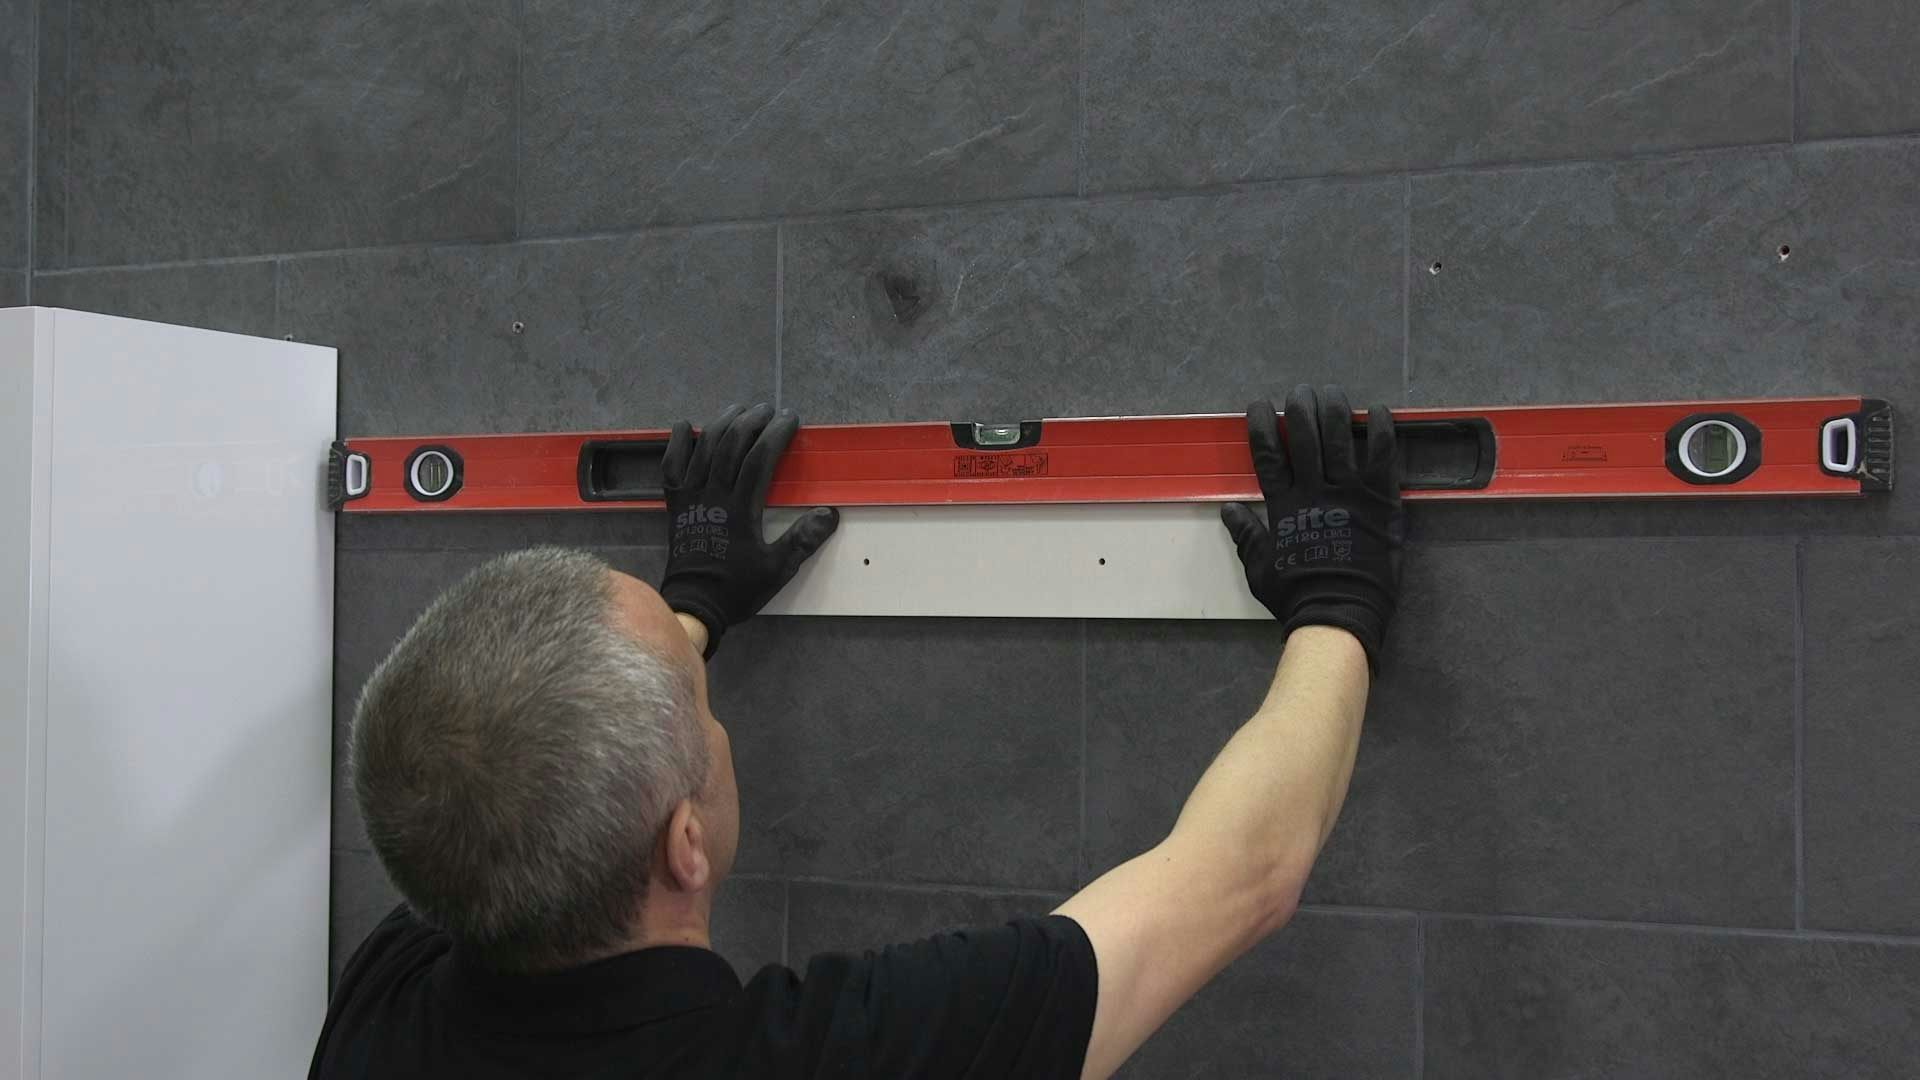
Tap in a wall plug, then fix the bracket in place, checking that it’s level with a spirit level.
-
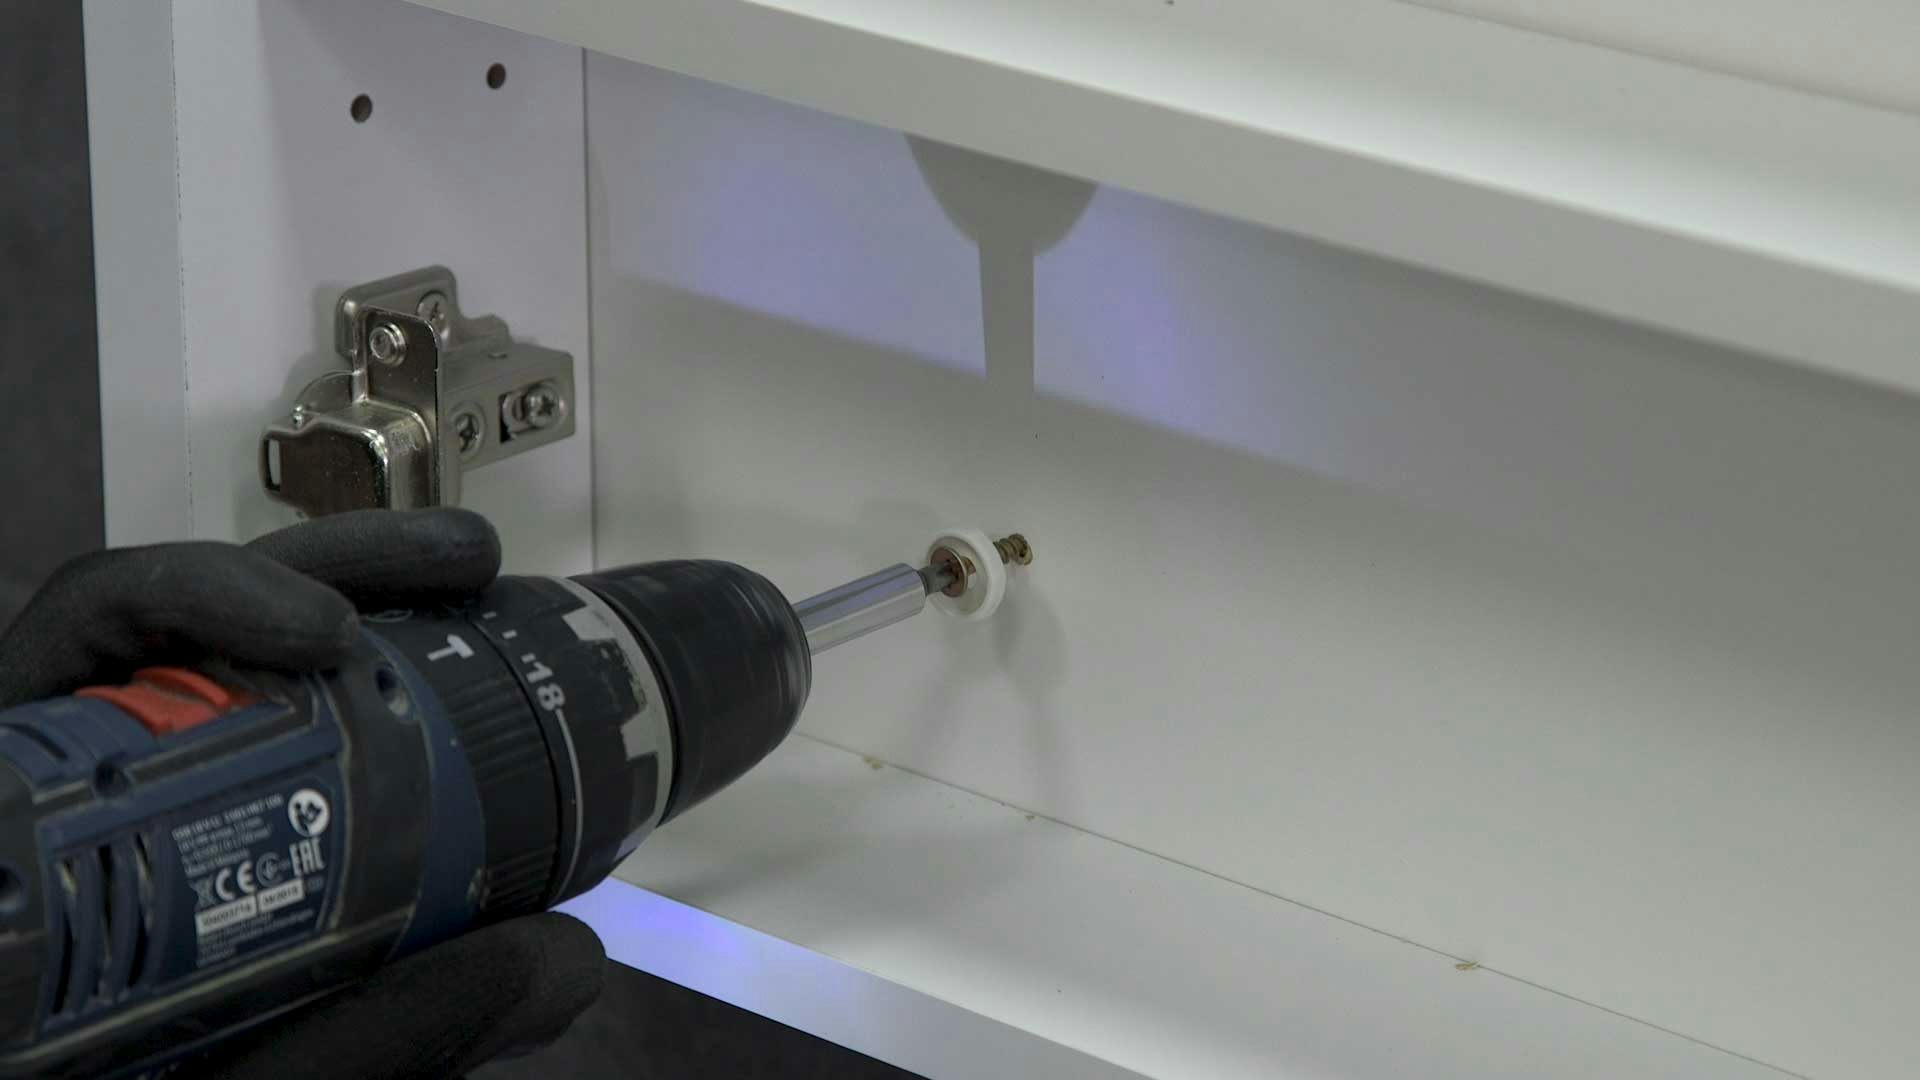
Fit the unit to the wall and screw in place with the fixing screws.
-
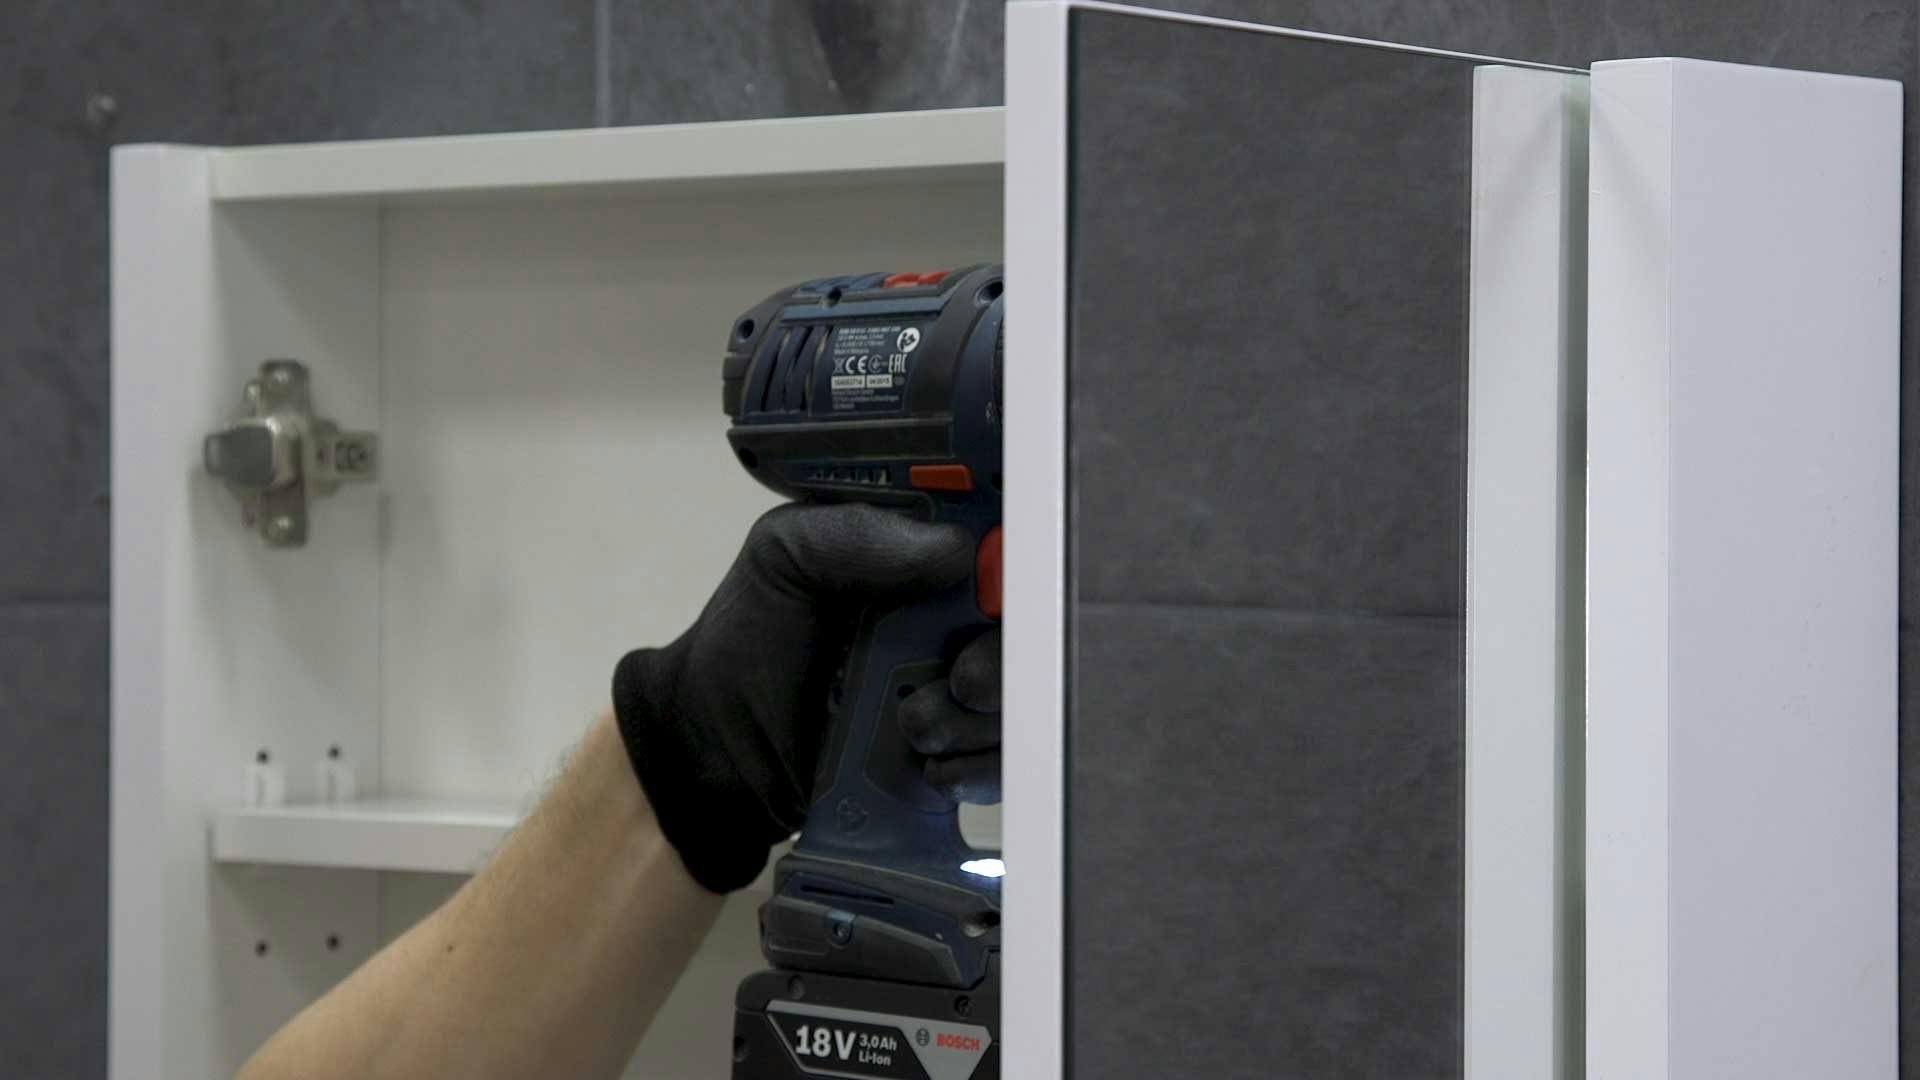
Replace the doors and hinges.
Congratulations, you’ve successfully fitted your wall hung unit.
Step by step images
So you can visualise each step of the process, we’ve provided step by step images, showing you how to fit a bathroom wall unit.
Unpacking and inspecting your unit.
Removing the doors for easier handling.
Marking the location of the fixing bracket.
Checking the area for pipes and wires with a detector.
Drilling the screw holes.
Tapping in screw plugs.
Checking the fixing bracket is level.
Fixing in screws.
Replacing doors and hinges.
Shop bathroom furniture
At Victoria Plum, you’ll discover a fantastic selection of bathroom storage solutions, from mirror cabinets to fitted bathroom furniture. Shop now by clicking on the image below.
More bathroom DIY advice
To help you save both time and cash, why not check out all our other bathroom DIY guides? Or, click on any of the articles below.

