If your shower isn’t performing quite as well as you’d expect, it may be simply that your shower valve requires a little maintenance.
Especially true in hard water areas, limescale and particles can build up inside your valve, hindering water flow and resulting in a less than satisfactory flow.
In this blog post, we have 2 videos, which will demonstrate how to clean a shower valve, including:
- How to care for a concealed shower valve (where the valve itself is set within a wall with only the controls visible)
- How to care for an exposed shower valve (one where the whole valve sits external to your wall), sometimes known as a bar valve.

How to clean a concealed shower valve
Step-by-step instructions
Before you begin, isolate all water supplies to your shower. If you're unsure how to do this, please seek professional advice from a qualified plumber.
- If your valve has a lever, unscrew this to access fixings
- Take a narrow Allen key and unscrew the nut inside to remove the control knob
- Repeat step 2 for any other control knobs
- If the valve has a backplate, gently pull this away from the wall
- Unscrew the valve surrounds from their housing, leaving the pipework exposed
- Using an adjustable spanner, unscrew and remove the thermostatic cartridge and the remaining valves
- Use a toothbrush or small stiff brush to clean the inside of each valve housing
- Wipe the inside with a damp cloth to remove any residue you may have dislodged
- Clean the thermostatic cartridge (which you have removed) in a solution of water and vinegar (ratio of 1:1)
- Immerse the cartridge in the solution and soak for around 10 minutes
- Clean with a brush and run under fresh water to remove any debris
- Replace the valve parts in the reverse order to how you removed them (last thing removed = first thing replaced) and fit housing, making sure all of the "O" rings are intact. Tighten using your adjustable spanner
- Replace thermostatic cartridge with pipe facing outwards. Tighten
- Fit housings and ensure "O" ring around cartridge is undamaged and in the correct position
- Replace backplate (if applicable)
- Replace control knobs using Allen key to secure and replace any levers by screwing back into place
- Turn the water supply to the shower back on and test for leaks
- Test the output of your shower. If performance still hasn’t improved, there may be an issue elsewhere in your system. In which case, it is recommended you call on a professional plumber to investigate
Shower valve designs do vary, so please refer to the instructions which came with your product for further information.

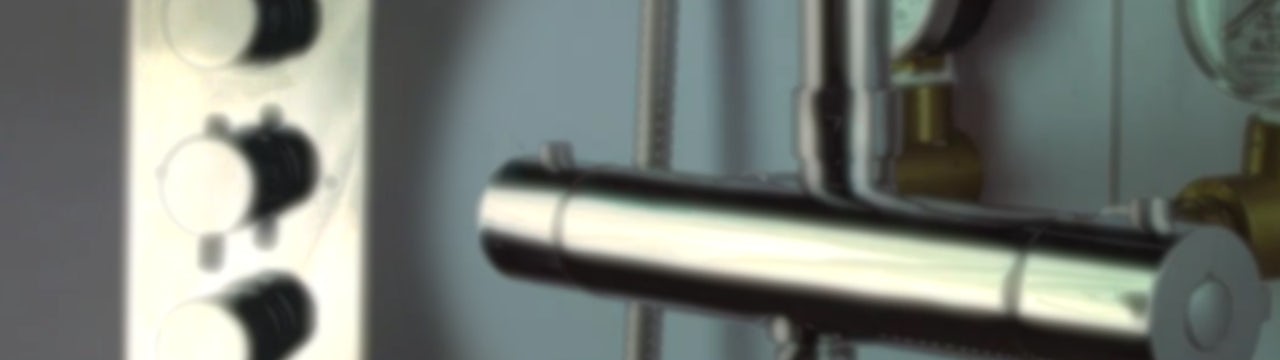
How to clean an exposed shower valve
Step-by-step instructions
Before you begin, isolate all water supplies to your shower. If you're unsure how to do this, please seek professional advice from a qualified plumber.
- Take the temperature control knob and pop off the end cap using the end of a flat head screwdriver
- Unscrew the temperature control knob using a Phillips head screwdriver
- Lever and remove the knob housing using a flat head screwdriver
- Using an adjustable spanner, unscrew and remove the thermostatic cartridge and the rest of the valves (excess water may dribble out at this stage)
- Use a toothbrush or small stiff brush to clean the inside of each valve housing
- Wipe the inside with a damp cloth to remove any residue you may have dislodged
- Clean the thermostatic cartridge (which you have removed) in a solution of water and vinegar (ratio of 1:1)
- Immerse the cartridge in the solution and soak for around 10 minutes
- Clean with a brush and run under fresh water to remove any debris
- Inspect all washers and "O" rings for damage
- Replace thermostatic cartridge ensuring it is positioned correctly. Tighten using your adjustable spanner
- Replace seal ensuring it is in the correct position
- Replace control knob and screw into place using a Phillips head screwdriver
- Replace end cap
- Turn the water supply to the shower back on and test for leaks
- Test the output of your shower. If performance still hasn’t improved, there may be an issue elsewhere in your system. In which case, it is recommended you call on a professional plumber to investigate
Shower valve designs do vary, so please refer to the instructions which came with your product for further information.


