Whilst fitting a radiator is often best left to the professionals, if you're confident in your DIY skills, it may be easier than you'd think. We break it down step-by-step to show you how it’s done.
If your radiator isn’t working or you simply want to freshen things up and give your space a new lease of life, you may be considering buying a new radiator.
Shopping around for your shiny new radiator, choosing the right size and picking out a style you like is all relatively easy, but fitting it can seem like a mammoth task, so is it hard to fit a radiator?
Well, there's some good news: fitting a raidaotr is actually a relatively straightforward job to complete. As long as you take time and care, you should be able to do it yourself. Read on, as we take you through the 8 simple steps you need to follow to fit a radiator.
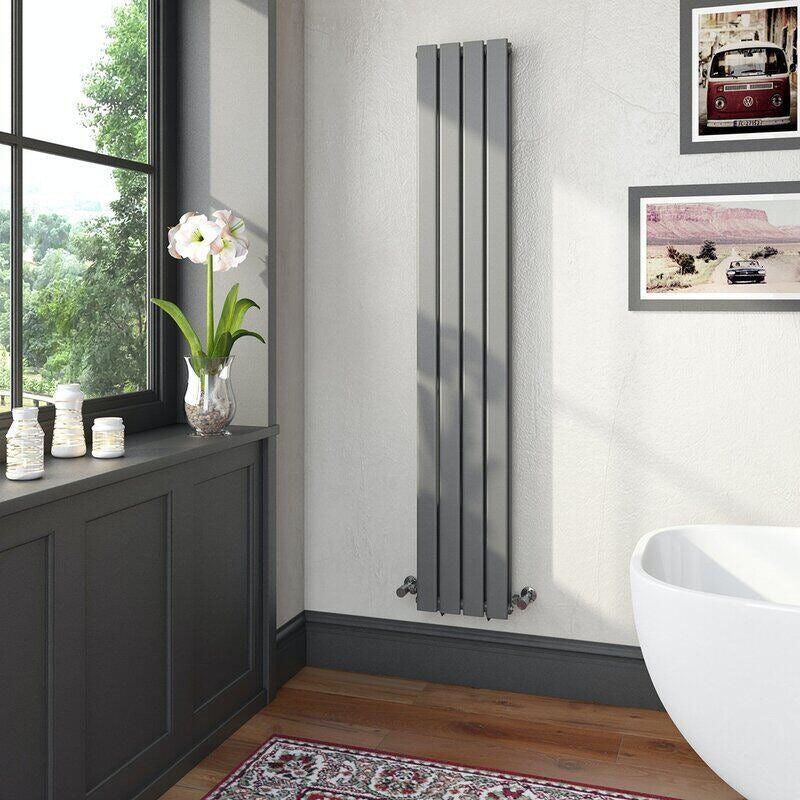
Transform your interiors with an on-trend radiator. It isn't as hard as you'd think
Step 1: Check the wall
The first thing to check is what sort of wall the radiator is attached to as this will influence the type of radiator you can buy.
If it is a solid masonry wall (bricks cemented together) you can pretty much buy any type of radiator, as this type of wall is generally strong enough to cope. When it comes to plasterboard walls, locate where the noggins (the timber structure used to stiffen the wall) are fixed. Using a stud detector will help here, as the studs are the strongest part of a plasterboard wall, and this is where the radiator will have to be hung–which will likely affect the size and type of radiator you can buy. Of course, radiators can also be floor mounted, and you'll find plenty of leg options for contemporary and traditional radiator designs alike.
Generally, the best way to fit a radiator is to choose one that has identical pipe centres to your existing setup. The pipe centres are the measured distance between the 2 pipe inlets. If you buy a radiator with different pipe centres, you will need a plumber to reposition new valves for you.
Step 2: Close the valves
If you have chosen a radiator with identical pipe centres, ensure the heating is turned off before isolating the radiator (turn off both of the valves). Make a note of the amount of times the valve is turned so when the new radiator is installed you can reset it to the same flow rate.
Step 3: Disconnect the valves
Water will drain out of each valve so place a tray or container underneath each one. Now use an adjustable spanner to loosen the swivel nuts that connect the radiator to the valve.
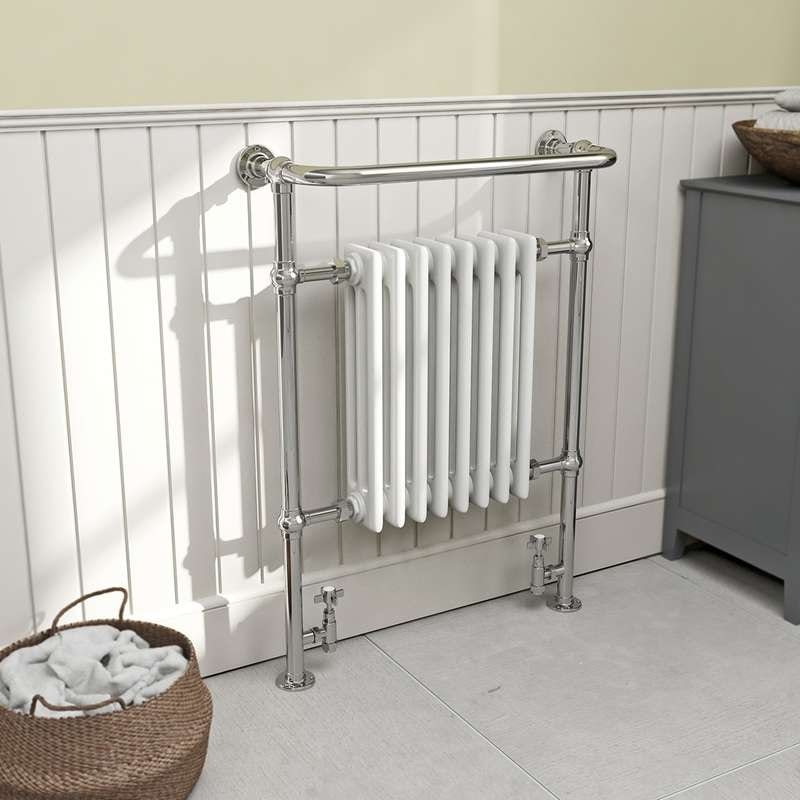
Creating a vintage-inspired space? Fit a radiator which is sympathetic to that style
Step 4: Drain the radiator
To fully drain the radiator of water, open the bleed valve found at the top of the radiator. Use either a radiator key or a screwdriver to do this. Fill the tray/container with water and empty it into a bucket when full, closing the valve to stop any water from coming out. Repeat this process until no more water comes out. You can then disconnect the valve on the other side. Carefully lift the radiator off the brackets and slowly tilt it to drain out any water that may be left inside. Before you put the radiator aside, use an old cloth or rag to fill the outlet to stop any leakage occurring.
Step 5: Remove the old brackets
Remove the existing brackets from the wall, as these are likely to be unsuitable for your new radiator. Before installing the new ones, fill in the bracket holes in the wall.
Step 6: Double check the wall
Unless you are 100% sure about what is behind the wall you are about to drill into, it’s a good idea to use a multi-purpose digital detector. This will tell you if there are any cables, studs or pipes behind the wall so you can avoid drilling into them. Compared to the potential damage that could be caused by drilling into a stud or cable, they are relatively cheap to buy and easy to use.
Step 7: Attach the new radiator
Once you are clear about what is behind the wall you can attach the radiator brackets and then fit the radiator. Follow the instructions that come with the product using all the fixings provided and check that it is securely in place once finished.
Step 8: Turn on the new radiator
With everything double checked and secured, the last thing to do is to close the bleed valve on the radiator and reconnect the water pipes and valves. Switch on the water supply and the new radiator is now ready for use.
For more comprehensive instructions, see our complete guide to changing a radiator.
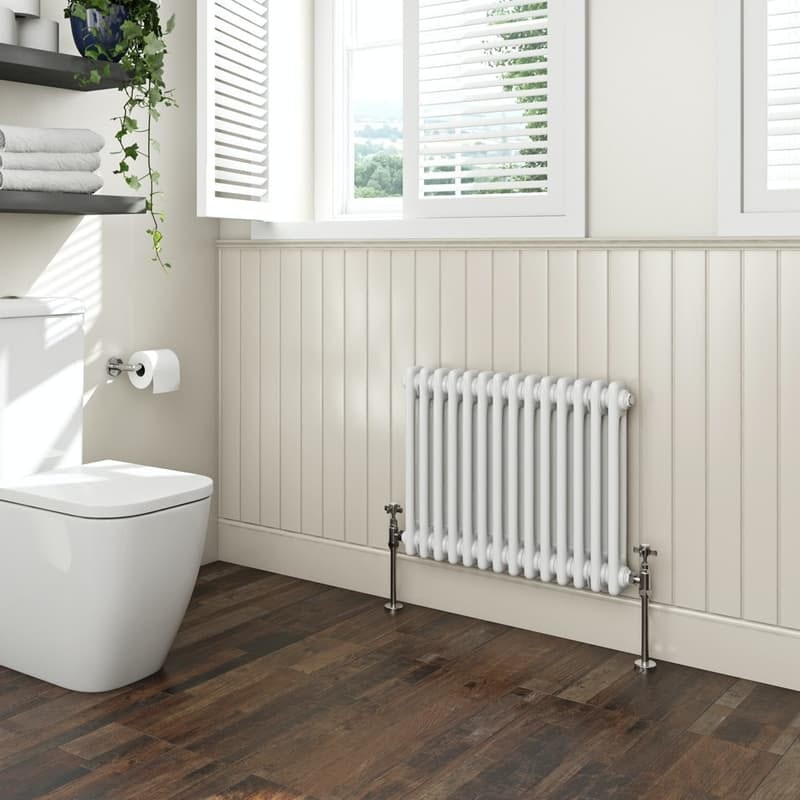
A new radiator can instantly alter the look and feel of your room
Like this article?
Whilst we'd always recommend hiring an experienced professional to take care of those more complex jobs around you're home, if you're an enthusiastic DIYer, you'll find all the advice you'll need right here at Victoria Plum. Find out everything you need to know about bathroom products before you buy with our expert buying guides and discover our wide range of step-by-step installation guides, many of which include easy-to-follow videos.
If you're specifically searching for advice around heating, you'll find all the resources you need. As well as calculating your BTU output and deciding if radiator size matters, we'll show you how to fit a heated towel rail and how to change a radiator valve.
Shop radiators
If you're searching for that perfect radiator for any room in your home, why not browse the huge selection available at Victoria Plum. From vintage-inspired designs to ultra-stylish, contemporary models, you're bound to find a style that suits. Simply click on the image below to begin browsing.


