In this expert DIY guide, complete with video and step-by-step instructions, we’ll show you just how easy it is to repair small holes and cracks in your wall.
It’s common to find holes or cracks, either during decorating or after removing items from the wall. Fixing these small holes is easy, using quick-drying, ready mixed filler—available from any good DIY store.
If left unfilled, holes and cracks can mean an uneven or unsightly surface, especially if you are looking to paint, wallpaper or tile on top of it.
Tools you’ll need:
- Dust mask
- Filler knife
- Fine grit sandpaper
Will need to buy separately:
- Ready mixed filler
Time to complete:
Less than 15 minutes (some fillers take just 5 minutes to dry)
Repairing holes and cracks in your wall video
Here is how to repair cracks or holes in a wall
-
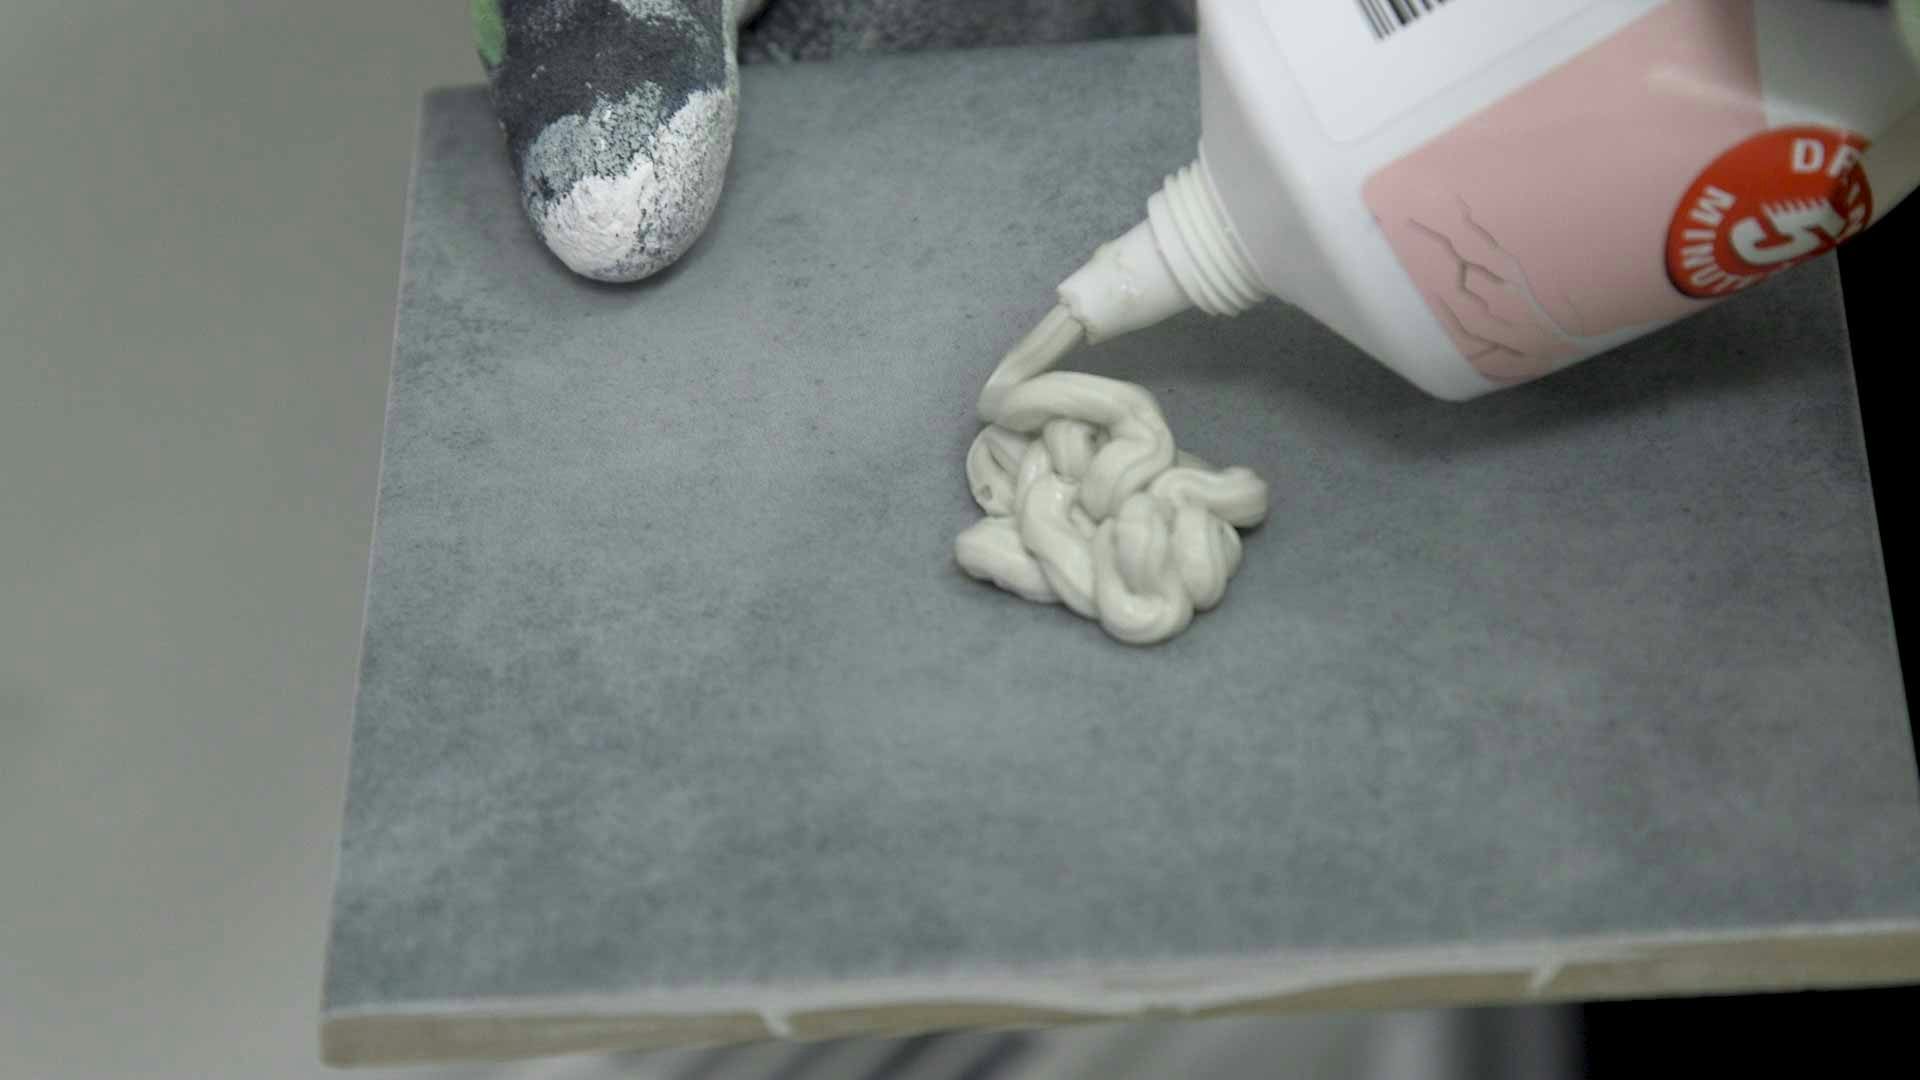
Place a small amount of filler on a smooth surface. A spare tile is ideal for this purpose.
-
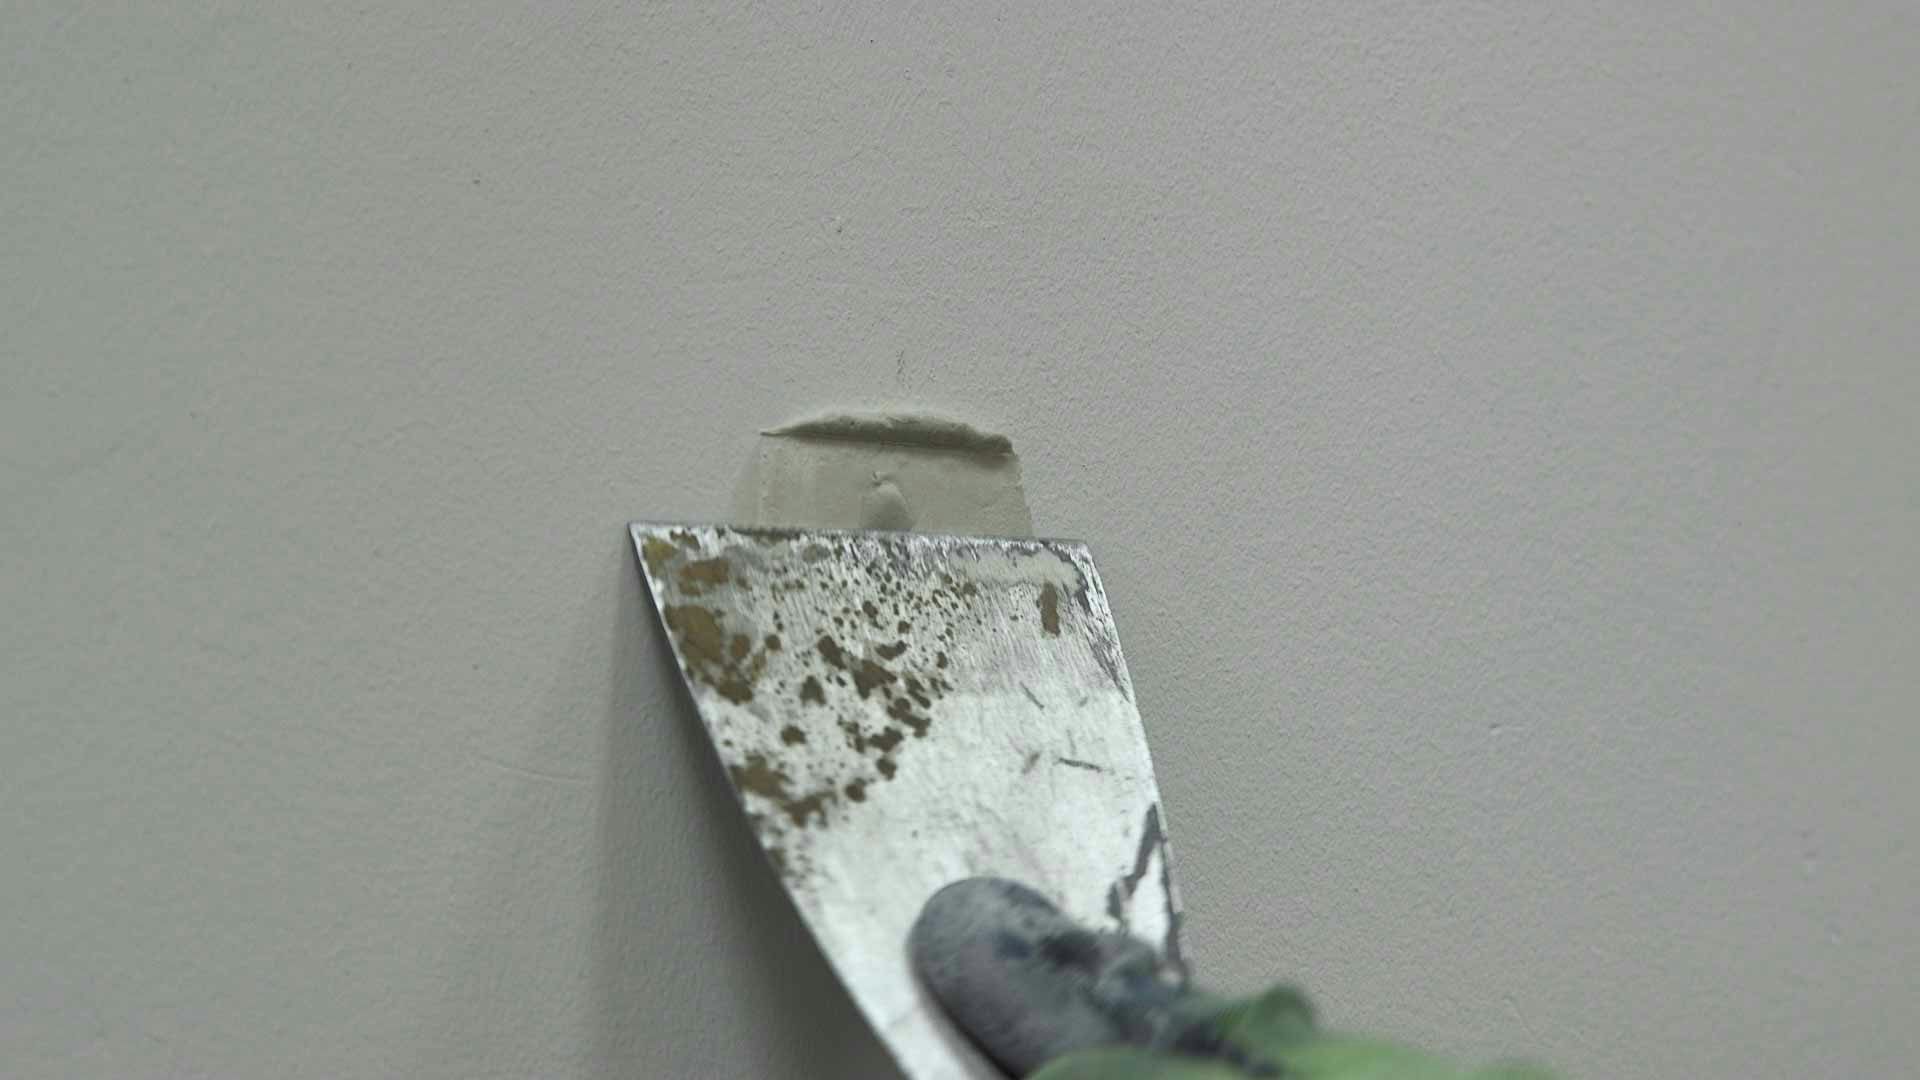
Using a filler knife, apply the filler to the hole or crack.
-
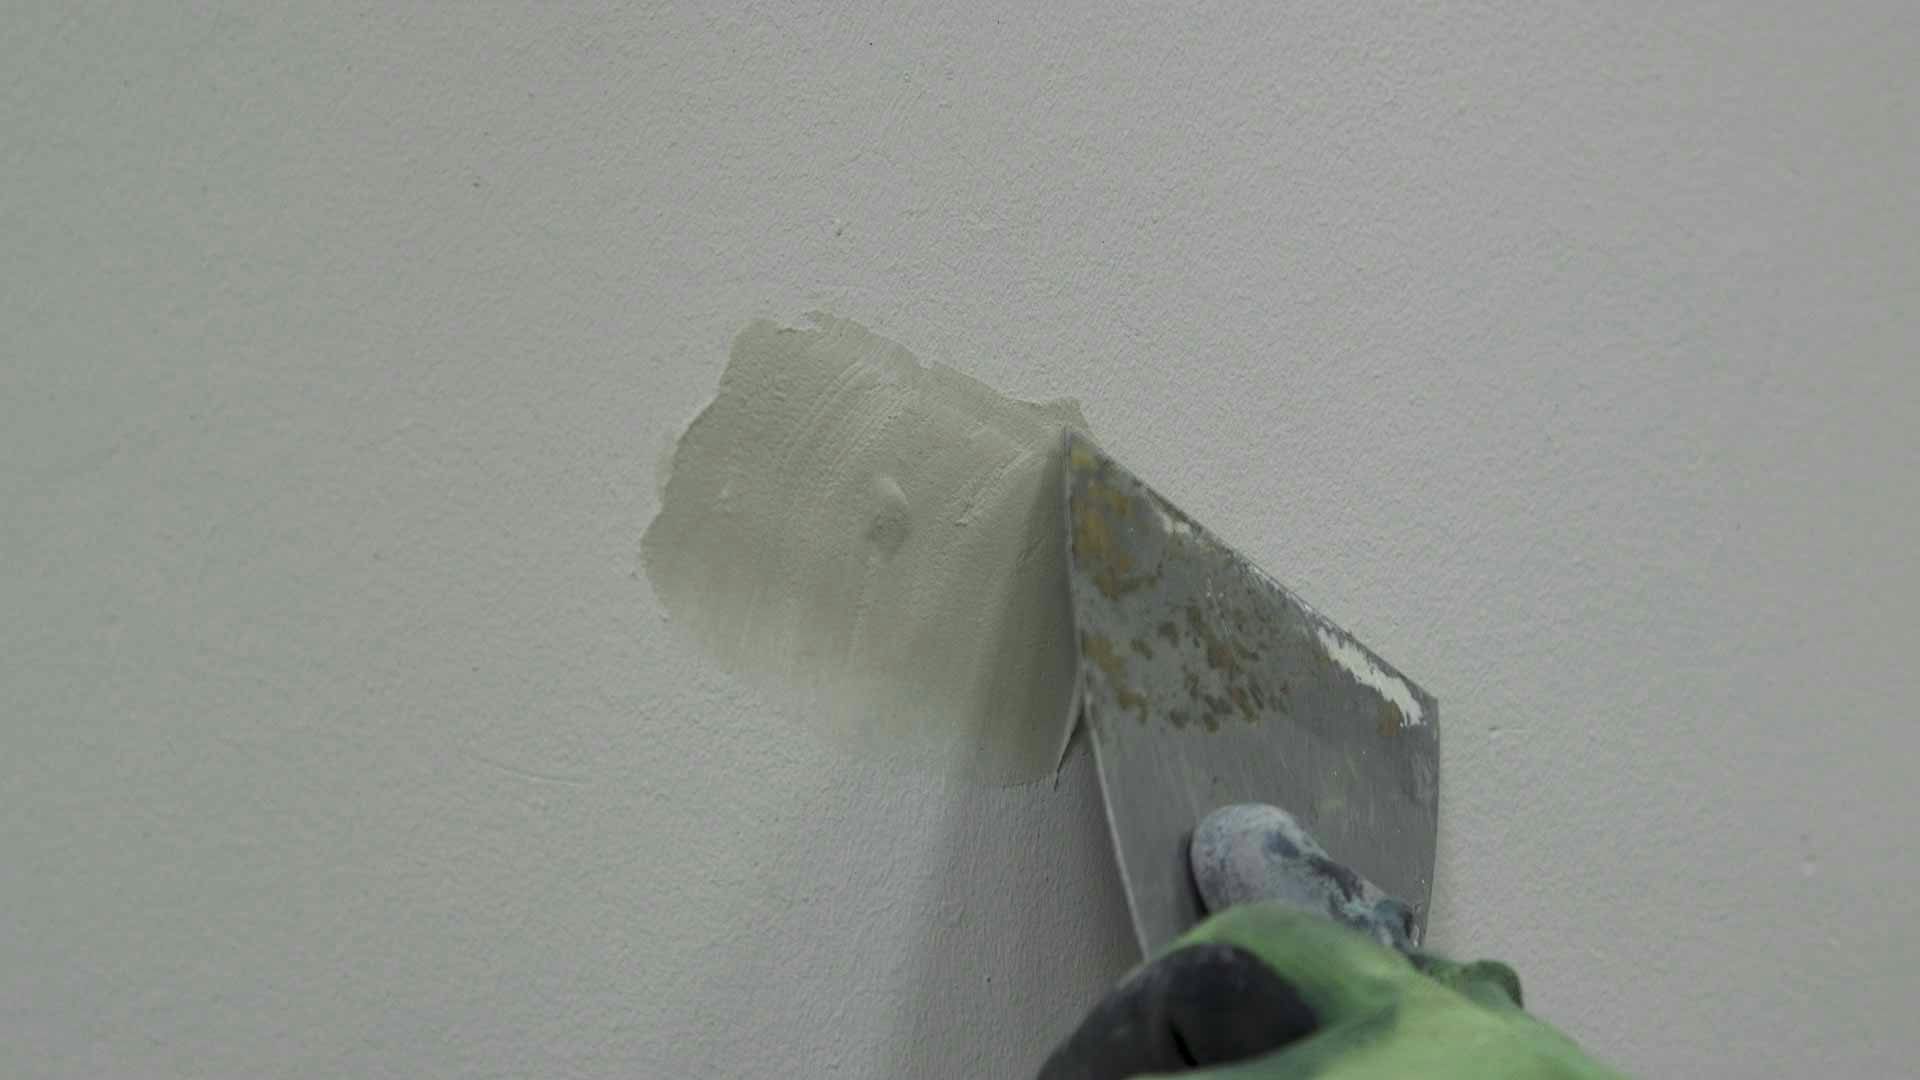
Ensure you cover the entire hole with filler, scraping away any excess with the filler knife.
-
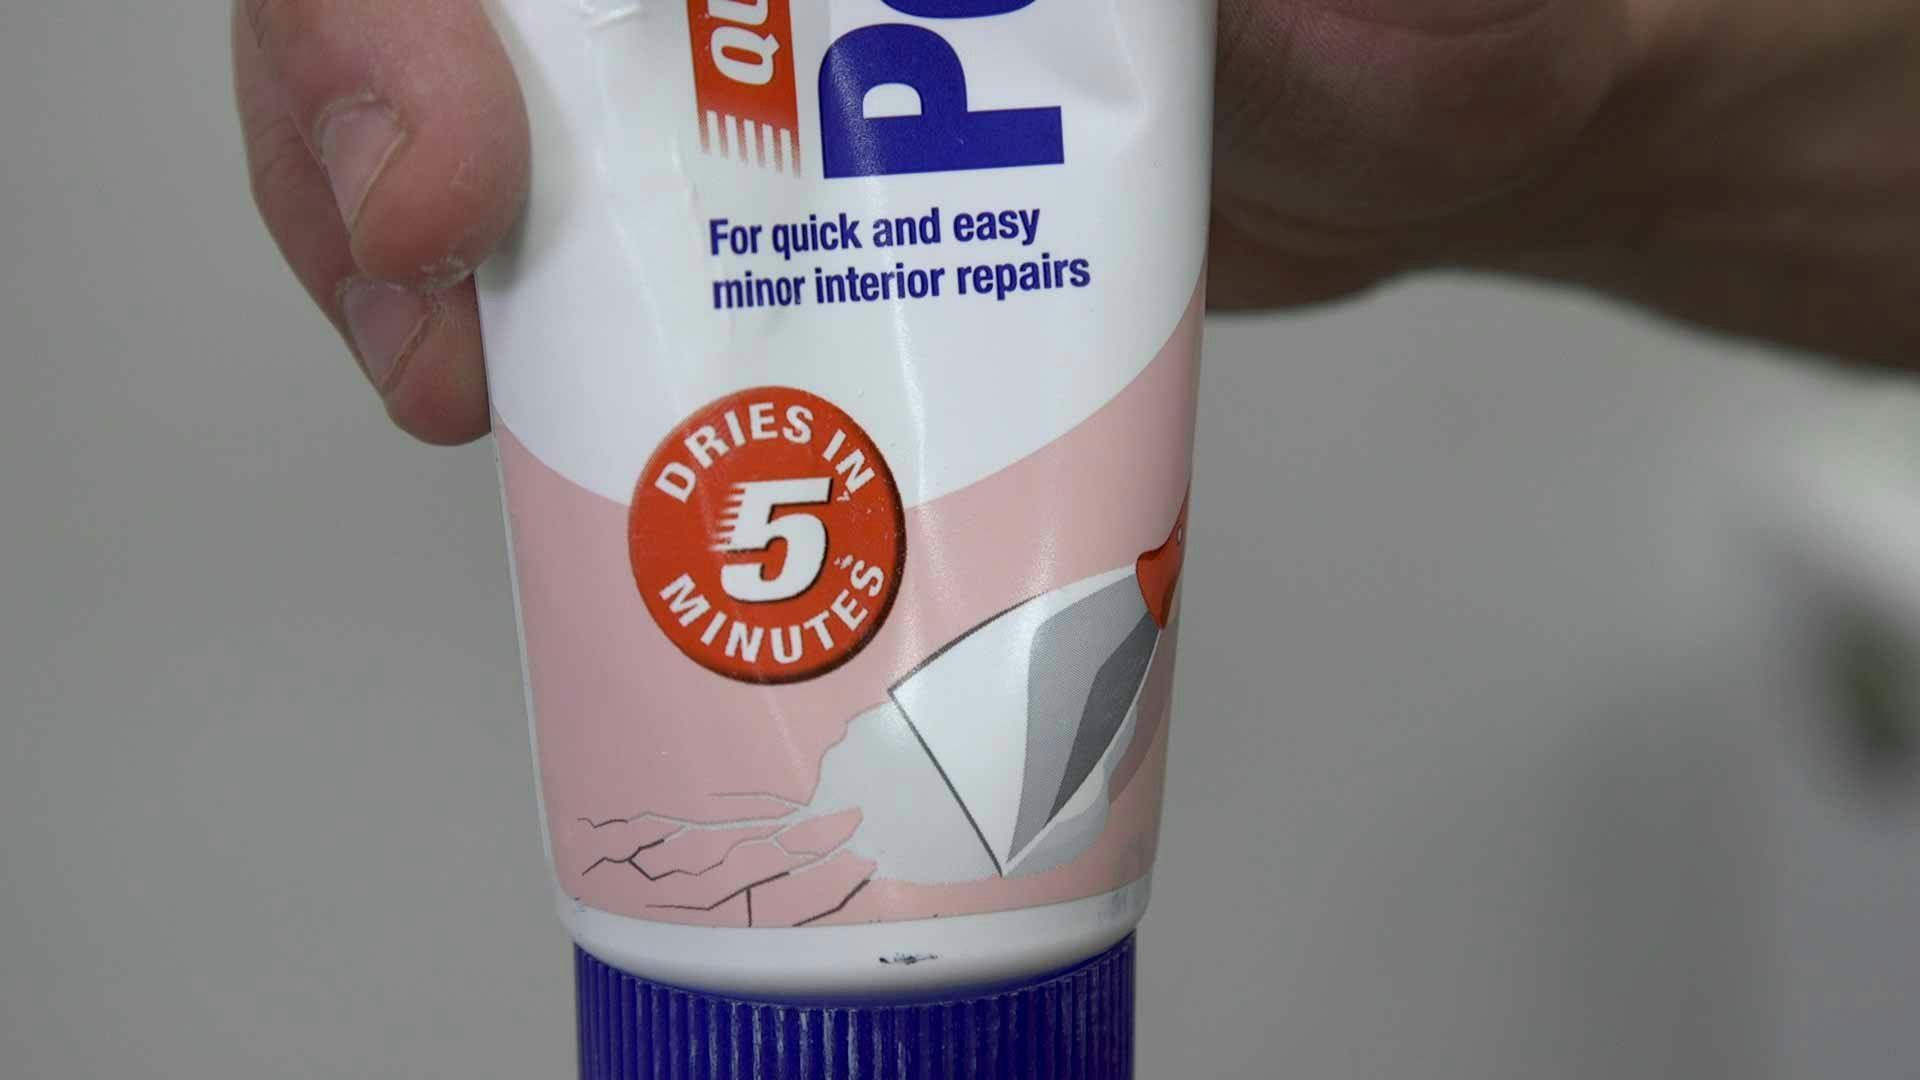
The filler packaging will tell you how long it takes to dry. We advise giving slightly longer, to make extra sure.
-
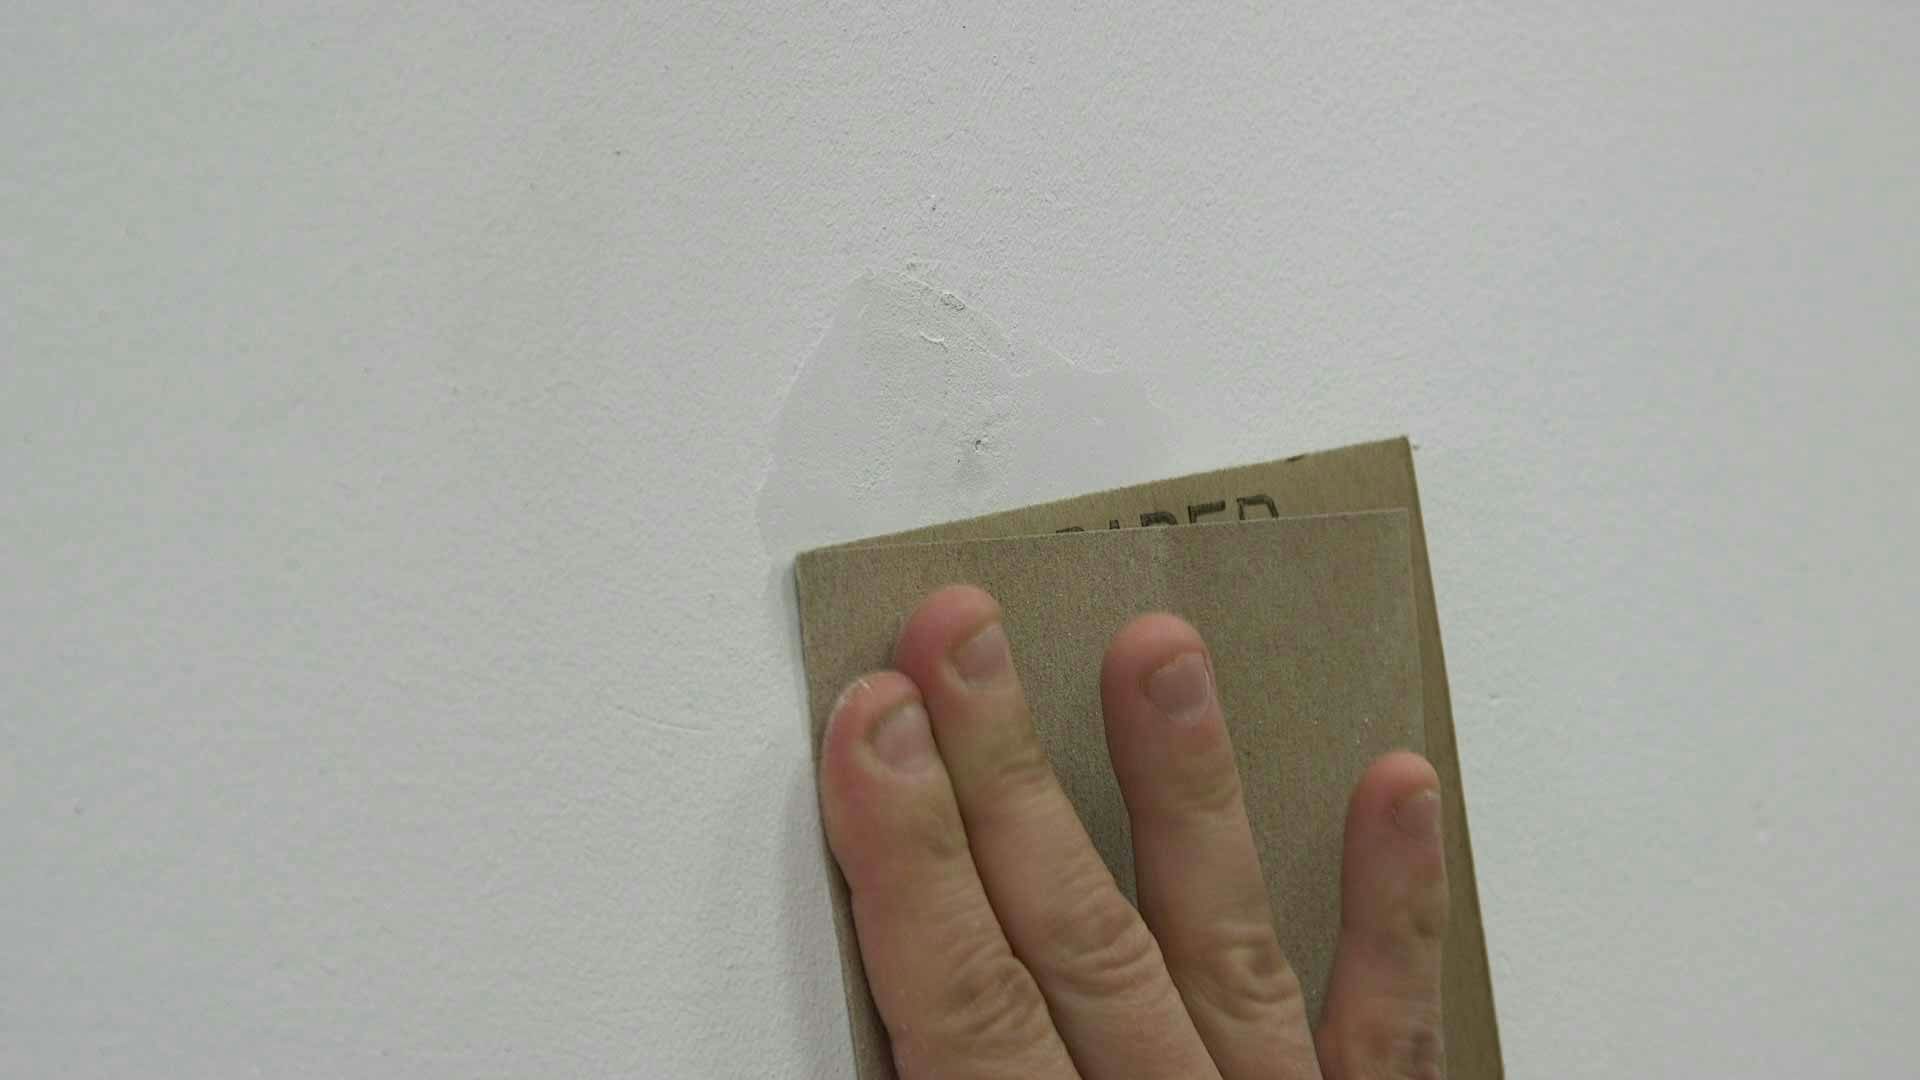
Once the filler has dried for the required length of time, sand down the filled area to a smooth finish, using fine grit sandpaper. We’d advise wearing a dust mask and keeping the room well ventilated.
-
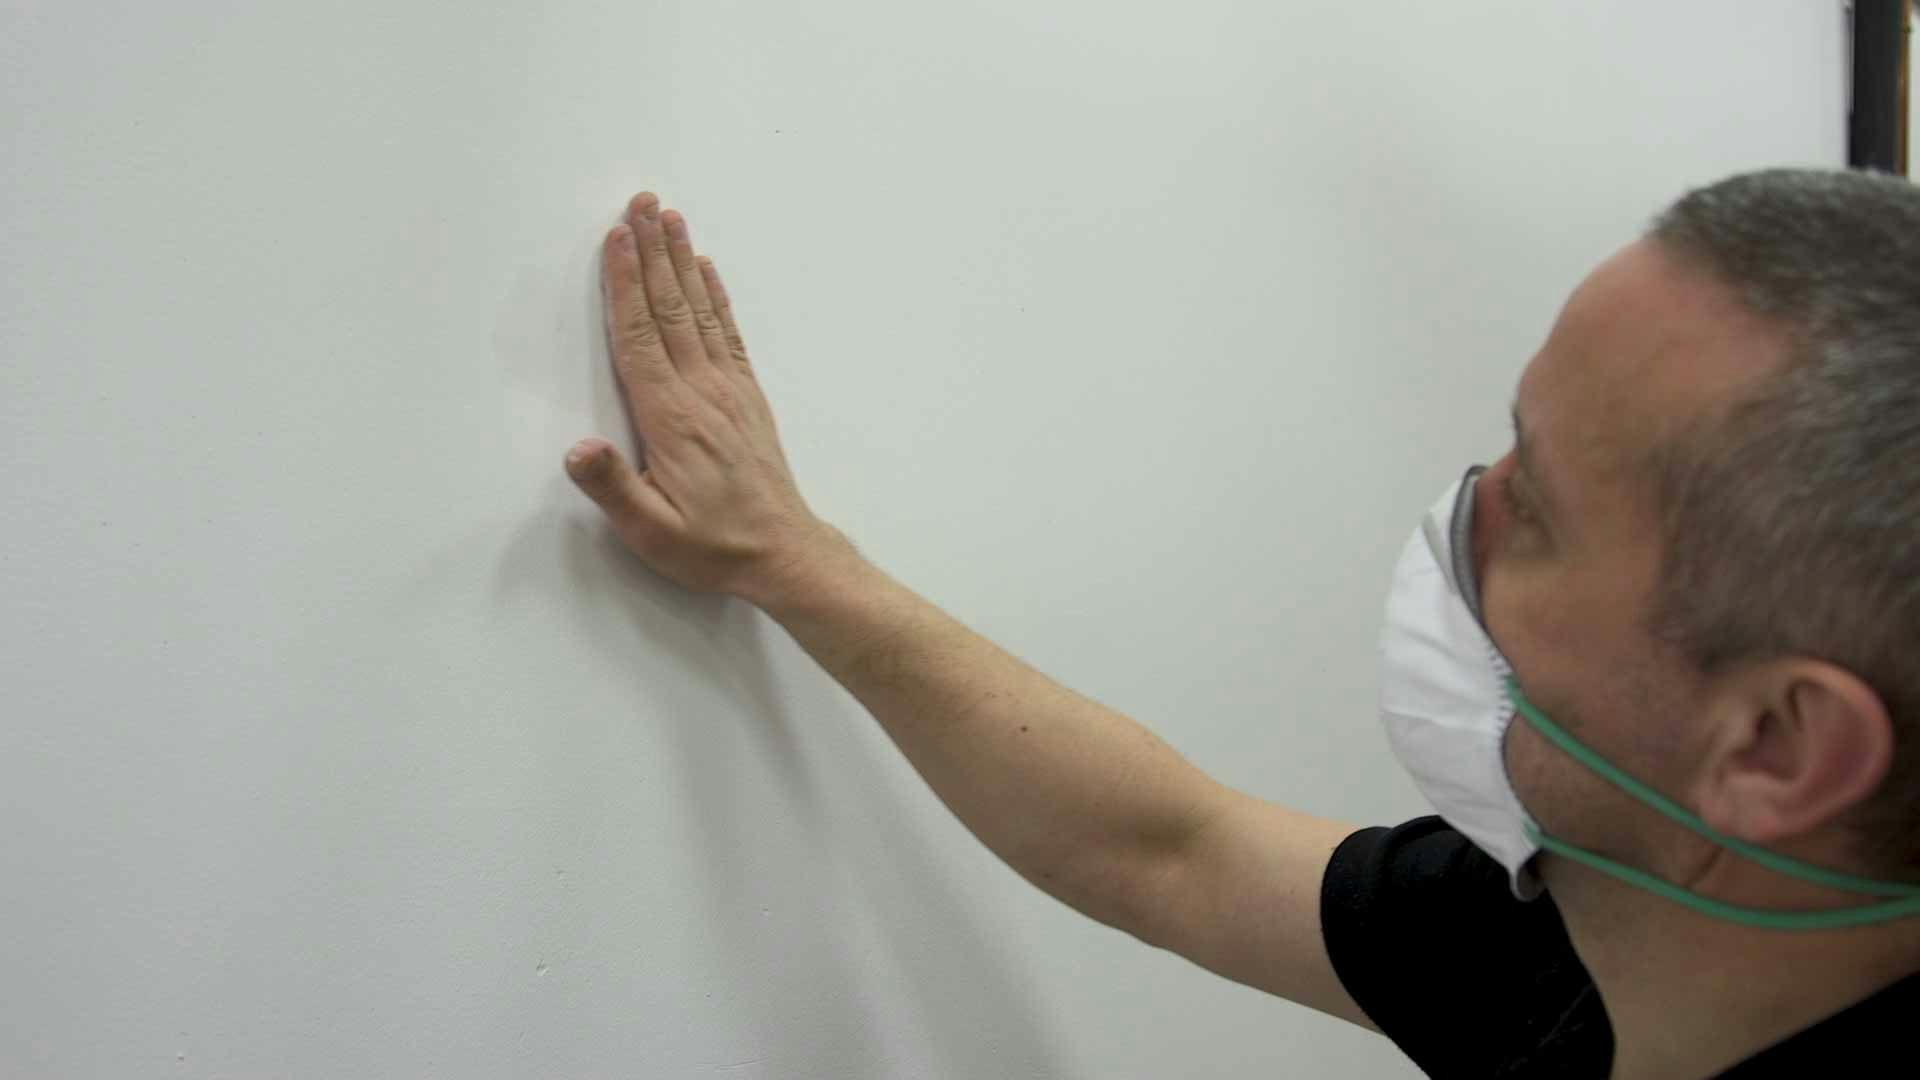
Your surface is now ready for painting or papering.
Congratulations, you have now repaired cracks or holes in your wall.
Step-by-step images
Step 1
Placing a small amount of filler on a smooth surface.
Step 2
Applying filler to the crack or hole.
Step 3
Scraping away the excess filler.
Step 4
Checking drying time.
Step 5
Sanding down to a smooth finish.
Step 6
Surface ready for painting or papering.
Remember to always consult a professional if you aren’t comfortable with intermediate DIY tasks.
Bathroom DIY resources
At Victoria Plum, you’ll find plenty of expert bathroom advice, as well as our Quick Fixes, where we show you how to carry out those smaller DIY tasks which don’t require a professional.
Check out some of these articles below:


