In this expert tiling guide, complete with handy video and step-by-step instructions, we’ll show you how to grout tiles and how to work out how much grout you need.
Whilst plumbing and electrics are always best left to the professionals, tiling your bathroom or kitchen is something you can do yourself. If you’re comfortable with intermediate DIY tasks, you could save plenty of cash which could be spent on a beautiful bathroom suite or that luxury instant boiling water kitchen tap you've always wanted.
Once you have prepared your walls, applied adhesive and attached your tiles to your wall or floor, you are now ready to grout. Grouting creates a seal around your tiles, providing a watertight barrier and protecting your walls and floors from moisture. It’s one of the best parts of the tiling process, as it means your task is nearly complete, leaving you with a clean and professional-looking finish.
In this article, we’ll show you how to grout your tiles and we’ll also demonstrate how to work out the amount of grout required.
What you’ll need
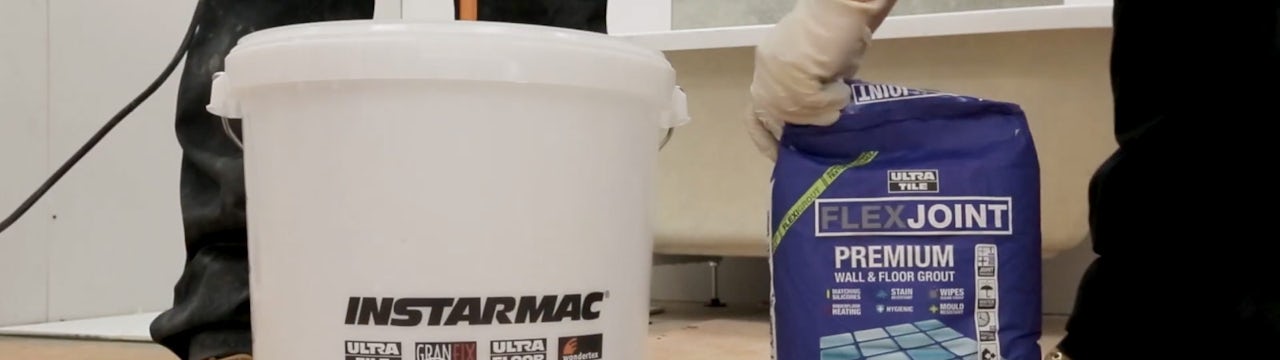
- Bucket
- Dry cloth
- Grout
- Grout float
- Grouting sponge
- Mixing implement (a specialist drill attachment can be used)
- Protective equipment (eyewear, facemask, gloves)
- Water
For tile tools and accessories, check out our comprehensive range.
Time to complete
- Allow around 15–30 minutes for each square metre.
How to grout
To find out how to grout tiles, watch this handy video.
Here’s how to grout tiles
Follow these step-by-step instructions for a clean and professional finish to your tiles.
-
Before you buy your grout, always check the manufacturer’s instructions, which will tell you which types of tile it can be used with, as well as how much water you’ll need when mixing.
-
Pour the required amount of water into your bucket first to avoid unmixed powder.
-
Make sure you are wearing appropriate protective clothing, including gloves, eyewear and a face mask. The cement-based powder can cause irritation.
-
Pour the recommended amount of powder into the bucket.
-
Stir the grout, making sure you reach into the sides and base of the bucket.
-
Keep mixing until smooth, with no more powder or lumps visible. You are now ready to apply your grout to your tiles.
-
Ensuring all spacers have been removed, use the flat side of a grout float to wipe grout into the lines between your tiles.
-
Continue to sweep across the tile surface, keeping the float at an angle.
-
Using a damp grouting sponge, wipe away any leftover grout.
-
A chalky film will appear over the tiled surface. Simply use your damp sponge to lift the residue.
-
Buff the tiles with a dry cloth.
Congratulations, you have now grouted your tiles.
Step-by-step images
Checking manufacturer’s instructions
- Pour water into your bucket.

- Wear appropriate safety equipment.

- Add the grout powder.

- Mix the grout until smooth.

- Apply grout to tiles using a grout float.

- Wipe away leftover grout and lift residue with sponge.

- Buff tiles with dry cloth.

How much grout do I need?
At this stage, you should already know the following measurements, which will help you calculate how much grout you need:
- Total area being tiled (in metres squared)
- Tile size (height and width in mm)
- Tile depth (thickness in mm)
- Size of spacers between your tiles (the gap between each tile in mm)
You’ll find all the tile measurements you need in the Dimensions and Specifications section on each tile product page (see below for example).

To work out how much grout you’ll need, follow this easy 6-step calculation:
- Step 1: Tile width (mm) + tile height (mm) = A
- Step 2: Size of spacers (mm) x tile thickness (mm) = B
- Step 3: A x B x 1.2 (this number is the coverage ratio of all UltraTile grouts) = C
- Step 4: Tile width (mm) x tile height (mm) = D
- Step 5: C / D = E (Amount of grout you’ll need in kg per metre squared)
- Step 6: E x Total area being tiled (metres squared) = Total grout required (kg)
You should always add around 10% to the total grout figure for any spillages or wastage. Ready to buy your grout? Browse our full range of tiling grouts and adhesives.
Example calculation
To demonstrate how this works, here’s an example. Let’s assume we’re tiling a wall measuring 4 metres square, using our popular Victorian Metro white bevelled gloss wall tiles. We have the following measurements:
- Total area being tiled: 4 metres squared
- Tile size: Width: 100mm. Height: 200mm
- Tile thickness: 7mm
- Size of spacers: 2mm
Calculation
- Step 1: 100mm + 200mm = 300mm
- Step 2: 7mm x 2mm = 14mm
- Step 3: 300mm x 14mm x 1.2 = 5,040
- Step 4: 100mm x 200mm = 20,000mm
- Step 6: 5,040 / 20,000 = 0.252 kg grout per metre squared
- Step 7: 0.252 x 4 = 1.008 kg of grout
In this instance, one 3kg bag of UltraTile grout will be enough.
Other considerations
You should also think carefully about the colour of your grout. Whilst white is one of the most common grout colours, you may want to add more definition to white tiles with black grout or choose on-trend grey. There are other colours available, depending on the effect you wish to achieve.
Shop grouts and adhesives
At Victoria Plum, we only stock high quality grouts and adhesives. To see our full range, simply click on the image below.

Need more tiling advice?
If you’re looking for more help with your DIY tiling project, you’ve come to the right place. At Victoria Plum, we have plenty of expert guides, complete with easy-to-follow videos and instructions. Simply click on any of the links below to find a relevant article.
- How to tile
- How to replace a damaged tile
- How to remove old grout from tiles
- How to regrout tiles
- How to drill through a tile
- Tiles buying guide
- How to clean tiles
- Ask the experts: Should I fit the toilet before or after tiling the floor?
- Ask the experts: Can I tile over old tiles?
If you’re in need of tile inspiration, why not browse some of these incredible tiling ideas?
- 5 exciting and unusual ways to use tiles in your bathroom
- 6 more bathroom tile ideas that'll capture your imagination
- Tiles inspiration gallery
- Stylist’s Selection: 9 stylish wall and floor ideas for bathrooms
- 5 things to consider when choosing your bathroom tiles
- Small Spaces: Small bathroom tile ideas


