If you’re comfortable with intermediate DIY tasks, you could save time and money by installing your own bidet. In this expert guide, we’ll show you exactly how to do it, with step-by-step instructions and video.
Whilst they may not be a common sight in British bathrooms, bidets are increasing in popularity.

Tools you’ll need:
- Electric drill
- Hammer
- Pencil
- Safety equipment
- Spirit level
- Standard screwdrivers
Check you have the following:
Usually supplied with the bidet:
- Floor brackets
Not usually supplied with the bidet:
- Bidet mixer tap
- Bidet waste
- Silicone sealant
Time to complete:
- 1–2 hours
Step-by-step video
For instructional purposes, in this video, we show you how to fit the Orchard Eden floorstanding bidet.
Here is how to install a bidet
- Place the bidet in position and check it’s level using a spirit level.
- Mark the outline of the bidet onto the wall using a pencil.
- Mark and drill the holes into the floor for the floor brackets. Remember to use the correct safety equipment when using tools, as well as the correct drill and bit for the surface type.
- Fit the pop up waste and rod as per the instructions supplied.
- Fit the tap. This is exactly the same process as fitting a basin mixer tap.
- Fit the trap to the underside of the waste.
- Place the bidet against the wall and attach the tap connectors and waste pipe.
- Secure the bidet to the floor brackets.
- Seal all joins with silicone.
Congratulations, you’ve successfully fitted your bidet.
Step by step images
To help you visualise each step of the installation process, we’ve provided step by step images below, showing you how to install a bidet.
Placing the bidet in position and checking it’s level.

Marking the outline of the bidet.

Drilling holes into the floor for brackets.

Fitting the pop up waste and rod.

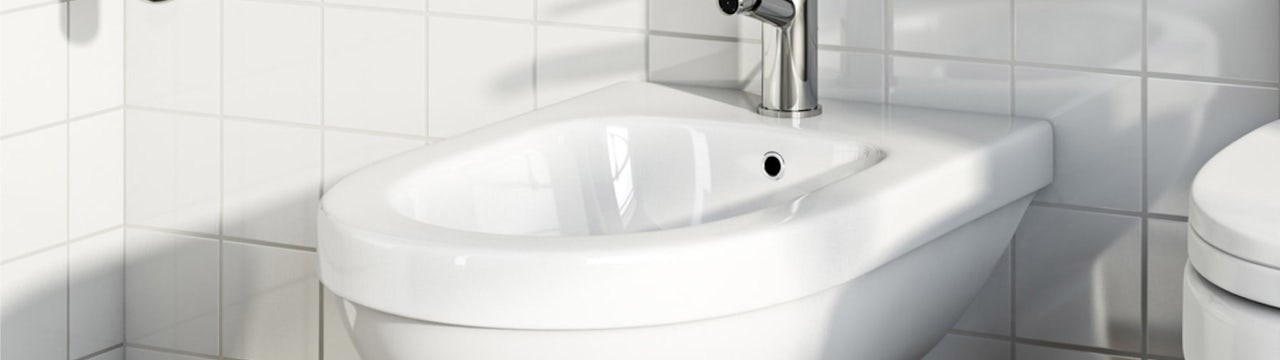
Fitting the bidet tap.

Fitting the trap to the underside of the waste.

Attaching the tap connectors and waste pipe.

Securing bidet to floor with brackets.

Sealing all joints with silicone.

Shop bidets
Whether you’re searching for a floorstanding or wall hung model, at VictoriaPlum.com you’ll discover a fabulous range of bidets, as well as specialist bidet taps. To begin browsing, simply click on the image below.

More bathroom DIY advice
Check out our bathroom advice section, where you’ll find more installation guides for common bathroom DIY projects. To help you find what you need, click on any of the links below to go straight to an article.


